
1. Okwu mmalite
This manual provides detailed instructions for the installation, operation, and maintenance of your VANTRUE VP01 5-Level Adjustable ACC Hardwire Kit. Please read this manual thoroughly before installation and use to ensure proper functionality and safety. This hardwire kit is designed to provide continuous power to your compatible dash cam for parking mode functionality and includes features to protect your vehicle's battery.
2. Ngwaahịa gafereview
The VANTRUE VP01 Hardwire Kit is an essential accessory for enabling advanced parking surveillance features on your compatible dash cam. It connects directly to your vehicle's fuse box, providing a stable power supply and intelligent battery protection. Key features include:
- Vol dị alatage Nchedo: Automatically cuts power to the dash cam when the vehicle battery voltage drops below a user-defined threshold, preventing battery drain.
- Custom Timer Setting: Allows continuous recording or power supply for a set duration after the vehicle is parked.
- ACC Linkage Function: Automatically switches the dash cam to parking mode when the ignition is turned off.
- Obosara Voltage ndakọrịta: Supports 12V-24V vehicle electrical systems.
- Mpụta USB Ụdị-C: Compatible with various Type-C dash cams and other devices.
Ngwa gụnyere:
- Vantrue Hardwire Kit (VP01)
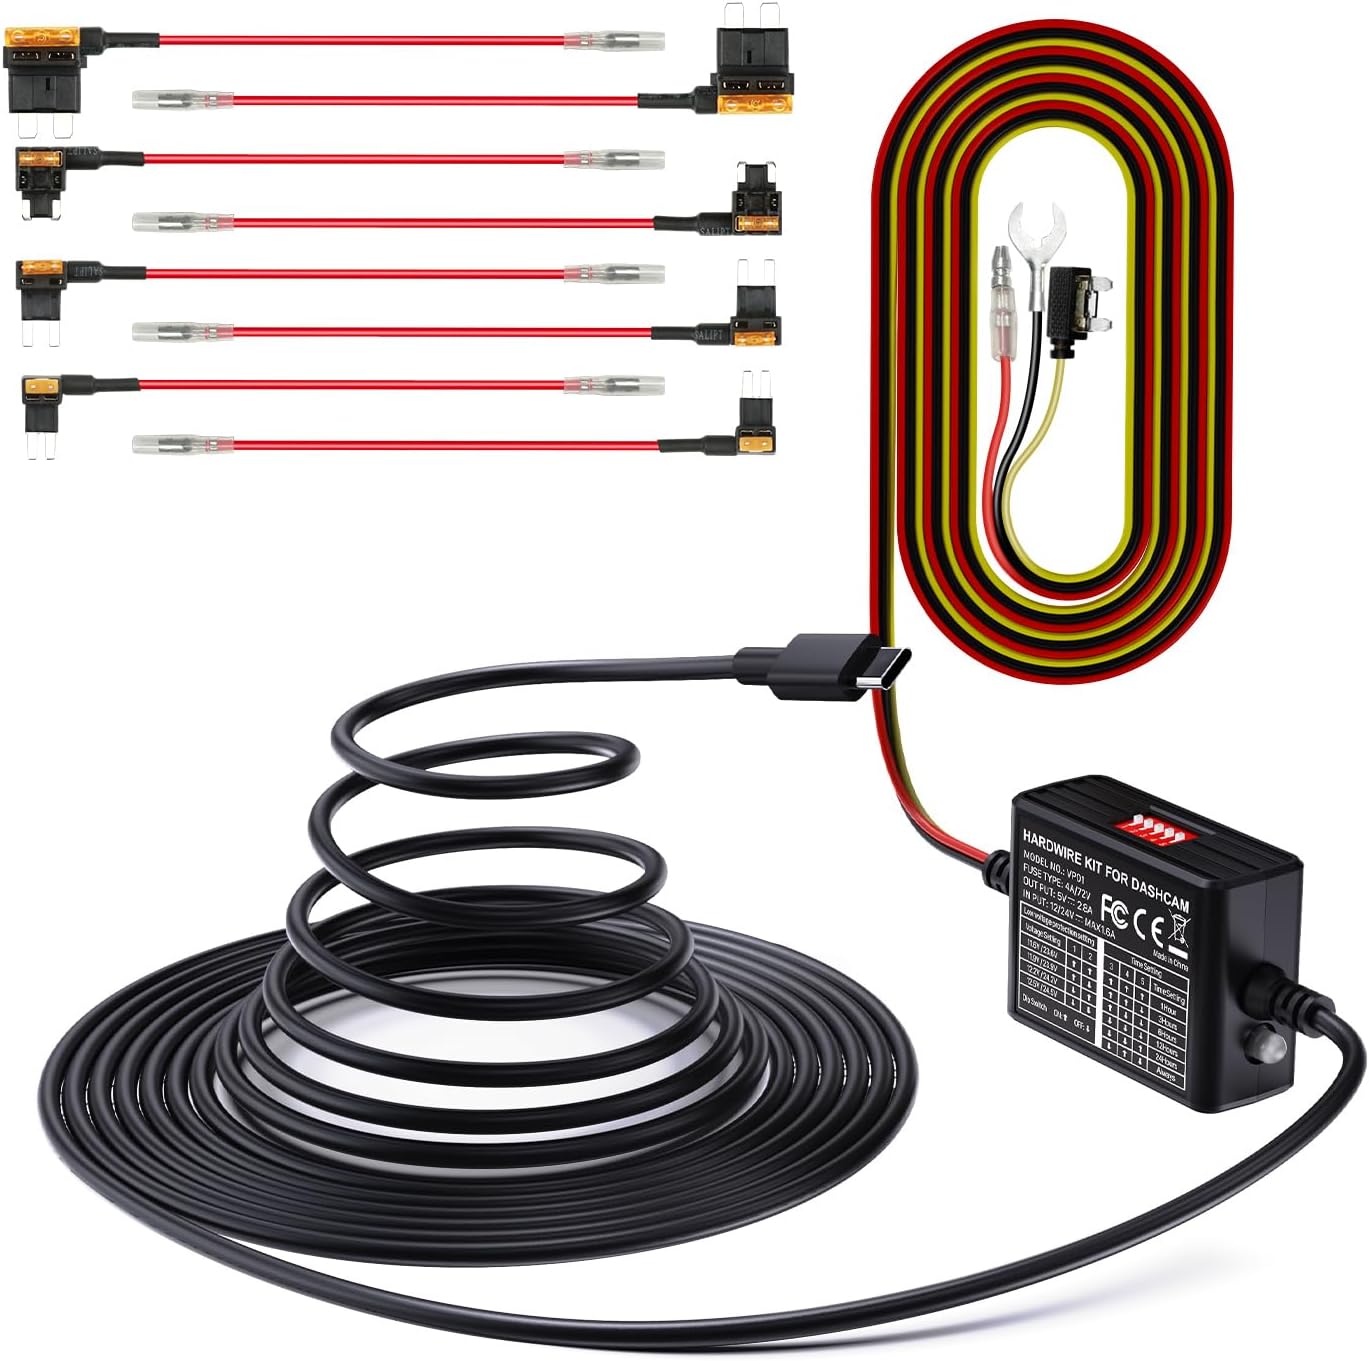
Image 2.1: The VANTRUE VP01 Hardwire Kit, showing its compact design and USB-C connector.
3. Ndakọrịta
The VANTRUE VP01 Hardwire Kit is designed for broad compatibility with vehicles operating on 12V to 24V electrical systems. It features a USB Type-C output, making it suitable for a wide range of dash cams and other devices that use a Type-C USB connection.
Compatible VANTRUE Dash Cam Models:
- N4 ProS
- E1 Pro
- N5
- N5S
- N4
- N4S
- E2
- S1 Pro(Max)
- N2X
- E360
Note: This kit is specifically designed for the listed Vantrue dash cam models and may not be compatible with other Vantrue dash cams or third-party devices.

Image 3.1: Visual representation of the hardwire kit's compatibility with several VANTRUE dash cam models.
4. Ntuziaka nwụnye
Proper installation is crucial for the optimal performance of your hardwire kit. If you are unsure about any steps, it is recommended to seek professional assistance.
4.1 Njikọ waya
The hardwire kit requires connection to three points in your vehicle's fuse box:
- Waya odo odo: Connect to a constant power source (B+) that provides power even when the ignition is off. This is typically a fuse that is always live.
- Waya uhie: Connect to an ACC (Accessory) power source that provides power only when the ignition is on. This allows the dash cam to detect when the vehicle is running or parked.
- waya ojii: Connect to any metal part of the vehicle chassis for a ground connection.

Image 4.1: Diagram illustrating the connection points for the yellow (ACC), red (continuous power), and black (ground) wires.
4.2 Fuse Box Connection
Use the included fuse taps to connect the yellow and red wires to appropriate fuses in your vehicle's fuse box. Ensure the fuse tap is inserted in the correct orientation to maintain circuit protection.

Image 4.2: Step-by-step visual guide for connecting the hardwire kit to the vehicle's fuse box, showing continuous power, ACC power, and ground connections.
5. Ntuziaka ọrụ
Once installed, the hardwire kit operates automatically with your dash cam. It manages power delivery based on your vehicle's ignition status and the settings configured on the kit.
5.1 Parking Mode Activation
With the ACC linkage function, your dash cam will automatically transition into parking mode when the vehicle's ignition is turned off. This ensures continuous surveillance even when your car is parked.

Image 5.1: Graphic illustrating the 24-hour parking mode, providing continuous surveillance for your vehicle.
6. Nhazi nhazi
The hardwire kit features dip switches for configuring low voltage protection and timer settings. These switches allow you to customize the kit's behavior to suit your needs and vehicle's battery health.

Image 6.1: Close-up of the hardwire kit's dip switches for adjusting low voltage protection and parking mode timer settings.
6.1 Dị ala Voltage Protection Settings
This feature prevents your vehicle's battery from draining completely by cutting power to the dash cam when the voltage drops below a selected level. Use the dip switches to set your desired voltagna ọnụ ụzọ:
| Voltage Ntọala | Mgbanwe mgbanwe 1 | Mgbanwe mgbanwe 2 |
|---|---|---|
| 11.6V / 23.6V | ON (Up) | ON (Up) |
| 11.9V / 23.9V | OFF (Down) | ON (Up) |
| 12.2V / 24.2V | ON (Up) | OFF (Down) |
| 12.5V / 24.5V | OFF (Down) | OFF (Down) |
Note: The higher voltage values (23.6V, 23.9V, 24.2V, 24.5V) apply to 24V vehicle systems.

Image 6.2: Visual explanation of the low voltage protection system, showing the battery icon and automatic power cut-off.
6.2 Ntọala ngụ oge
Configure how long the dash cam remains powered in parking mode after the ignition is off. Use the dip switches to select your desired duration:
| Nhazi oge | Mgbanwe mgbanwe 3 | Mgbanwe mgbanwe 4 | Mgbanwe mgbanwe 5 |
|---|---|---|---|
| Oge elekere 1 | ON (Up) | ON (Up) | ON (Up) |
| Awa 3 | OFF (Down) | ON (Up) | ON (Up) |
| Awa 6 | ON (Up) | OFF (Down) | ON (Up) |
| Awa 12 | OFF (Down) | OFF (Down) | ON (Up) |
| Awa 24 | ON (Up) | ON (Up) | OFF (Down) |
| Mgbe niile | OFF (Down) | OFF (Down) | OFF (Down) |
7. Nlekọta
To ensure the longevity and reliable performance of your hardwire kit and dash cam, consider the following maintenance tips:
- Lelee njikọ mgbe niile: Periodically inspect all wiring connections to ensure they are secure and free from damage.
- Njikwa kaadị SD: For dash cams, regularly format the SD card to prevent data corruption and ensure continuous recording. Replace the SD card if it shows signs of wear or error.
- Hichaa ngwaọrụ ahụ: Keep the hardwire kit and dash cam free from dust and debris. Use a soft, dry cloth for cleaning.
8. Nchọpụta nsogbu
Ọ bụrụ na ị na-enwe nsogbu na ngwa hardwire gị, lee nsogbu na ngwọta ndị a na-ahụkarị:
- Dash Cam Not Powering On in Parking Mode:
- Check the yellow wire connection to ensure it is connected to a constant power fuse.
- Nyochaa obere voltage protection settings. If the vehicle battery voltage is below the set threshold, the kit will cut power.
- Ensure the timer setting is not expired or set to 'Off'.
- Dash Cam Not Switching to Parking Mode:
- Check the red wire connection to ensure it is connected to an ACC power fuse that activates with the ignition.
- Confirm the ACC linkage function is enabled on your dash cam (refer to your dash cam's manual).
- Vehicle Battery Drains Quickly:
- Adjust the low voltage protection setting to a higher voltage (e.g., 12.5V for 12V systems) to cut power sooner.
- Reduce the parking mode timer duration.
- Ensure the fuse adapter is correctly oriented in the fuse box. Incorrect orientation can bypass the protection circuit.
- No Power to Dash Cam:
- Check all three wire connections (yellow, red, black) for secure contact.
- Inspect the fuses in the fuse box that the hardwire kit is connected to. Replace any blown fuses.
- Ensure the USB Type-C connection to the dash cam is firm.
9. Nkọwapụta
| Njirimara | Nkọwapụta |
|---|---|
| Nlereanya | VP01 |
| Ntinye Voltage | 12V - 24V |
| Mmepụta Voltage | 5V |
| Mmepụta ugbu a | 2A |
| Ogologo eriri USB | 14.8 ụkwụ |
| Ụdị njikọ | USB Ụdị-C |
| Vol dị alatage Nchedo | Adjustable (11.6V/11.9V/12.2V/12.5V for 12V; 23.6V/23.9V/24.2V/24.5V for 24V) |
| Ntọala ngụ oge | Adjustable (1, 3, 6, 12, 24 hours, or Always) |
| Akụkụ ihe (L x W x H) | 4.33 x 3.03 x 2.4 sentimita asatọ |
10. Akwụkwọ ikike na nkwado
10.1 Ozi akwụkwọ ikike
The VANTRUE VP01 Hardwire Kit comes with a Akwụkwọ ikike nke ọnwa 12 site na ụbọchị ịzụrụ ihe. Akwụkwọ ikike a na-ekpuchi ntụpọ nrụpụta ma na-eme ka ngwaahịa ahụ mezuo arụmọrụ akọwapụtara ya. Biko debe ihe akaebe ịzụrụ ihe gị maka nkwupụta akwụkwọ ikike.
10.2 Nkwado ndị ahịa
For any questions, technical assistance, or warranty inquiries, please contact VANTRUE customer support. Refer to the official VANTRUE websaịtị ma ọ bụ nkwakọ ngwaahịa gị maka ozi kọntaktị kachasị ugbu a.