
Okwu mmalite
This manual provides detailed instructions for the setup, operation, maintenance, and troubleshooting of your Keychron V5 Wired Custom Mechanical Keyboard. The Keychron V5 is a 96% layout keyboard featuring QMK/VIA programmability, hot-swappable switches, double-shot PBT keycaps, and compatibility with macOS, Windows, and Linux systems.
Ihe ngwugwu
Biko chọpụta na ihe niile dị na ngwugwu gị:
- Ahụigodo Mechanical Omenala ejiri eriri igodo V5
- USB-C na eriri USB-C
- USB-A ka USB-C nkwụnye
- Onye na-adọkpụ igodo
- Gbanwee Puller
- Additional Keycaps for Windows/macOS
Melite
Jikọọ ahụigodo
To connect your Keychron V5 keyboard:
- Chọta ọdụ USB-C n'azụ ahụigodo ahụ.
- Connect one end of the provided USB-C to USB-C cable to the keyboard.
- Connect the other end of the cable to a USB-C port on your computer. If your computer only has USB-A ports, use the provided USB-A to USB-C adapter.
- Sistemụ arụmọrụ gị ga-amata ahụigodo ahụ na akpaghị aka.
System Toggle (Mac/Windows)
The Keychron V5 includes a system toggle switch to ensure full compatibility with both macOS and Windows operating systems. This switch is typically located on the back or side of the keyboard.
To switch between operating systems:
- Locate the 'Win/Mac' toggle switch.
- Slide the switch to the 'Mac' position for macOS or 'Win' position for Windows.
- The keyboard will adjust its key mappings accordingly.

Foto: Akụkụ view of the Keychron V5 keyboard, highlighting the system toggle switch and USB-C port for system compatibility.
Ergonomic Angle Adjustment
The keyboard features adjustable feet to customize the typing angle for improved ergonomics.
To adjust the typing angle:
- Flip the keyboard over to access the feet on the underside.
- Gently pull out the feet to extend them to your desired angle. There are usually two levels of adjustment.

Image: The Keychron V5 keyboard with its adjustable feet extended, demonstrating the ergonomic angle design.
Ntuziaka ọrụ
Isi Ọrụ na Nhazi
The Keychron V5 features a 96% layout with 97 keys, efficiently retaining function keys and a num pad while saving desk space. The keyboard comes with pre-installed double-shot PBT keycaps in an OSA profile, designed for a comfortable fingertip feel and excellent oil resistance.
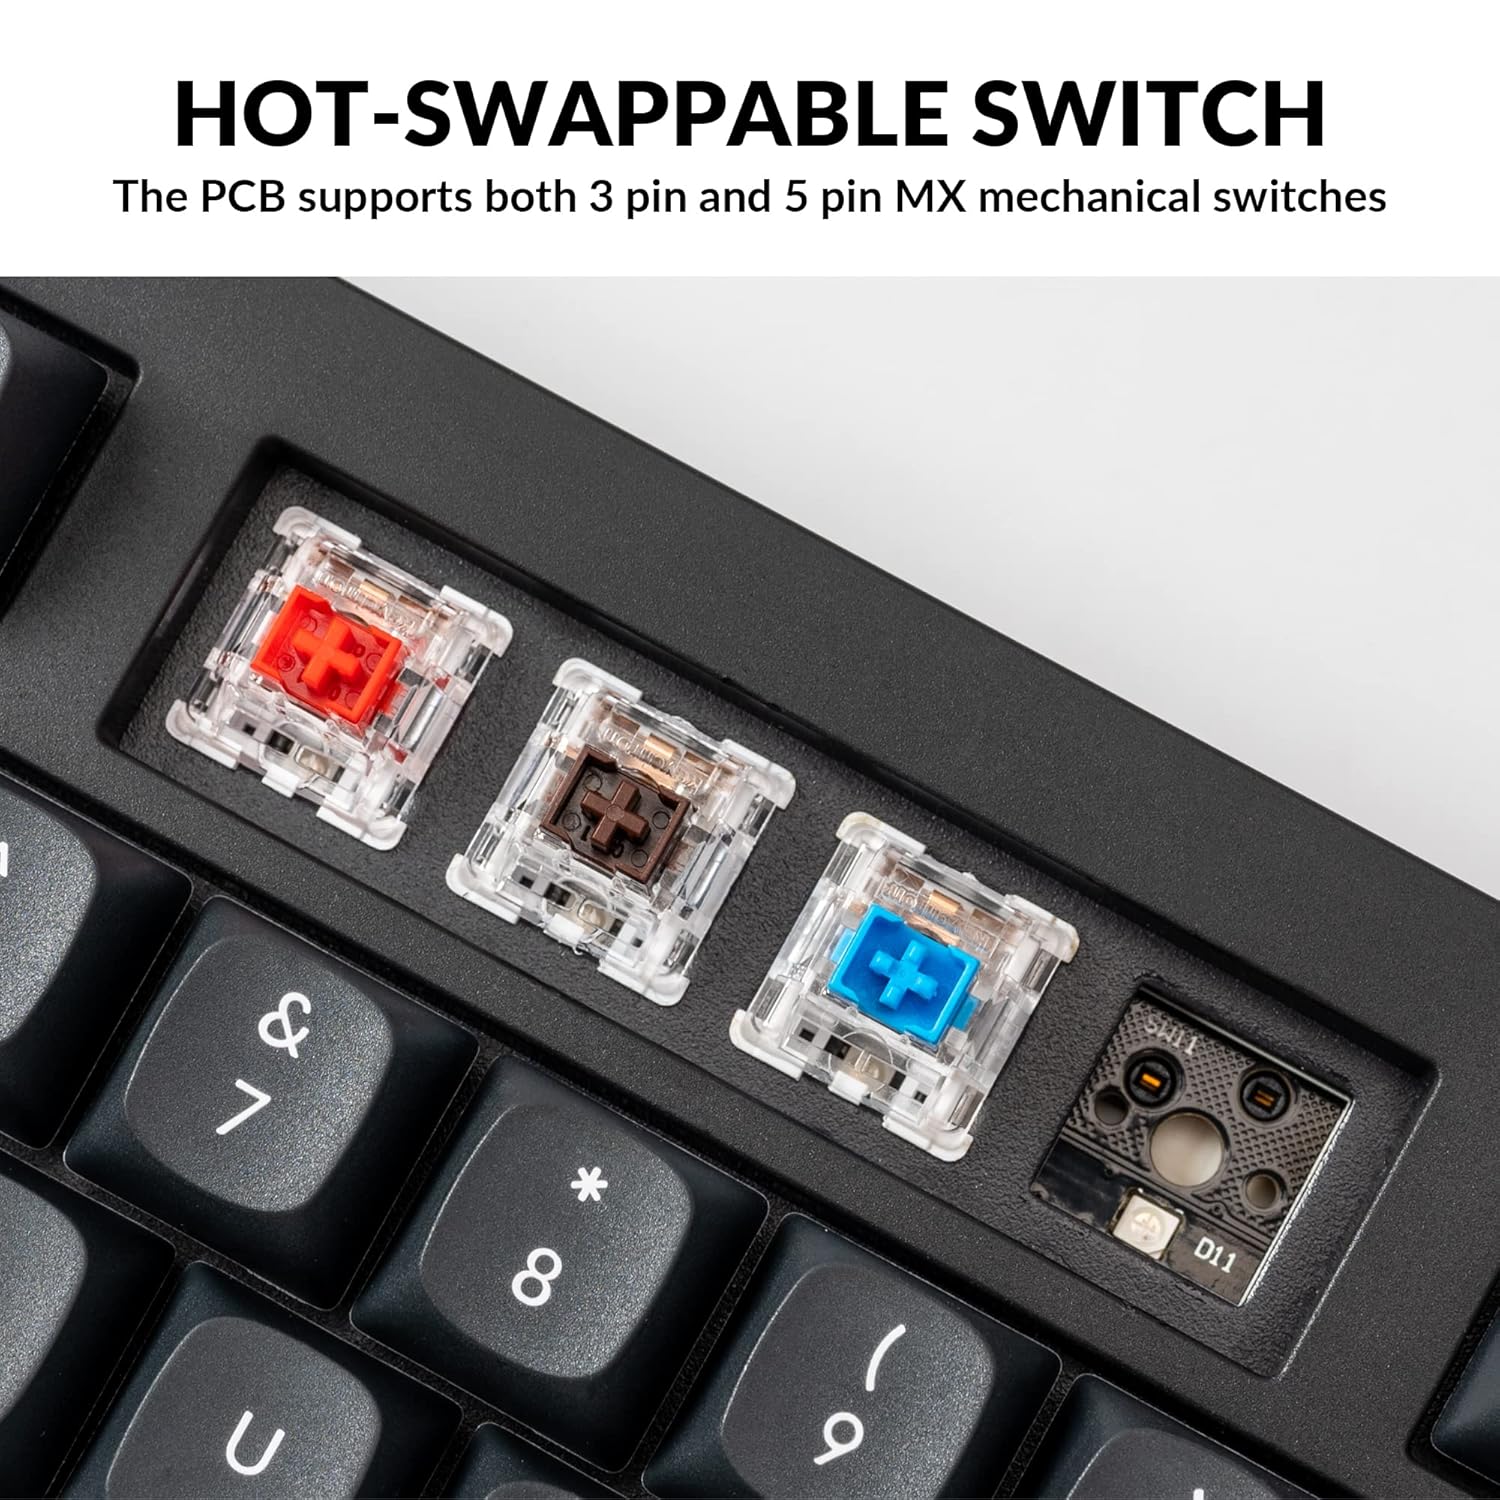
Foto: A zuru ezu view of the Keychron V5 keyboard, showcasing its 96% layout and keycap design.
Nhazi QMK/VIA
The Keychron V5 supports QMK/VIA firmware, allowing for comprehensive customization of key mappings, macros, and backlight effects. VIA is a graphical user interface that simplifies the programming process.
Ka hazie ahụigodo gị:
- Budata ngwanrọ VIA site na Keychron gọọmentị website or the VIA GitHub repository.
- Connect your keyboard to your computer.
- Launch the VIA software. The software should automatically detect your Keychron V5.
- Use the intuitive interface to remap keys, create macros, and adjust lighting settings across multiple layers.
For detailed instructions on using QMK/VIA, refer to the official Keychron documentation or community guides.

Image: A visual representation of the VIA software interface, demonstrating how users can customize key layouts and macros for the Keychron V5.
Programmable Knob
The Keychron V5 features a programmable rotary knob, which can be customized via QMK/VIA to control various functions such as volume, zoom, or scrolling.
To customize the knob's function:
- Open the VIA software.
- Navigate to the knob customization section.
- Assign desired functions for clockwise rotation, counter-clockwise rotation, and pressing the knob.

Foto: A nso nso view of the programmable rotary knob on the Keychron V5 keyboard, highlighting its textured surface.
Mgbanwe na-ekpo ọkụ
The Keychron V5 is equipped with hot-swappable sockets, allowing you to change mechanical switches without soldering. It supports most 3-pin and 5-pin MX mechanical switches (e.g., Cherry, Gateron, Kailh, Panda).
The keyboard comes with pre-lubed K Pro Red linear switches, offering a smooth and responsive typing experience with a lifespan of up to 50 million keystrokes.
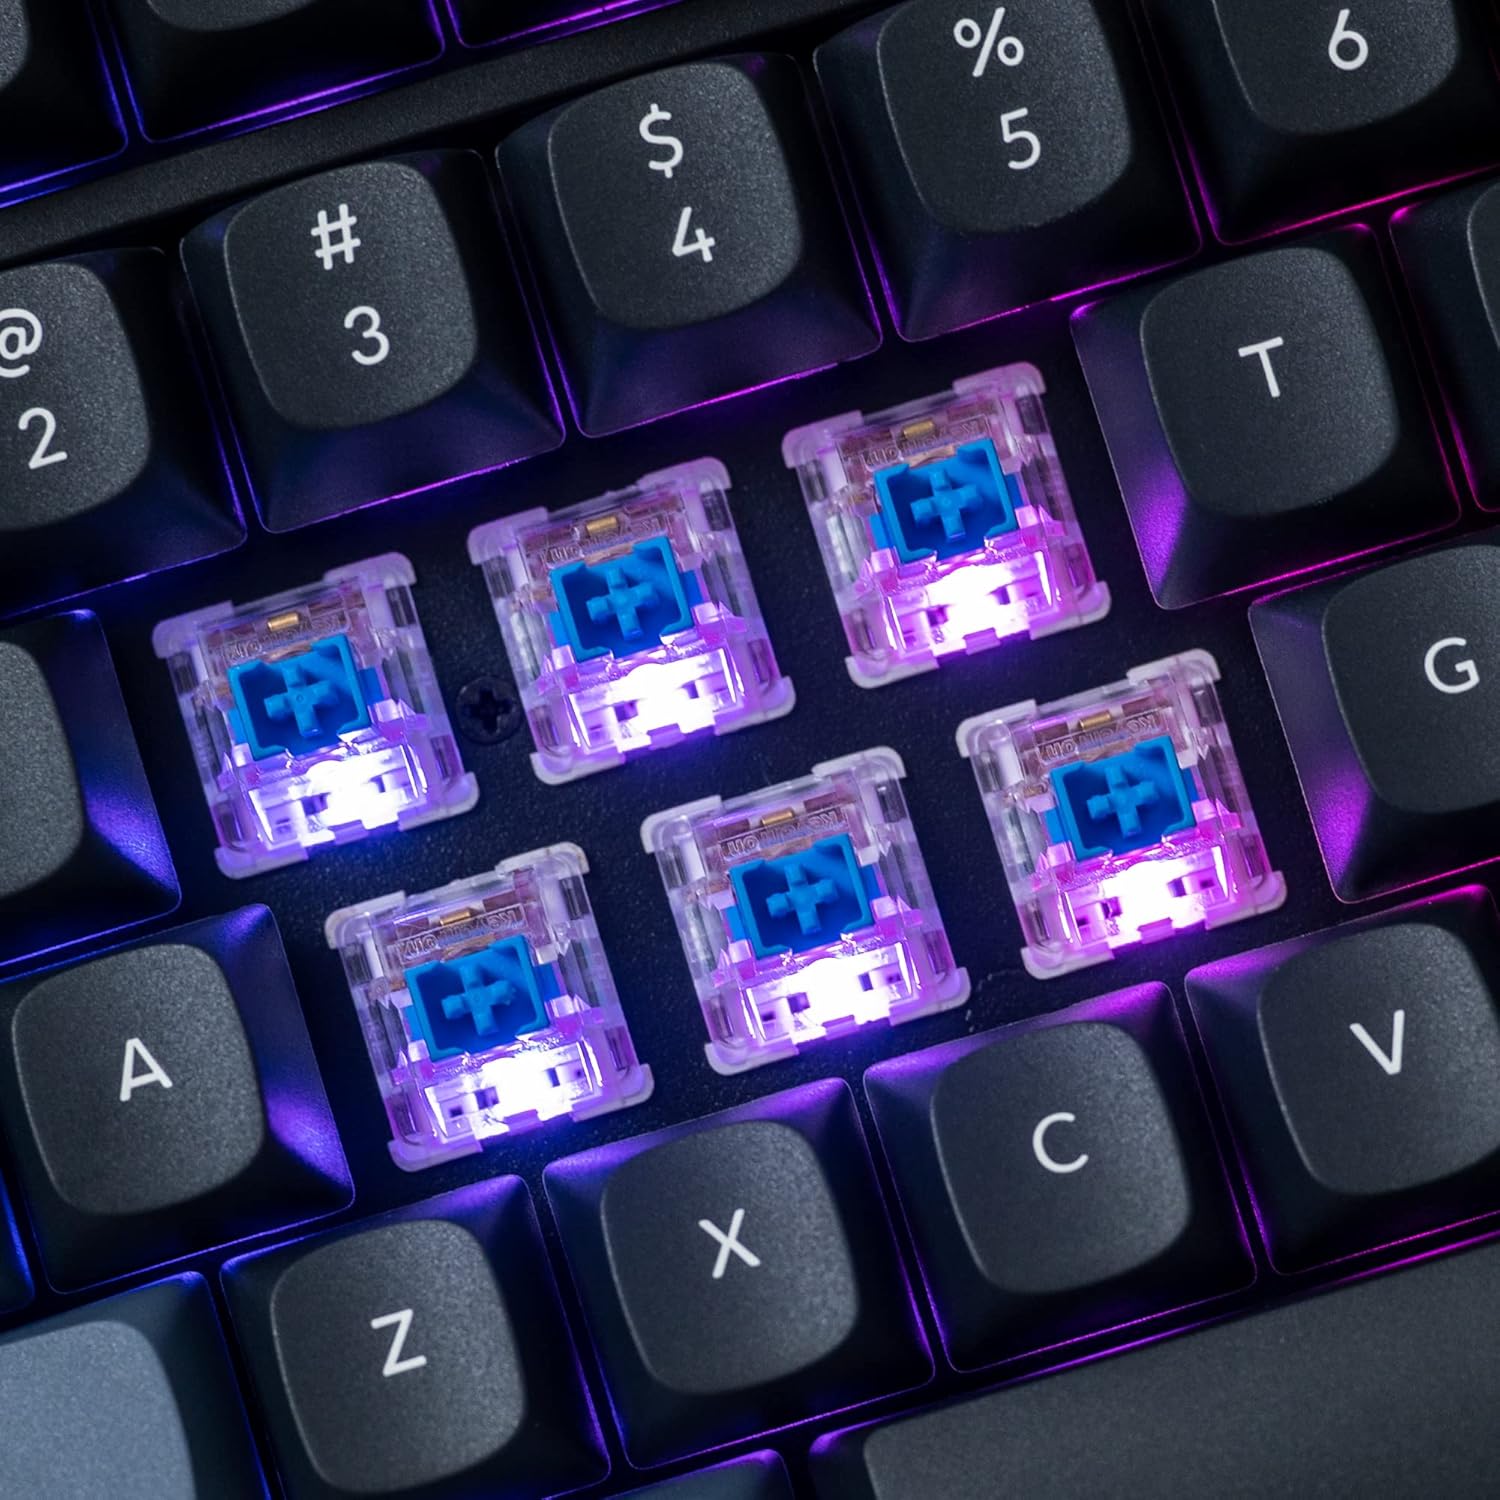
Foto: nkọwa zuru ezu view of the hot-swappable mechanical switches on the Keychron V5 keyboard, illuminated by RGB backlighting.
Ịkụ azụ azụ
The V5 features south-facing RGB backlighting, designed to better illuminate the keyboard from the typist's angle and prevent interference when using Cherry-profile keycaps. You can customize the backlight effects and colors using the VIA software.

Image: A close-up of the double-shot PBT keycaps on the Keychron V5 keyboard, showcasing their texture and legends.
Nlekọta
Nhicha
To maintain the cleanliness and longevity of your keyboard:
- Isi igodo: Use a keycap puller to remove keycaps. Clean them with a mild soap solution and a soft cloth, then rinse and dry thoroughly before reattaching.
- Ahụ ahụigodo: Wipe the keyboard body with a soft, damp akwa . Zere iji kemịkalụ siri ike ma ọ bụ ihe na-emebi emebi.
- Uzuzu: Jiri ikuku mkpakọ iji wepụ uzuzu na irighiri ihe n'etiti igodo igodo na mgba ọkụ.
Ngbanwe Ngbanwe
Iji dochie mgba ọkụ:
- Iji mkpịsị mkpịsị ugodi enyere, jiri nlezianya wepụ okpu igodo na mgba ọkụ nke ịchọrọ dochie.
- Insert the switch puller tool around the top and bottom clips of the switch.
- Jiri nwayọ pịa obere vidiyo ndị ahụ wee dọta mgba ọkụ ozugbo ka iwepu ya na PCB.
- Dozie ntụtụ nke mgba ọkụ ọhụrụ ahụ na oghere dị na PCB. Gbaa mbọ hụ na ntụtụ ahụ kwụ ọtọ.
- Press the new switch firmly into place until it clicks. Ensure it is seated properly and not bent.
- Tinyegharịa okpu ahụ.
Ndochi mkpịsị ugodi
To replace keycaps:
- Use the keycap puller to gently remove the existing keycap by hooking it onto the keycap and pulling upwards.
- Align the new keycap with the cross-shaped stem of the switch.
- Press the new keycap firmly down until it is fully seated.
Nchọpụta nsogbu
- Ahụigodo Anaghị aza:
Ensure the USB cable is securely connected to both the keyboard and the computer. Try a different USB port or cable. Verify the system toggle switch is set correctly for your operating system. - Igodo anaghị edebanye aha:
If specific keys are not working, the switch might be faulty or not fully seated. Try removing and re-inserting the switch. If the issue persists, replace the switch. - Backlighting Issues:
Check VIA software settings to ensure backlighting is enabled and configured correctly. If only certain LEDs are not working, it might indicate a faulty LED or switch. - QMK/VIA Software Not Detecting Keyboard:
Ensure the keyboard is connected via USB. Close and reopen the VIA software. Make sure you have the correct firmware loaded if you have flashed custom firmware. - Keycaps Feel Loose:
Ensure keycaps are fully pressed onto the switch stems. If a keycap consistently feels loose, the switch stem might be damaged, or the keycap's cross-mount might be worn.
Nkọwapụta
| Njirimara | Nkọwapụta |
|---|---|
| Ụdị | Keychron |
| Nlereanya | V5 |
| Nkọwa ahụigodo | Mechanical |
| Nhazi ahụigodo | QWERTY, 96% Layout (97 Keys) |
| Teknụzụ Njikọta | Ejiri waya (USB-C) |
| Ngwa dakọtara | PC (macOS, Windows, Linux) |
| Ngbanwe Ụdị | Linear (K Pro Red) |
| Hot-swappable Support | Yes (3-pin and 5-pin MX mechanical switches) |
| Isi okwu | Double-shot PBT, OSA Profile |
| Ìhè azụ | South-facing RGB |
| Ihe mkpuchi | Polybutylene Terephthalate, Silicone |
| Atụmatụ ndị ọzọ | QMK/VIA Programmable, Programmable Knob, Screw-in Stabilizers |
Akwụkwọ ikike na nkwado
Keychron products are typically covered by a limited warranty. For specific warranty terms, duration, and conditions, please refer to the warranty information provided with your product packaging or visit the official Keychron websaịtị.
For technical support, troubleshooting assistance, or to inquire about replacement parts, please contact Keychron customer service through their official website's support portal. When contacting support, please have your product model (Keychron V5) and purchase details ready.