
1. Okwu mmalite
The Hyperice Hypervolt Go 2 is a compact and lightweight handheld percussion massage device designed to help relieve sore muscles and stiffness. Featuring QuietGlide Technology and three speed settings, it provides effective muscle recovery and relaxation. This manual provides essential information for the safe and optimal use of your device.
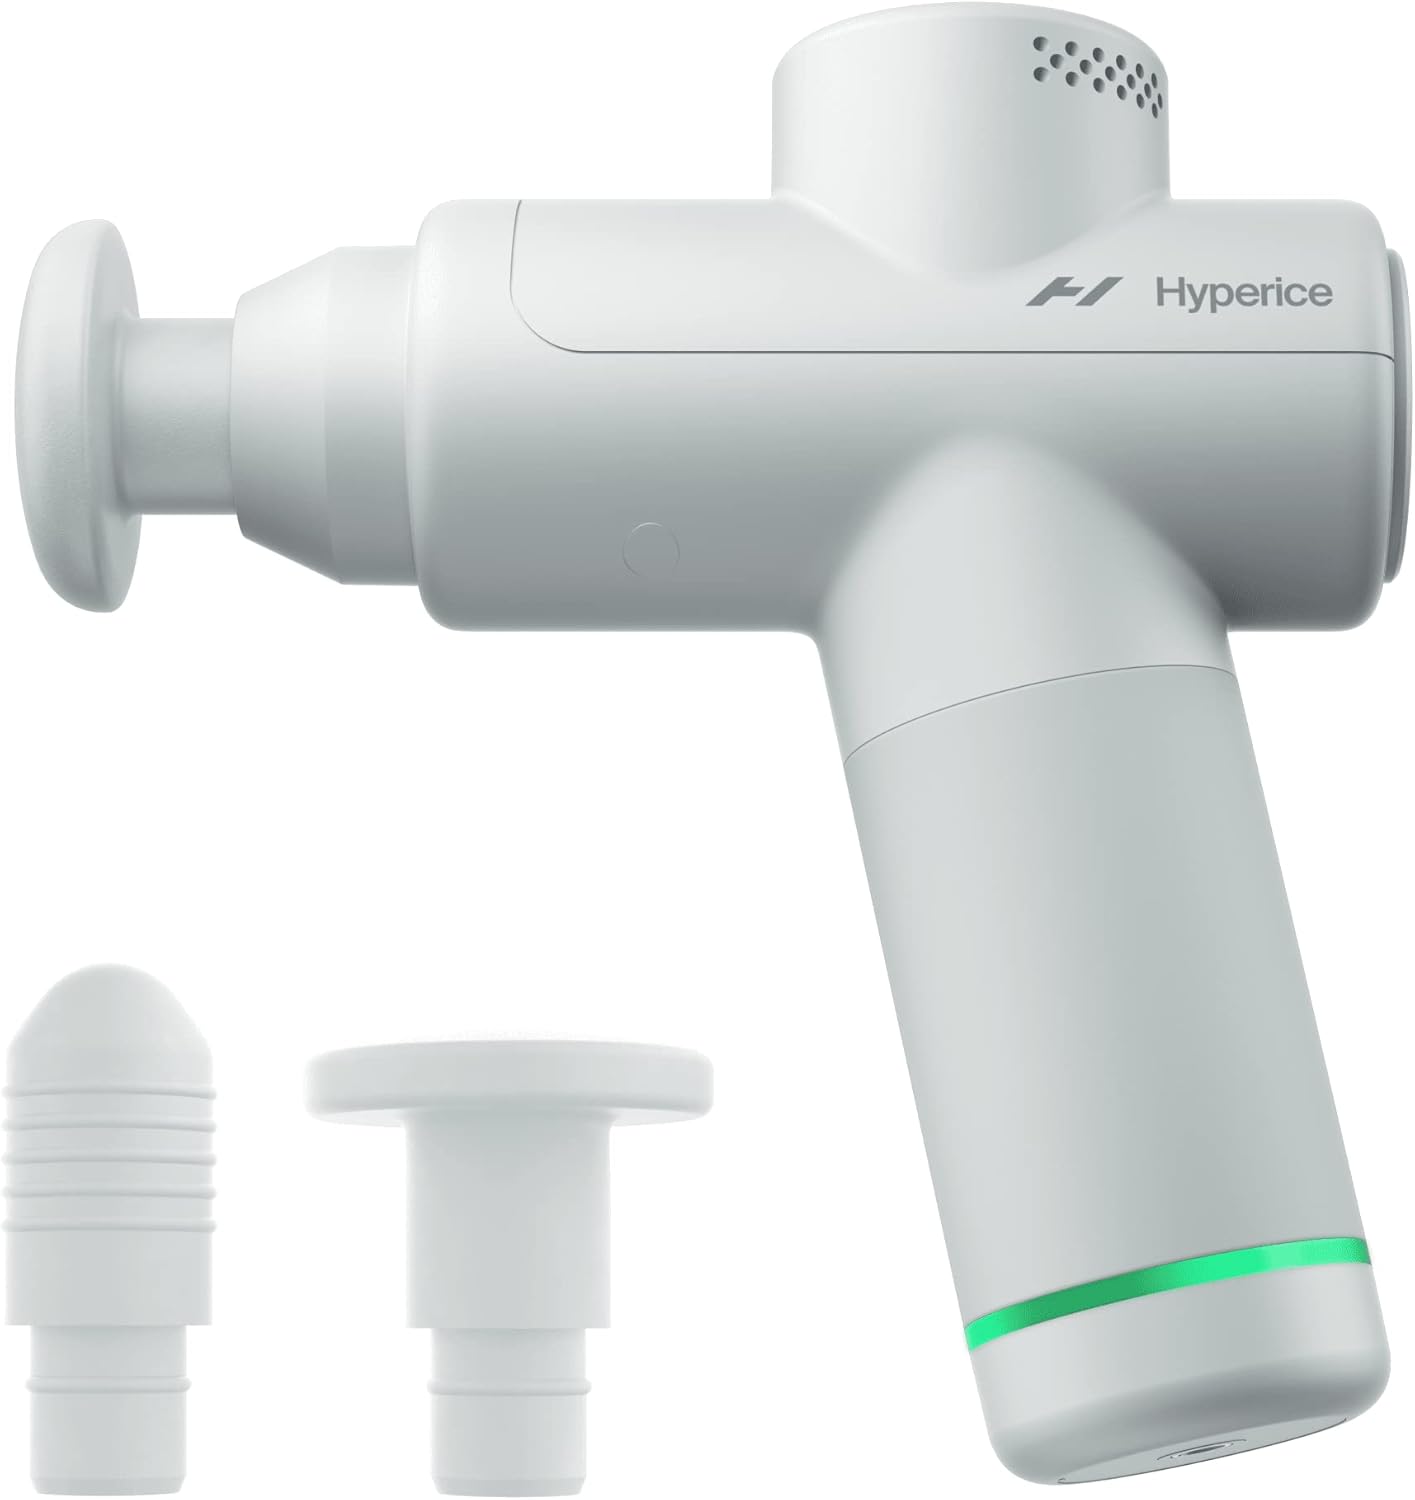
Image: The Hyperice Hypervolt Go 2 in Arctic Grey, shown with its two interchangeable massage heads.
2. Ozi nchekwa
Please read all safety warnings and instructions before using this device. Failure to follow the warnings and instructions may result in electric shock, fire, or serious injury.
- Always use the device with the charging cable disconnected.
- Ejila mmiri dị nso ma ọ bụ n'ọnọdụ mmiri.
- Be cautious when using on or near sensitive areas and follow proper body positioning techniques.
- FDA enyochabeghị nkwupụta gbasara mgbakwunye nri na ebughị n'obi ịchọpụta, gwọọ, gwọọ ma ọ bụ gbochie ọrịa ọ bụla ma ọ bụ ọnọdụ ahụike.
3. Ihe ngwugwu
Your Hypervolt Go 2 package includes the following items:
- Hypervolt Go 2 device
- Power supply + adapters (for charging)
- Head attachments (2) - to tailor the device to best suit the area you're focused on.
- 5V USB-A to USB-C charging cable (not compatible with USB-C to USB-C cable)

Image: The Hypervolt Go 2 device, its charging cable, and two interchangeable massage heads.
4. Nhazi
Before first use, ensure your Hypervolt Go 2 is fully charged.
- Connect the provided 5V USB-A to USB-C charging cable to the charging port at the bottom of the device and to a suitable power adapter.
- The LED light ring at the base of the handle will indicate the charging status. It will turn green when fully charged.
- Once charged, disconnect the charging cable before operation.
5. Ntuziaka ọrụ
The Hypervolt Go 2 features a simple one-button operation for power and speed control.
- Ike Na: Press and hold the power button located at the bottom of the handle. Release it once the LED lights illuminate, indicating it's powered on. The device will not operate while connected to the charging cable.
- Họrọ Ọsọ: Press the power button once to cycle through the three available speed settings. Each press will increase the intensity.
- Apply to Muscles: Gently apply the massage head to the desired muscle area. Move the device slowly across the muscle, applying light to moderate pressure.
- Gbanyụọ: To turn off the device, cycle through all speeds until the device stops, or press and hold the power button for a few seconds until the lights turn off.
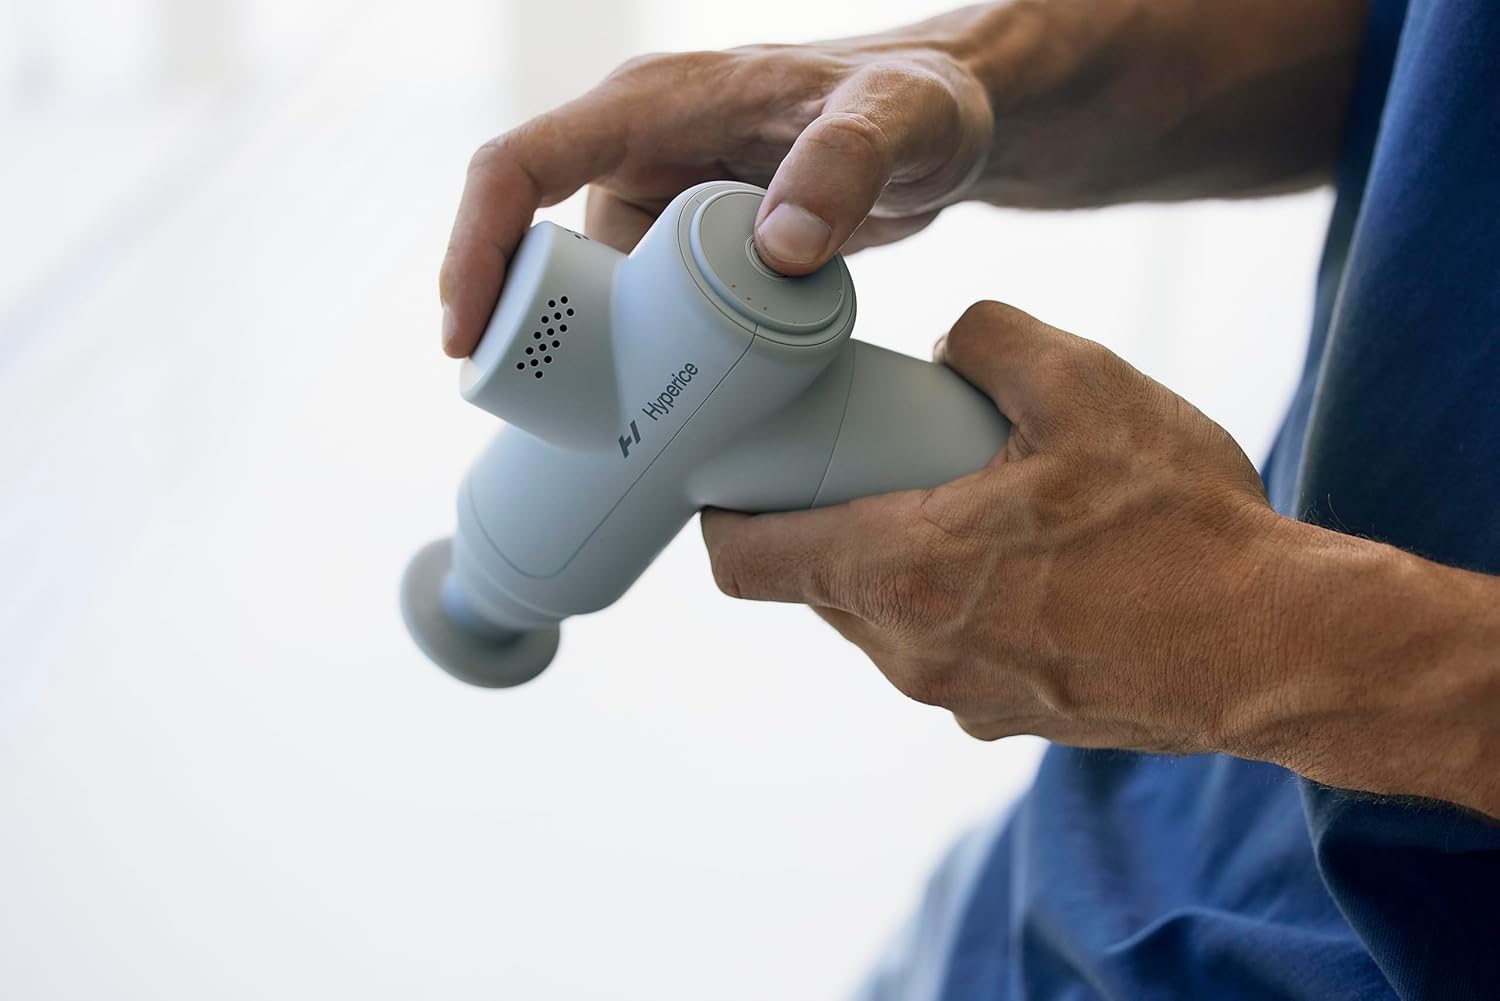
Image: A user's hands demonstrating how to hold and operate the Hypervolt Go 2, highlighting the power button.
6. Interchangeable Heads
The Hypervolt Go 2 comes with two interchangeable head attachments to customize your massage experience:
- Ewepụghị Isi: Ideal for larger muscle groups and general use.
- Isi mgbọ: Designed for more precise treatment and targeting specific knots or trigger points.
To change a head, simply pull the current head straight out from the device and push the desired head firmly into the opening.
7. Nchaji na ndụ batrị
The Hypervolt Go 2 is equipped with a rechargeable Lithium Metal battery, providing approximately 3 hours of battery life on a full charge. The LED light ring at the base of the handle indicates the battery level:
- Akwụkwọ ndụ akwụkwọ ndụ: Fully charged or high battery level.
- Yellow/Orange: Ọkwa batrị ọkara.
- Uhie: Low battery, requires charging.
Use only the provided 5V USB-A to USB-C charging cable. The device is not compatible with USB-C to USB-C cables.
8. Nlekọta
To ensure the longevity and optimal performance of your Hypervolt Go 2, follow these maintenance guidelines:
- Jiri mgbasa ozi hichapụ ngwaọrụ ahụamp ákwà mgbe ejiri ya mee ihe ọ bụla. Ejila kemịkalụ siri ike ma ọ bụ ihe nhicha na-eme ka ihe dị nro.
- Chekwaa ngwaọrụ ahụ n'ebe dị jụụ, kpọrọ nkụ na-adịghị na ìhè anyanwụ kpọmkwem na oke okpomọkụ.
- Keep the massage heads clean. They can be washed with mild soap and water. Ensure they are completely dry before reattaching.
9. Nchọpụta nsogbu
If you encounter any issues with your Hypervolt Go 2, refer to the following common troubleshooting tips:
- Ngwaọrụ anaghị agbanwu: Ensure the device is fully charged. Press and hold the power button for at least 2 seconds. Confirm the charging cable is disconnected.
- Mgbatị na-adịghị ike: Lelee ọkwa batrị ahụ. Ọ bụrụ na ọ dị ala, chajie ngwaọrụ ahụ. Hụ na e jikọtara isi ịhịa aka ahụ nke ọma.
- Mkpọtụ na-adịghị ahụkebe: Discontinue use and check for any obstructions around the massage head. If the issue persists, contact customer support.
10. Nkọwapụta
| Njirimara | Nkọwapụta |
|---|---|
| Ụdị | Hyperice |
| Nọmba nlereanya | Hypervolt Go 2 |
| Akụkụ ngwaahịa | 1.97 x 6.69 x 7.28 sentimita asatọ |
| Ibu Ibu | 1.5 pound (gram 680) |
| Ọsọ ọsọ | 3 ọsọ |
| moto | Brushless high-torque 40W motor |
| Nkà na ụzụ | Patented QuietGlide® technology |
| Ndụ batrị | awa 3 |
| Ịchaji | 5V USB-A to USB-C (cable included) |
| Njem-Enyi na Enyi | TSA approved carry-on |
| Ihe onwunwe | Polycarbonate |

Image: A visual representation of the Hypervolt Go 2's key specifications and design.
11. Akwụkwọ ikike na nkwado
For warranty information, product registration, or technical support, please visit the official Hyperice websaịtị ma ọ bụ kpọtụrụ ndị ahịa ha ọrụ. Debe ihe akaebe nke ịzụrụ ihe maka akwụkwọ ikike ọ bụla.
You can visit the official Hyperice store for more information: Hyperice Store