
Lorex W881AAD-E
Lorex 4K Spotlight Wi-Fi 6 Security Camera
Akwụkwọ ntuziaka
Okwu mmalite
This manual provides detailed instructions for the installation, operation, and maintenance of your Lorex 4K Spotlight Indoor/Outdoor Wi-Fi 6 Technology Security Camera. Please read this manual thoroughly before using the product to ensure proper functionality and safety. Keep this manual for future reference.
Kedu ihe dị na Igbe ahụ
- Lorex 4K Spotlight Wi-Fi 6 Security Camera
- 32GB MicroSD Card (tinyegoro ya)
- Mounting Kit (screws, plastic anchors)
- Power Adapter (with 19.5 ft cable)
- Arịọnụ Template
- Akwụkwọ mmado windo
- Ntuziaka mmalite ngwa ngwa
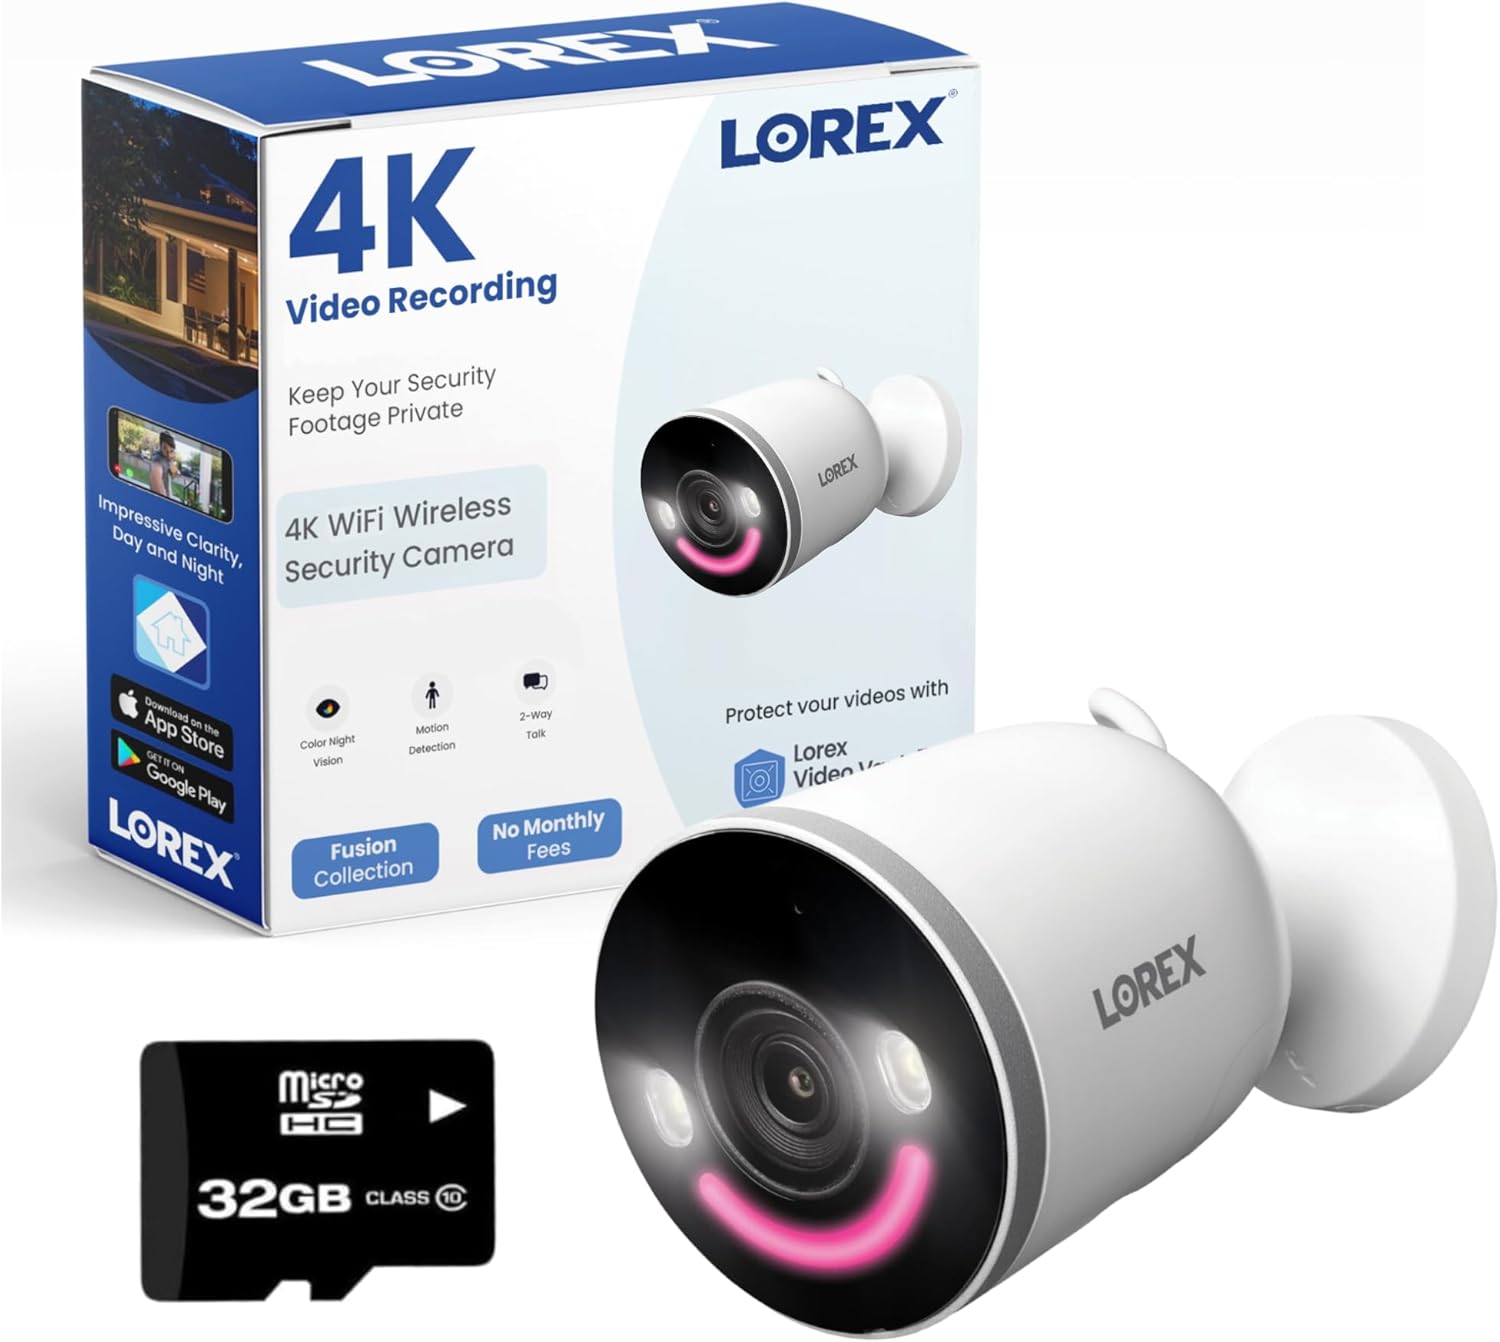
Image: The Lorex 4K Spotlight Wi-Fi 6 Security Camera, its packaging, and the included 32GB MicroSD card.
Atụmatụ igodo
- 4K Ultra HD mkpebi: Provides exceptionally sharp 4K video (3840x2160 @ 15fps) and superior digital zoom capabilities for clear day and night viewing.
- Next-generation Wi-Fi 6 Technology: Ensures smoother and clearer 4K resolution live viewing and playback without impacting overall network performance. Supports both 2.4 GHz and 5.0 GHz Wi-Fi bands.
- Smart Security Lighting: Features motion-activated LED warning lights and exterior sirens. The customizable smart LED light band offers 16.7 million color options, assignable to pre-set camera modes like "Welcome" or "Panic".
- Color Night Vision & IR Night Vision: Experience clear images in the dark with both Color Night Vision and traditional IR Night Vision. Includes a revolutionary Color Night Vision (CNV) Booster for vivid, full-color nighttime video.
- Motion Detection Plus: Advanced surveillance detects and distinguishes between a person, face, vehicle, animal, and package. Receive mobile notifications when motion is detected.
- 2-Way Talk with Quick Response: Listen and speak to anyone on your property using the built-in microphone and speaker. Use quick response options for pre-recorded messages.
- Lorex Video Vault (Local Storage): Keep video recordings private and secure with the pre-installed 32GB MicroSD card, expandable up to 256GB. No subscription fees for local storage.
- Weather-resistant (IP65): The IP65 weather-resistant enclosure ensures robust security year-round, withstanding various weather conditions including rain, wind, and extreme temperatures (-4°F to 131°F).
- Ndakọrịta Smart Home: Integrates with Amazon Alexa and Google Assistant for hands-free voice control and camera feature activation.

Image: A child playing on a lawn, with a magnified inset demonstrating the camera's 4K Ultra HD resolution and digital zoom capabilities.
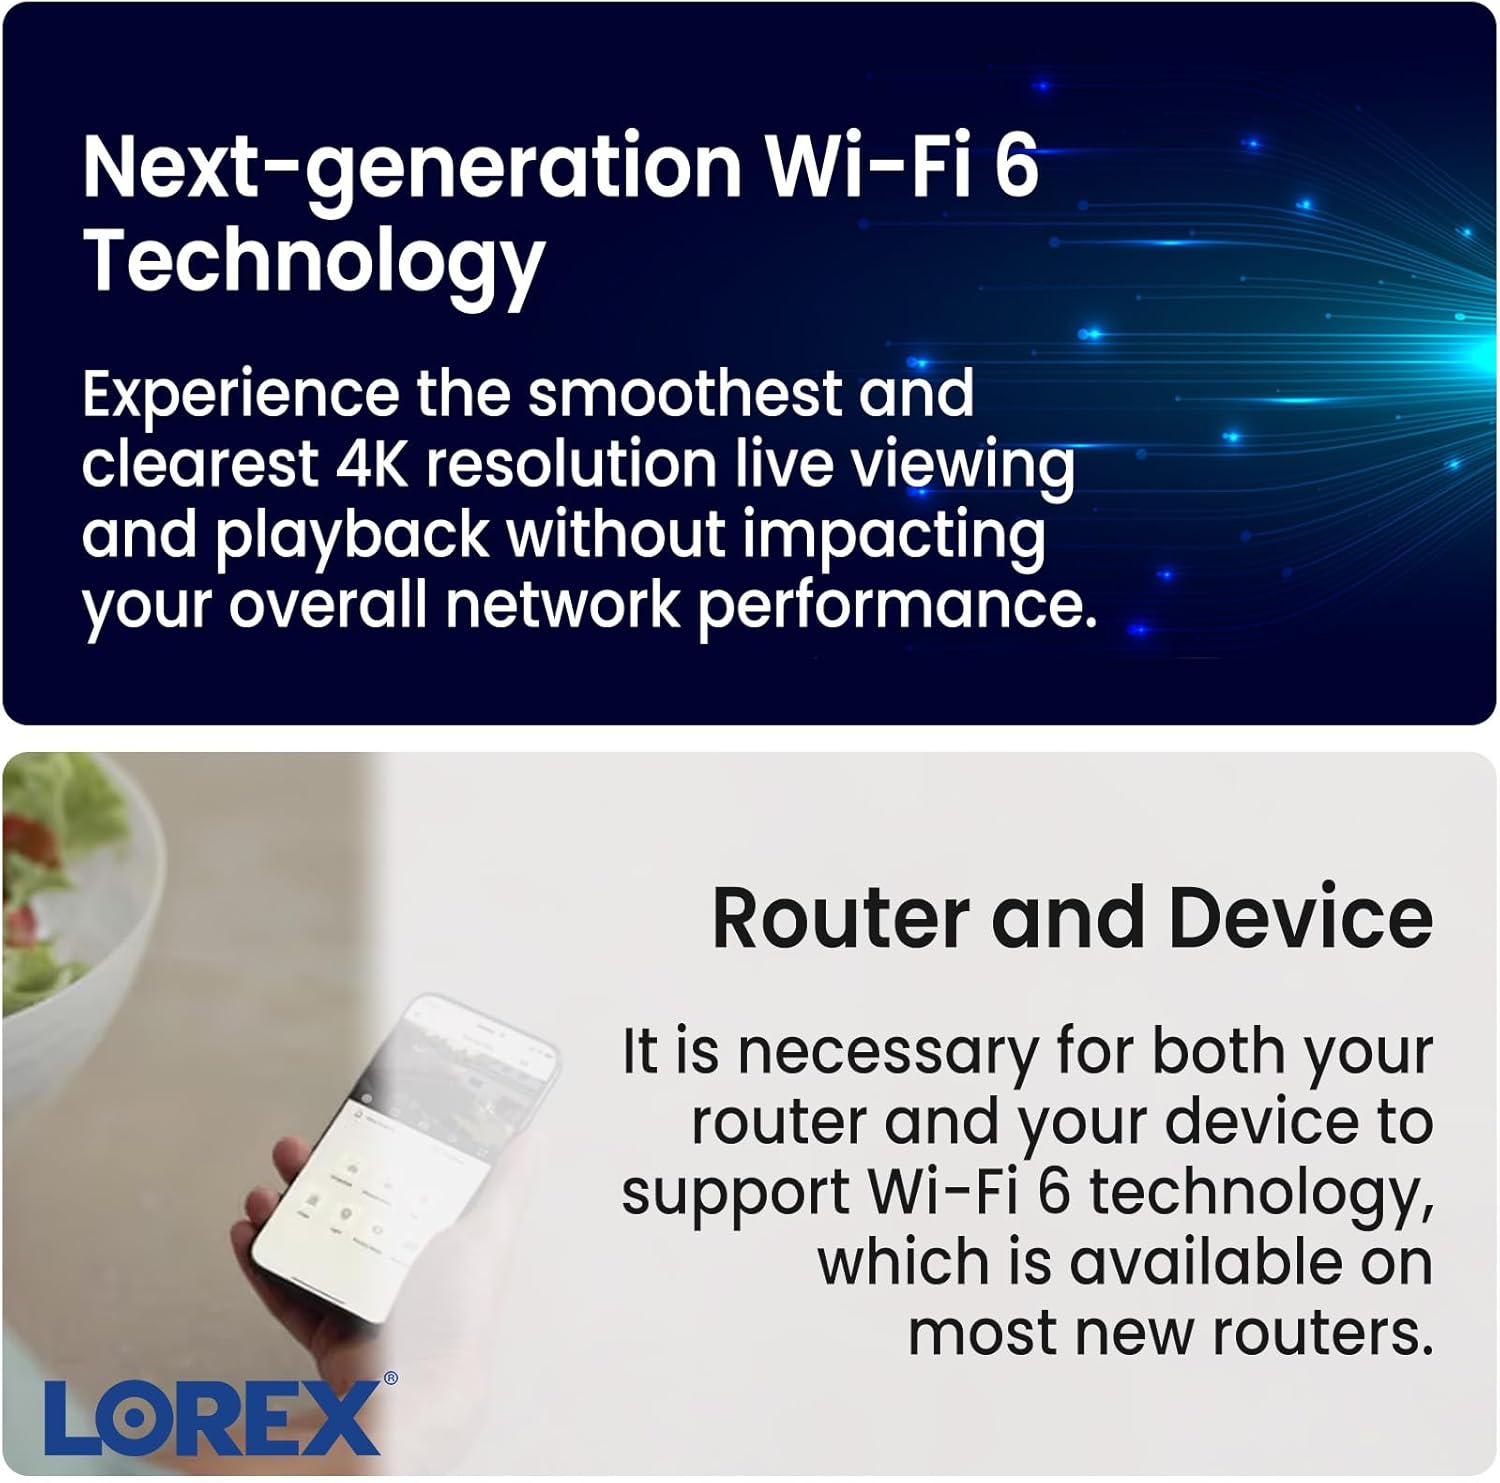
Image: A hand holding a smartphone, illustrating the camera's compatibility with next-generation Wi-Fi 6 technology for enhanced network performance.

Image: The Lorex camera featuring its smart security lighting with a customizable LED light band, alongside a smartphone screen displaying color selection options within the app.

Image: A smartphone displaying a push notification from the Lorex Home app, indicating a person was detected by the camera, highlighting its Smart Motion Detection Plus feature.
Ntuziaka nhazi
Follow these steps to set up your Lorex 4K Spotlight Security Camera:
- Download the Lorex Home App: Chọọ maka "Lorex Home" in your device's app store (App Store for iOS or Google Play Store for Android) and download the application.
- Ike Na Igwefoto: Connect the camera's power cable to the included power adapter, and then plug the adapter into a wall outlet. The camera's LED light will illuminate.
- Tinye ngwaọrụ na ngwa: Open the Lorex Home app. Tap the '+' icon in the top right corner to add a new device. Select "Wi-Fi Camera" from the list of device types.
- Nyochaa koodu QR: The app will prompt you to scan the QR code located on the bottom of your camera. Ensure the camera's LED is flashing green and you hear an audio prompt before proceeding.
- Jikọọ na Wi-Fi: Follow the in-app instructions to connect your camera to your Wi-Fi network. You will need to select your Wi-Fi network (supports 2.4 GHz and 5.0 GHz) and enter the password.
- Create Device Password: Set a strong, unique password for your camera within the app.
- Kpọọ aha igwefoto gị: Assign a name to your camera (e.g., "Front Door", "Backyard") for easy identification.
- Ugwu igwefoto:
- Separate the mounting bracket from the camera base by pushing the two tabs on the side.
- Use the mounting template to mark and drill pilot holes on your desired wall or surface.
- Secure the mounting bracket to the wall using the provided screws and plastic anchors.
- Screw the ball head part of the camera mount to the back of the camera.
- Push the camera with its ball head mount into the secured mounting bracket until it clicks and locks into place.
- Hazie igwefoto ka ị chọrọ viewọnọdụ.

Image: A Lorex camera securely mounted on an exterior wall, demonstrating a typical installation scenario.
Ọrụ
Access and control your camera's features through the Lorex Home app:
- Dị ndụ View: Mepee ngwa ma họrọ igwefoto gị ka view live video. You can take snapshots or record video directly from the live view ihuenyo.
- 2-Way Talk: Initiate two-way communication by tapping the microphone icon in live view. The feature supports full-duplex audio.
- Quick Responses: Utilize pre-recorded messages to respond quickly to visitors without speaking directly.
- Mgbalite Siren: Tap the siren icon to remotely activate the camera's built-in siren for deterrence.
- Njikwa ọkụ Smart: Control the integrated LED lights. You can choose between a simple light mode (black and white video) or a bright light mode (full-color video). Customize colors and brightness for different detection events.
- Ntọala nchọpụta ngagharị: Adjust motion sensitivity (levels 1-5) and enable specific Smart Detection types (Person, Vehicle, Animal, Package, Package Removed). Set up custom motion zones for each detection type.
- Nchọpụta ụda: Enable sound detection and adjust sensitivity levels to receive alerts for audio events.
- Ụdị nzuzo: Activate privacy mode to temporarily disable live view, recording, and notifications for enhanced privacy.
- Ihe nkiri vidiyo: Access recorded events via the "View Events" or "Timeline" options. You can record and download footage to your phone.
Nlekọta
- Nhicha: Regularly wipe the camera lens and body with a soft, damp cloth to remove dust and debris. Avoid harsh chemicals or abrasive cleaners.
- Mmelite femụwe: Ensure your camera's firmware is up-to-date through the Lorex Home app to benefit from the latest features and security enhancements.
- Njikwa kaadi MicroSD: Periodically check the device storage status in the app. Back up important footage and format the MicroSD card as needed to maintain optimal recording performance.
- Ihe gbasara gburugburu: While the camera is IP65 weather-resistant, avoid direct exposure to high-pressure water jets or prolonged submersion. Ensure proper ventilation if installed in enclosed spaces.
Nchọpụta nsogbu
- Enweghị ike: Ensure the power adapter is securely connected to the camera and a working power outlet. Check the power indicator light on the camera.
- Okwu njikọ Wi-Fi: Verify your Wi-Fi network is active and within range. Ensure your router supports Wi-Fi 6 for optimal performance. Try restarting your router and the camera.
- Ogo vidiyo na-adịghị mma: Check your Wi-Fi signal strength. Ensure the camera lens is clean. Adjust video quality settings in the app (e.g., switch from 4K to 2K or 1080p if network is unstable).
- Nchọpụta ngagharị anaghị arụ ọrụ: Verify motion detection is enabled in the app settings. Adjust motion sensitivity. Ensure motion zones are correctly configured. Check for obstructions in the camera's field of view.
- Nsogbu ọhụụ abalị: Ensure the Auto Night Vision setting is correctly configured. If you desire full-color night vision, ensure there is sufficient ambient light or that the spotlight is triggered.
- App Freezing/Crashing: Close and restart the Lorex Home app. Ensure your smartphone's operating system is up-to-date. Reinstall the app if the issue persists.
Nkọwapụta
| Aha Nlereanya | W881AAD-E |
| Mkpebi ịse vidiyo | 4K (3840 x 2160) |
| Ngalaba nke View | 140 ogo |
| Teknụzụ Njikọta | Wi-Fi 6 (2.4 GHz, 5.0 GHz) |
| Ojiji ime ime/n'èzí | Ime ụlọ, n'èzí |
| Ogo nchekwa mba ụwa | IP65 |
| Isi Iyi Ike | Corded Electric (12 Volts, 10 watts) |
| Nchekwa mpaghara | 32GB MicroSD (included), Up to 256GB supported |
| Okpomọkụ na-arụ ọrụ | -20°C ruo 55°C (-4°F ruo 131°F) |
| Akụkụ (L x W x H) | 9.45 x 4.65 x 4.33 sentimita asatọ |
| Ibu Ibu | 1.69 pound |
Akwụkwọ ikike na nkwado
Your Lorex 4K Spotlight Security Camera comes with a standard manufacturer's warranty. For detailed warranty information, please refer to the official Lorex websaịtị ma ọ bụ kaadị akwụkwọ ikike gụnyere ngwaahịa gị.
For additional support, troubleshooting, or to access the full user guide and troubleshooting guide, please visit the official Lorex support page or download the PDF documents:
Ask a question about this manual
Ask about setup, troubleshooting, compatibility, parts, safety, or missing instructions. Manuals+ will review the question and use this page’s manual context to help answer it.