
1. Ngwaahịa gafereview
This manual provides essential information for the installation, operation, and maintenance of the Starter Motor, part numbers 103-5287 na 1109458. This starter motor is designed for specific Caterpillar CAT Engine 4M40 Excavator models.
Akụkụ ndị bụ isi:
- Direct replacement for part numbers 103-5287 and 1109458.
- Compatible with Caterpillar CAT Engine 4M40.
- Suitable for Excavator models 307, 306, and 307B.
2. Ozi nchekwa
Always observe safety precautions when working with automotive electrical systems and heavy machinery. Failure to do so may result in serious injury or damage to equipment.
- Disconnect the battery's negative terminal before beginning any work on the electrical system.
- Yiri akụrụngwa nchedo nkeonwe dabara adaba (PPE), gụnyere ugegbe nchekwa na uwe aka.
- Ensure the vehicle or equipment is stable and properly supported before working underneath it.
- Avoid contact with hot engine components.
- Gakwuru ọkachamara ruru eru ma ọ bụrụ na ị maghị ihe ọ bụla gbasara usoro nrụnye.
3. Ntuziaka nwụnye
This section outlines the general steps for replacing a starter motor. Specific procedures may vary depending on the exact model of Caterpillar excavator. Refer to your excavator's service manual for detailed instructions.
3.1 Ngwa achọrọ
- Socket spana set
- Ntọala mgbanaka mepere emepe
- Battery terminal cleaner
- ahịhịa waya
- Wrench Torque (atụ aro)
3.2 Removal of Old Starter Motor
- Kwadebe ụgbọ ala: Ensure the excavator is turned off, the parking brake is engaged, and the battery's negative terminal is disconnected.
- Locate the Starter Motor: Identify the starter motor, typically mounted on the engine block near the flywheel.
- Kwụpụ waya: Carefully disconnect the main battery cable and the solenoid wire(s) from the starter motor. Note their positions for reinstallation.
- Wepu ihe mgbakwasị ụkwụ: Loosen and remove the mounting bolts that secure the starter motor to the engine block. Support the starter motor as bolts are removed to prevent it from falling.
- Wepu Old Starter: Carefully maneuver and remove the old starter motor from its mounting position.
3.3 Installation of New Starter Motor
- Inspect Mounting Surface: Clean the mounting surface on the engine block to ensure a proper fit.
- Position New Starter: Carefully align the new starter motor with the mounting holes on the engine block.
- Wụnye mkpọchi nwụnye: Insert and hand-tighten the mounting bolts. Once all bolts are in place, tighten them to the manufacturer's specified torque (refer to excavator service manual).
- Jikọọ Wiring: Reconnect the main battery cable and solenoid wire(s) to the appropriate terminals on the new starter motor. Ensure connections are clean and secure.
- Jikọọ batrị: Jikọtaghachi ihe na-adịghị mma nke batrị ahụ.
- Ọrụ nnwale: Attempt to start the engine to verify proper operation of the new starter motor. Listen for unusual noises and ensure the engine cranks smoothly.
4. Ihe ngosi ngwaahịa

Foto 4.1: N'ihu view of the starter motor, highlighting the solenoid and main electrical terminals. The 24V marking is visible on the solenoid.
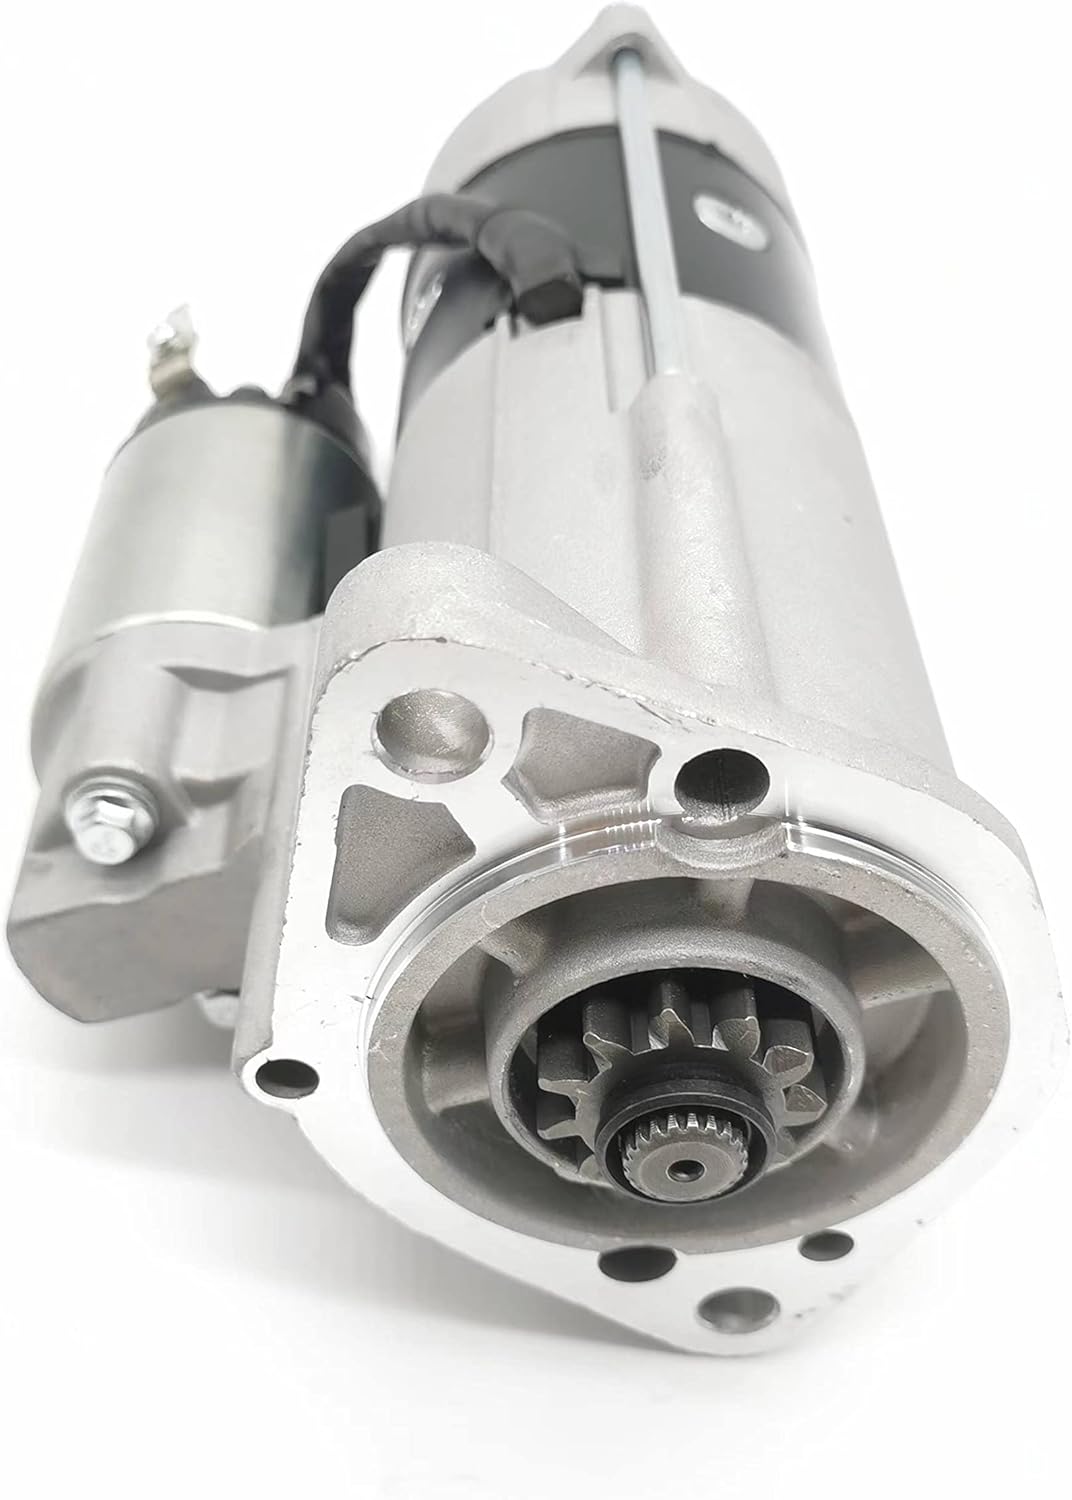
Foto 4.2: View of the starter motor's drive end, showing the pinion gear and the mounting flange with bolt holes. This part engages with the engine's flywheel.

Foto 4.3: Akụkụ profile of the starter motor, illustrating its overall length and the relative positioning of the main body and solenoid.

Foto 4.4: Top-down perspective of the starter motor, providing a clear view of the motor casing and the solenoid assembly.

Foto 4.5: N'akuku view of the starter motor, emphasizing the mounting points and the drive gear end.
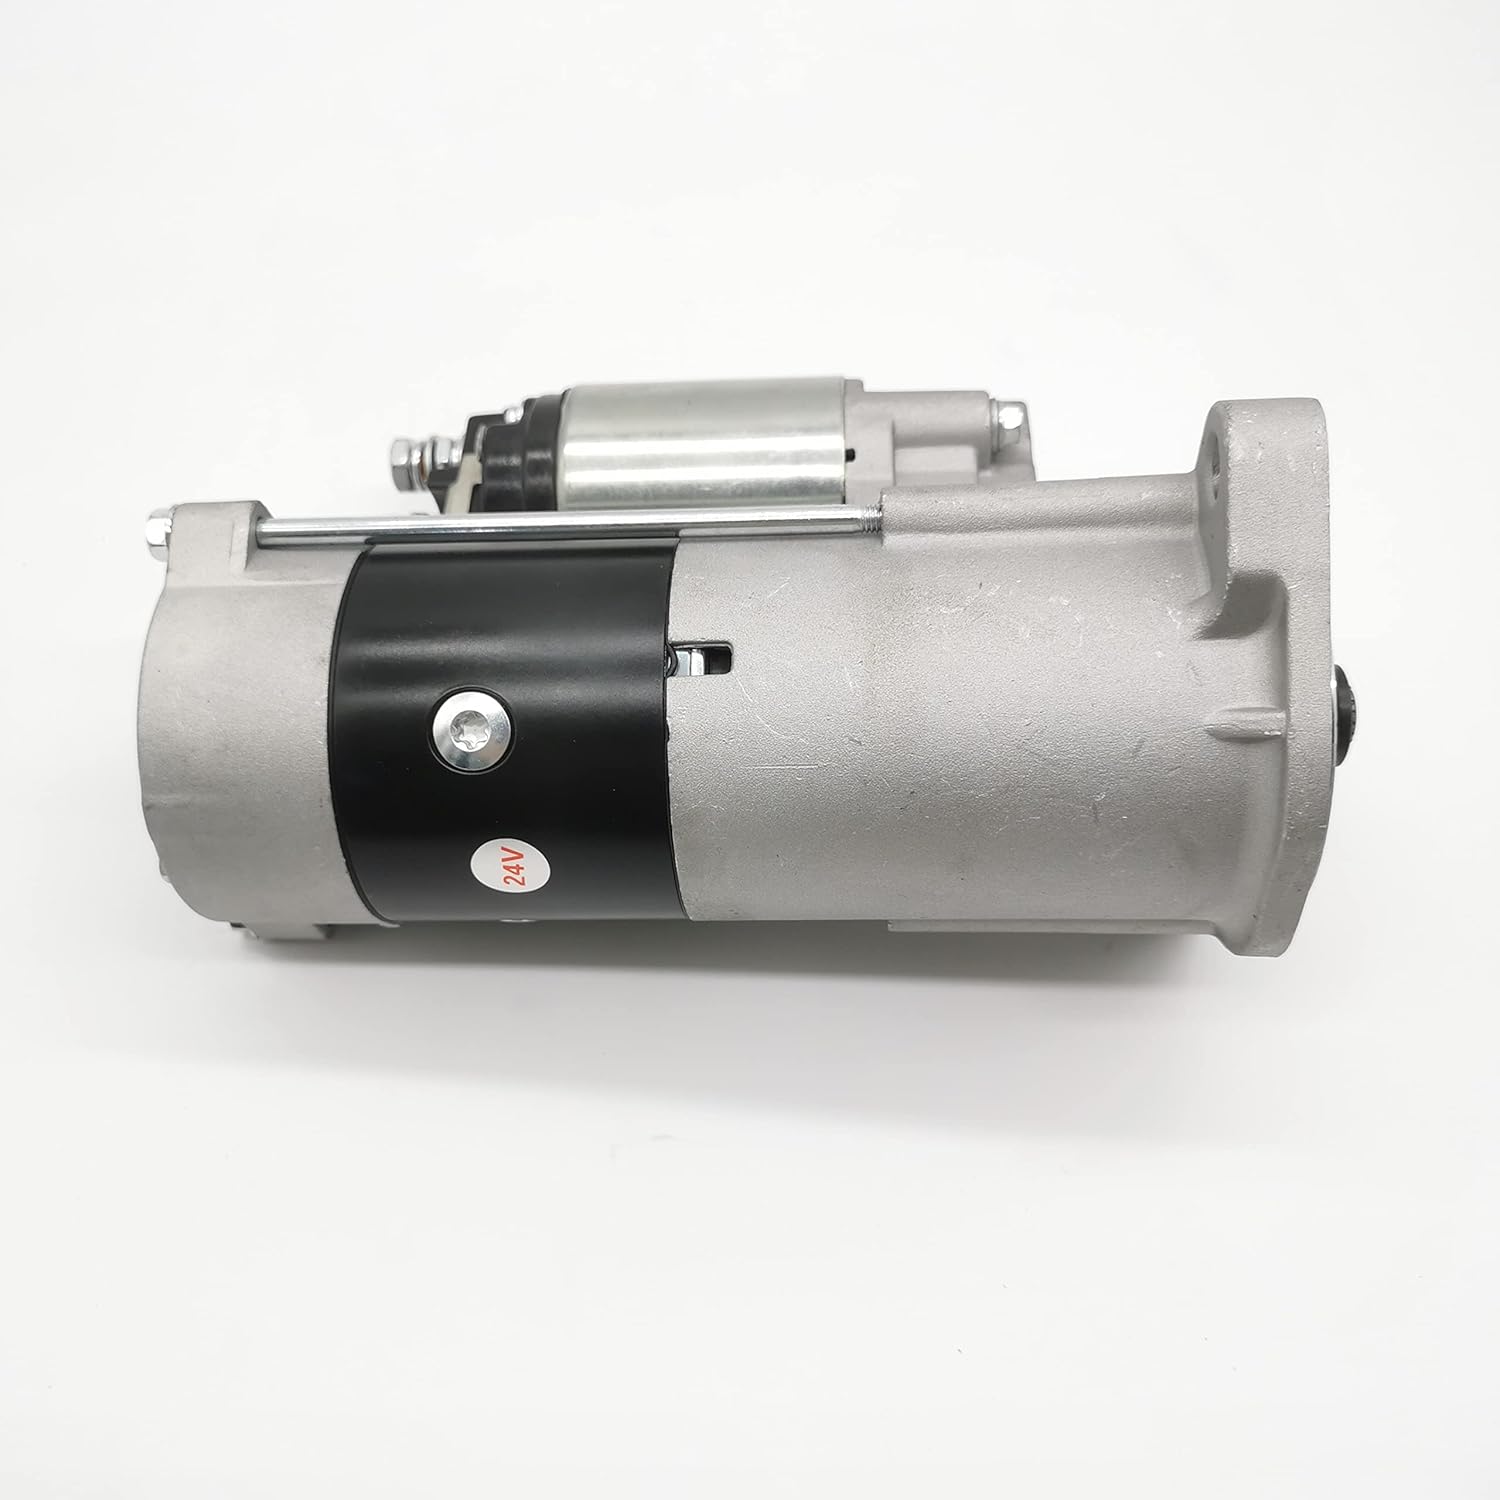
Foto 4.6: N'azụ view of the starter motor, showing the back end of the motor casing and the 24V label on the solenoid.
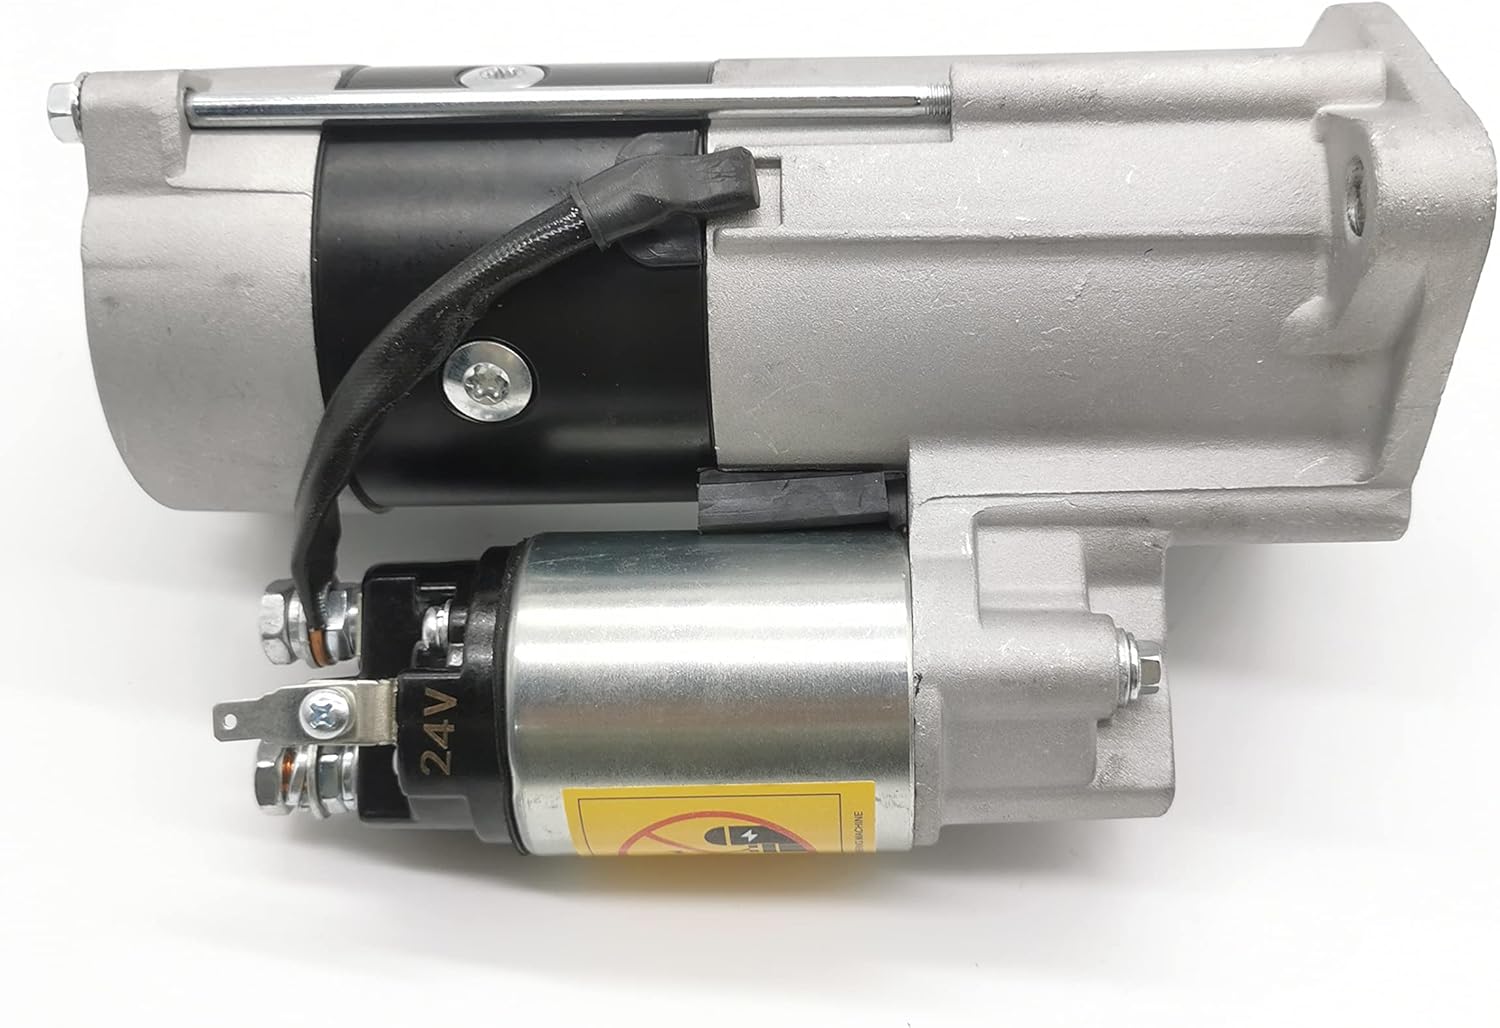
Foto 4.7: Zuru ezu view of the electrical connection terminals on the solenoid, including the main battery post and the smaller control wire terminal.
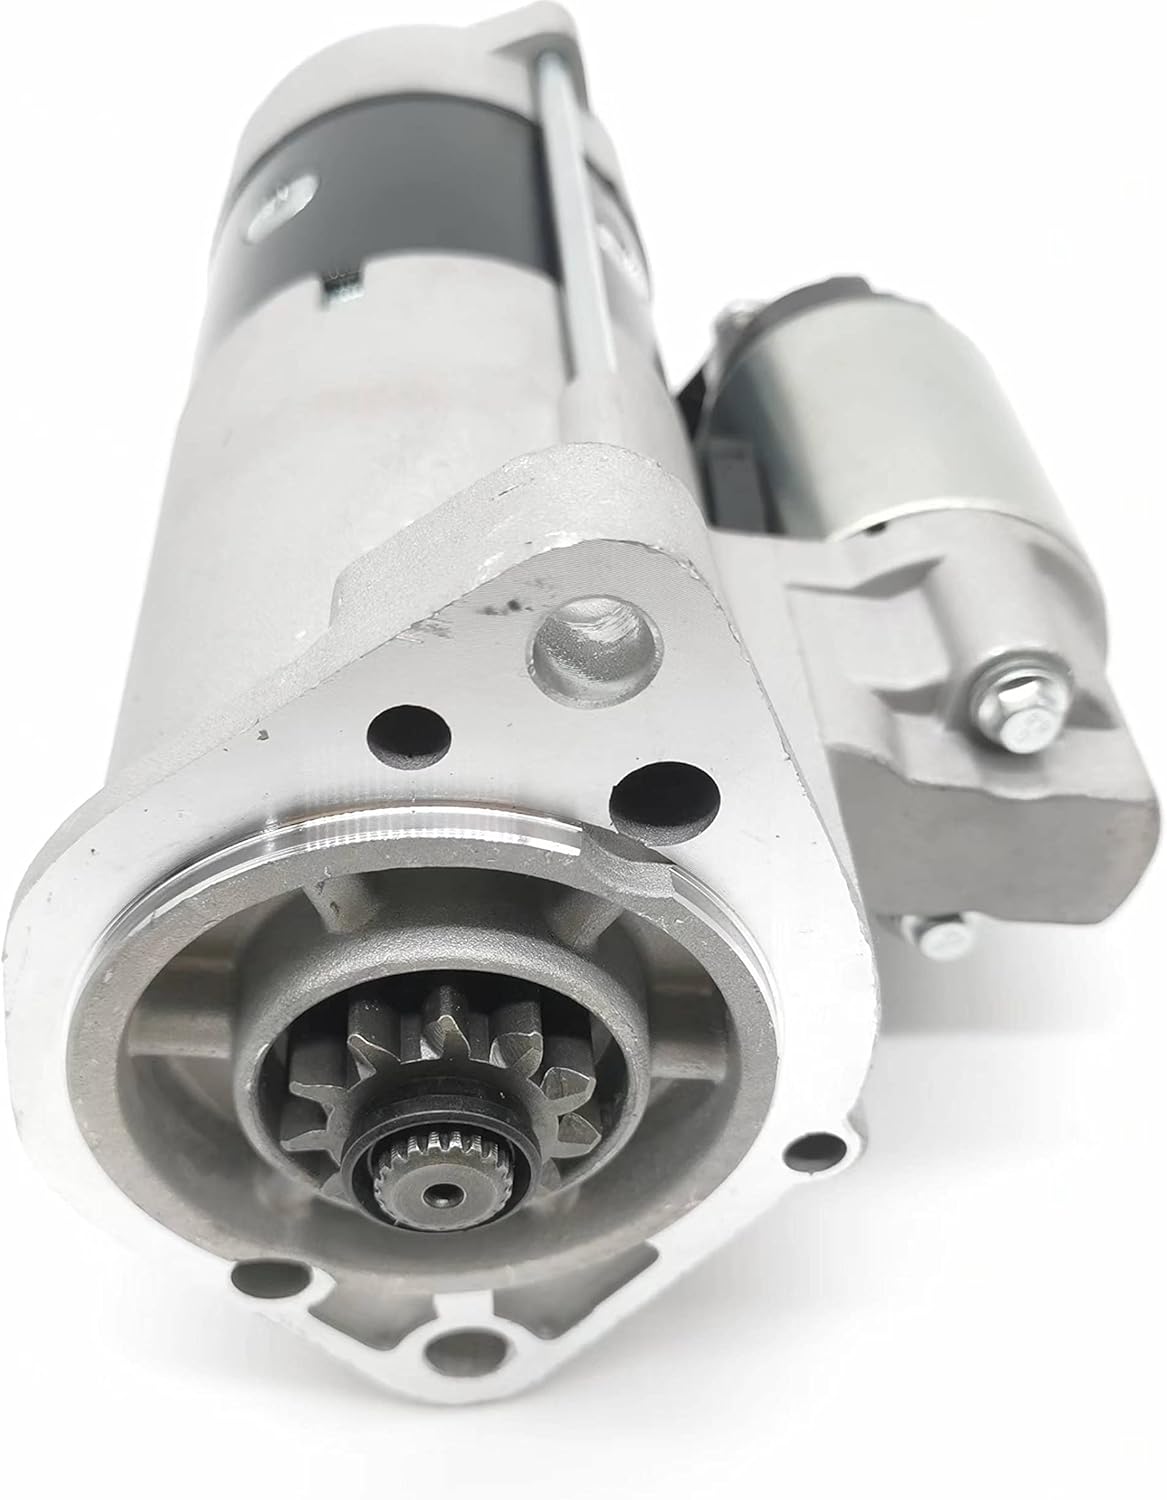
Foto 4.8: Ọzọ angled view focusing on the drive gear (pinion) and the mounting flange, providing a different perspective of the engagement mechanism.
5. Nlekọta
Starter motors are generally low-maintenance components. However, periodic checks can extend their lifespan and ensure reliable operation.
- Njikọ eletrik: Periodically inspect all electrical connections to the starter motor for corrosion or looseness. Clean terminals with a wire brush and battery terminal cleaner if necessary.
- Ihe mgbakwasị ụkwụ: Check that the starter motor mounting bolts remain tight. Vibration can cause them to loosen over time.
- Ọnọdụ batrị: Ensure the vehicle's battery is in good condition and fully charged. A weak battery can put excessive strain on the starter motor.
6. Nchọpụta nsogbu
| Mgbaàmà | Ihe nwere ike ime | Ngwọta |
|---|---|---|
| Engine does not crank or cranks slowly. | Weak or dead battery; Loose or corroded battery cables; Faulty starter solenoid; Faulty starter motor. | Check battery charge and terminals; Clean and tighten battery cables; Test starter solenoid; Test or replace starter motor. |
| Starter motor clicks but engine does not crank. | Obere batrị voltage; Faulty starter solenoid; Loose electrical connections. | Charge or replace battery; Check and tighten all electrical connections; Test or replace starter solenoid. |
| Grinding noise during cranking. | Damaged starter pinion gear or flywheel teeth; Misalignment of starter motor. | Inspect pinion gear and flywheel; Re-align or replace starter motor if necessary. |
7. Nkọwapụta
- Nọmba akụkụ: 103-5287, 1109458
- Ngwa: Caterpillar CAT Engine 4M40 Excavator 307, 306, 307B
- Akara: NC
- Ihe: Ọla
- Voltage: 24V (as indicated on product images)
8. Akwụkwọ ikike na nkwado
For warranty information or technical support, please contact your point of purchase or the manufacturer directly. Keep your purchase receipt as proof of purchase.
Manufacturer: N\C