
1. Okwu mmalite
The DIGITNOW 35mm Film Scanner & Slide Viewer (Model C189) is designed to convert your cherished analog film and slide memories into high-resolution 22MP JPEG digital photos. Featuring a large 5-inch LCD screen, this device offers strong compatibility with various film types including Color and B&W Negatives (135, 110, 126) and 50mm Slides (135, 110, 126, Super 8). Its user-friendly interface allows for easy editing, playback, and storage without requiring a computer for basic operations. This manual provides detailed instructions to help you get the most out of your film scanner.

Image: The DIGITNOW 35mm Film Scanner & Slide Viewer (Model C189) shown with various film types and slides, highlighting its versatility.
2. Kedu ihe dị na Igbe ahụ
Biko hụ na ihe niile dị tupu ị malite nhazi:
- DIGITNOW 35mm Film Scanner & Slide Viewer (Model C189)
- 50x50 Hinged Slide Holder
- Ihe njide ihe nkiri 135
- 110 Positive Film Holder
- 110 Ihe njide ihe nkiri na-adịghị mma
- Ihe njide ihe nkiri 126
- Super 8 Clip
- eriri USB (ụdị-C)
- HDMI USB
- Nhicha ahịhịa
- Akwụkwọ ntuziaka (akwụkwọ a)

Image: A visual representation of all components included in the DIGITNOW Film Scanner package.
3. Nhazi
- Njikọ ike: Connect the provided USB Type-C cable to the scanner's 5V1A USB port and plug the other end into a suitable power source (e.g., USB wall adapter, computer USB port).
- Ntinye kaadị ebe nchekwa: Insert an SD card (not included) into the SD card slot on the scanner. This is where your scanned images will be saved.
- Ike izizi: Press the power button on the top of the scanner to turn it on. The 5-inch LCD screen will illuminate.
- Language and Date/Time Settings: Navigate through the on-screen menu using the control buttons to set your preferred language, date, and time. This helps organize your digital files.
- Film Holder Selection: Choose the appropriate film holder for the type of film or slide you intend to scan (e.g., 135 film holder for 35mm negatives, 50x50 hinged slide holder for mounted slides).
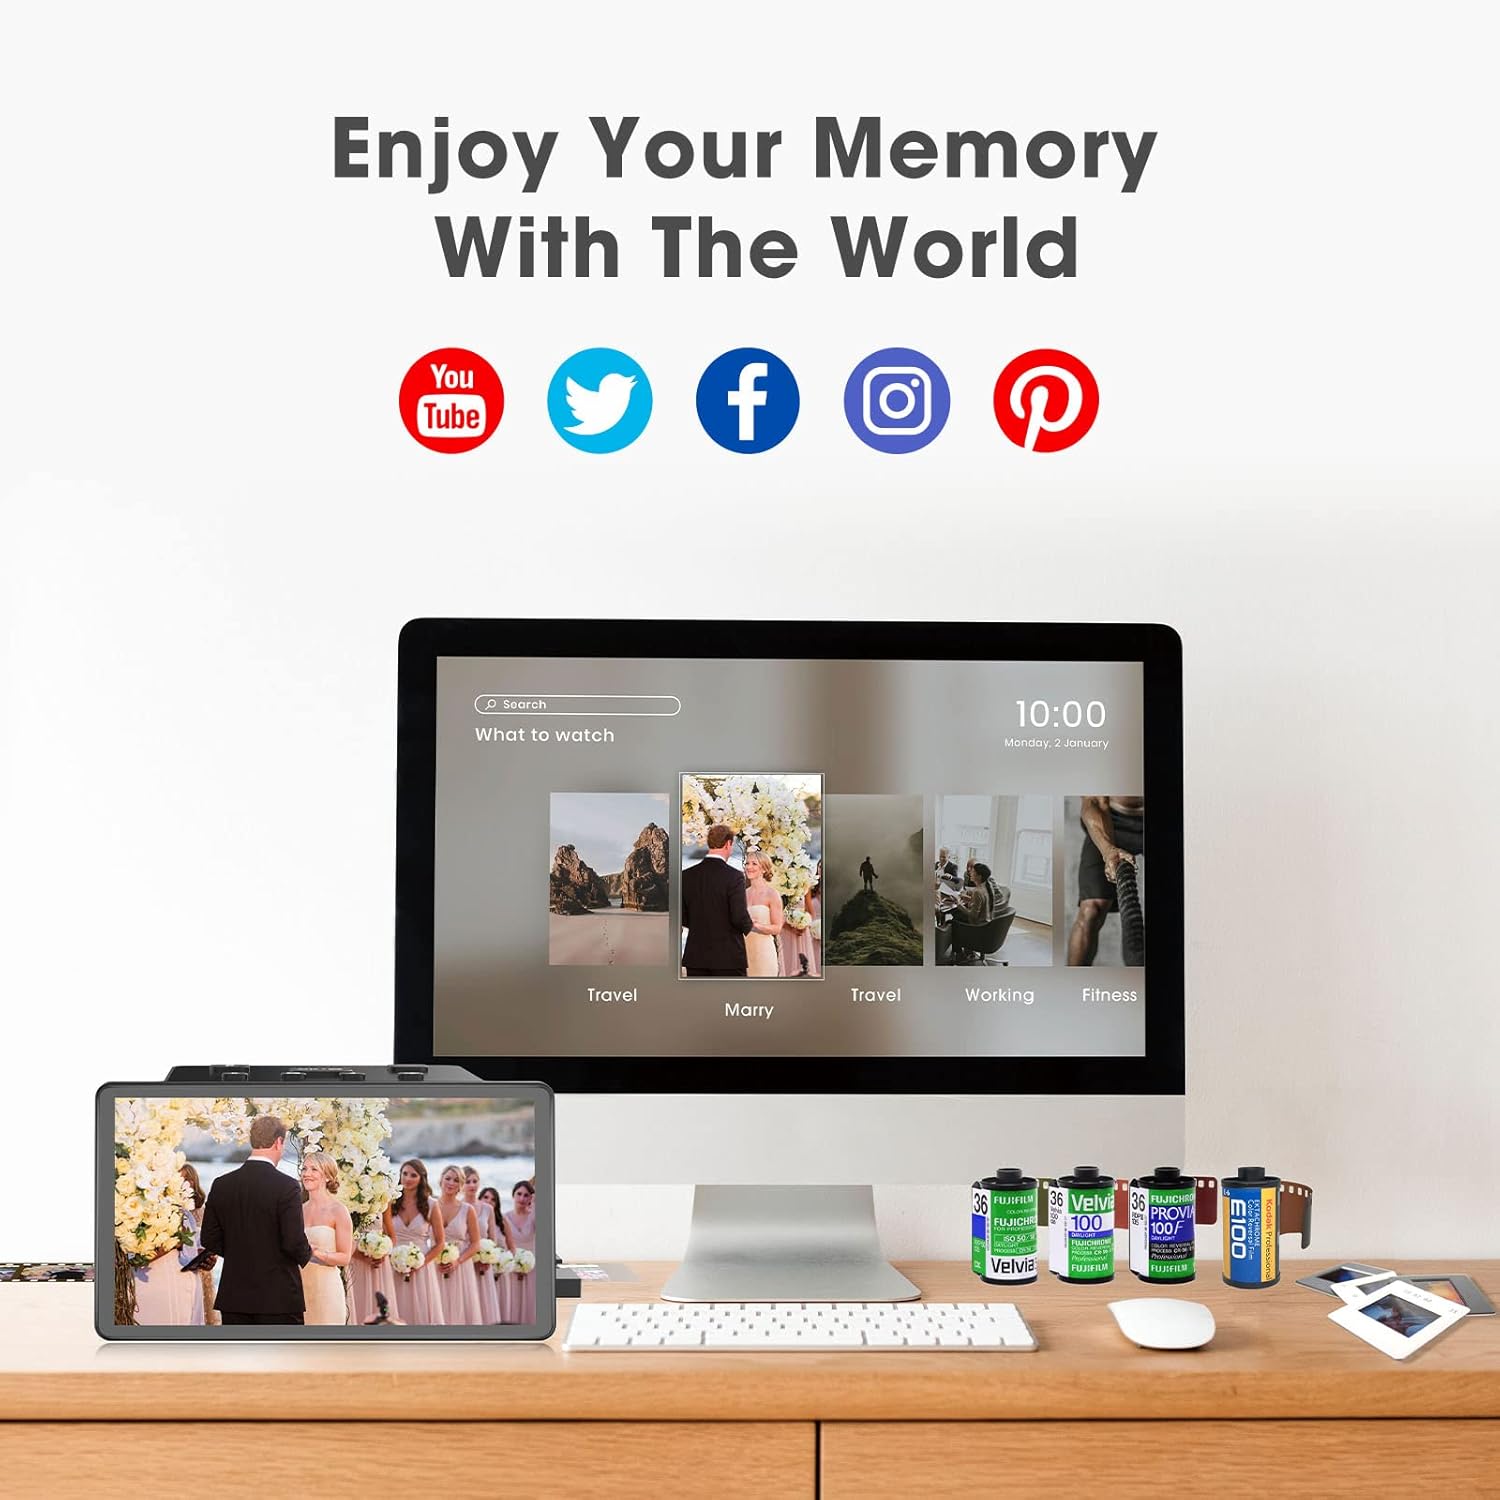
Image: The top panel of the scanner showing the control buttons and various ports for connectivity.
4. Ntuziaka ọrụ
4.1. Loading Film/Slides
- Open Film Holder: Gently open the selected film holder.
- Insert Film/Slide: Carefully place your film strip or mounted slide into the designated slots within the holder. Ensure it is flat and correctly aligned.
- Close Film Holder: Close the film holder securely.
- Insert Holder into Scanner: Slide the loaded film holder into the scanner's side slot, following the arrow indicator.

Image: A user demonstrating the process of sliding a film strip into the scanner for digitization.
4.2. Usoro nyocha
- Select Film Type: On the scanner's main menu, select "Film Type" and then choose the specific type of film you are scanning (e.g., 135 Film, 110 Film, 126 Film, Super 8 Slide, Color Negative, B&W Negative).
- Tupuview Foto: The image from your film/slide will appear on the 5-inch LCD screen.
- Adjust Image (Optional): Use the control buttons to adjust brightness, color balance (RGB), or rotate the image as needed.
- Were foto: Press the "OK/Capture" button to take a digital photo of the displayed image. The scanned image will be saved to your SD card.
- Continue Scanning: Slide the film holder to the next frame or replace it with a new film/slide and repeat the process.

Image: The scanner's screen showing a scanned image and the intuitive interface for editing and capturing.
4.3. Viewing na ịnyefe onyonyo
- On-Screen Gallery: Access the "Gallery" option from the main menu to view your saved images directly on the scanner's LCD screen.
- Nbufe USB: Connect the scanner to your computer using the USB Type-C cable. The scanner will appear as a removable disk, allowing you to drag and drop files.
- SD Card Transfer: Remove the SD card from the scanner and insert it into a computer's SD card reader to transfer files.
- Ihe mmepụta HDMI: Connect the scanner to a TV or monitor using an HDMI cable (not included) to view your images on a larger screen.
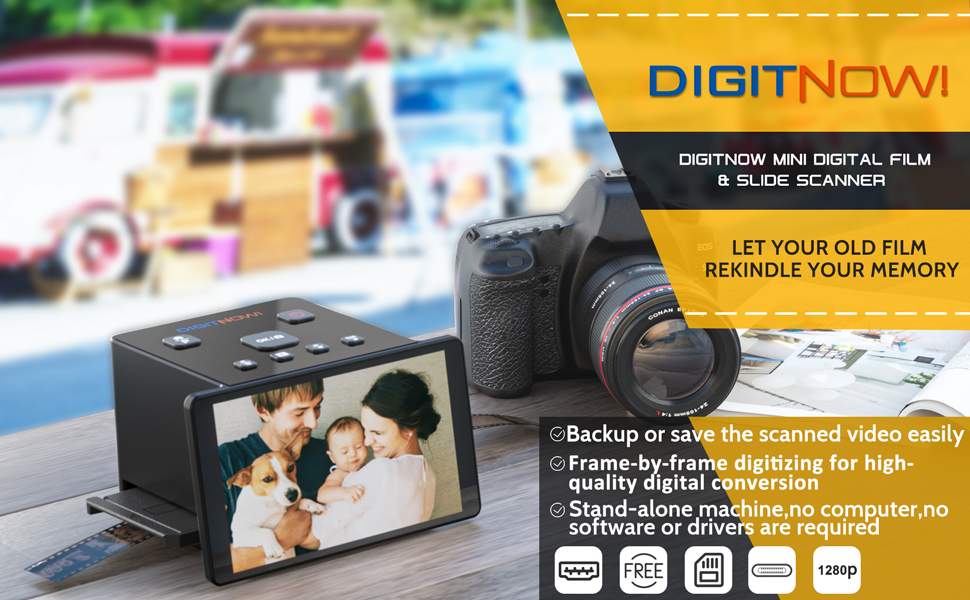
Image: The DIGITNOW Film Scanner connected to a laptop, illustrating the process of transferring and viewing digitized images.
4.4. Official Product Videos
Video: This video demonstrates the DIGITNOW Slide Scanner in action, showing how to insert slides and view ha na ngwaọrụ.
Video: A demonstration of the Digital Film Slide Scanner, showcasing its features and ease of use for digitizing old film and slides.
Vidiyo: Vidiyo a na-egosi etu esi echekwa iheview of the Koda Film Scanners Lineup, including features relevant to the DIGITNOW scanner.
Video: A demonstration of the scanner for old Photo Slide and Film Negative Scanning, highlighting its functionality.
Video: This video showcases a Slide Viewer Light Box, which is useful for preparing slides and film for scanning.
Vidiyo: Mkpebi dị mkpirikpiview of the DIGITNOW slide viewer, demonstrating its basic functions.
5. Nlekọta
- Na-ehicha ihe nyocha: Use the provided cleaning brush to gently remove dust and debris from the film slot and the scanner's internal components. Ensure the scanner is powered off before cleaning.
- Nchacha ihuenyo: Use a soft, lint-free cloth to clean the LCD screen. Do not use abrasive cleaners or solvents.
- Ijikwa ihe nkiri: Always handle film and slides by the edges to avoid fingerprints and scratches.
- Nchekwa: Store the scanner and its accessories in a dry, dust-free environment when not in use.
6. Nchọpụta nsogbu
- Enweghị ike:
- Ensure the USB cable is securely connected to both the scanner and a working power source.
- Gbalịa ọdụ ụgbọ USB ma ọ bụ ihe nkwụnye ọkụ dị iche.
- Image Quality Issues (Blurry/Poor Color):
- Clean the scanner's internal lens and film slot using the cleaning brush.
- Ensure the film/slide is inserted correctly and lies flat in the holder.
- Adjust the brightness and RGB color settings using the scanner's controls.
- Verify the film type selected matches the film being scanned.
- Achọpụtaghị kaadị SD:
- Ensure the SD card is fully inserted into the slot.
- Try reinserting the SD card.
- Test with a different, compatible SD card.
- Ensure the SD card is not locked (check the small switch on the side of the card).
- Cannot Transfer Files to Computer:
- Gbaa mbọ hụ na ejikọrọ eriri USB na nchekwa.
- Verify the scanner is in "USB Upload" mode (if applicable, check scanner menu).
- Gbalịa ọdụ ụgbọ USB dị iche na kọmputa gị.
7. Nkọwapụta
| Njirimara | Nkọwa |
|---|---|
| Akụkụ ngwaahịa | 4.06 x 5.39 x 3.05 sentimita asatọ |
| Ibu Ibu | 1.32 pound |
| Nọmba Nlereanya ihe | C189 |
| Ụdị nyocha | Ihe nkiri |
| Ụdị | DIGITNOW |
| Teknụzụ Njikọta | USB |
| Mkpebi | 14MP / 22MP (Interpolated) |
| Teknụzụ ihe mmetụta anya | CMOS |
| Achọrọ Sistemụ kacha nta | Windows XP (also supports Win7/10/Vista/Mac) |
| UPC | 727376566106 |
| Ngosipụta | Ihuenyo LCD 5 inch |
| Film Compatibility | Color & B&W Negatives (135, 110, 126), 50mm Slides (135, 110, 126, Super 8) |
8. Akwụkwọ ikike & Nkwado
DIGITNOW provides 24-hour technical support and a quality warranty for this product. For any inquiries, troubleshooting assistance, or warranty claims, please contact DIGITNOW customer service directly. Refer to the contact information provided in your product packaging or on the official DIGITNOW websaịtị.
Rịba ama: Atụmatụ nchekwa nwere ike ịdị maka ịzụrụ ihe iche iche. Biko lelee ya na onye na-ere ahịa gị maka nkọwa ndị ọzọ.