
1. Ntuziaka nchekwa dị mkpa
Please read these instructions carefully before using the appliance to prevent damage, fire, or injury. Keep this manual for future reference.
- Gbaa mbọ hụ na etinyere ngwa ahụ n'elu ebe kwụsiri ike, nke na-eguzogide okpomọkụ.
- Ejila ngwa, eriri, ma ọ bụ nkwụnye n'ime mmiri ma ọ bụ ihe mmiri ndị ọzọ.
- Kwupu ngwa ahụ na oghere mgbe ọ naghị eji ya, tupu ị na-agbakọta ma ọ bụ na-akwasa akụkụ, na tupu ihicha.
- Ejila ngwa ọ bụla nwere eriri ma ọ bụ plọg mebiri emebi rụọ ọrụ, ma ọ bụ mgbe ngwa ahụ dara ma ọ bụ mebie n'ụzọ ọ bụla.
- Keep children away from the appliance during operation. The surface can become hot.
- Ejila ngwa ndị nrụpụta akwadoghị.
- Ngwa a bụ maka naanị ụlọ.
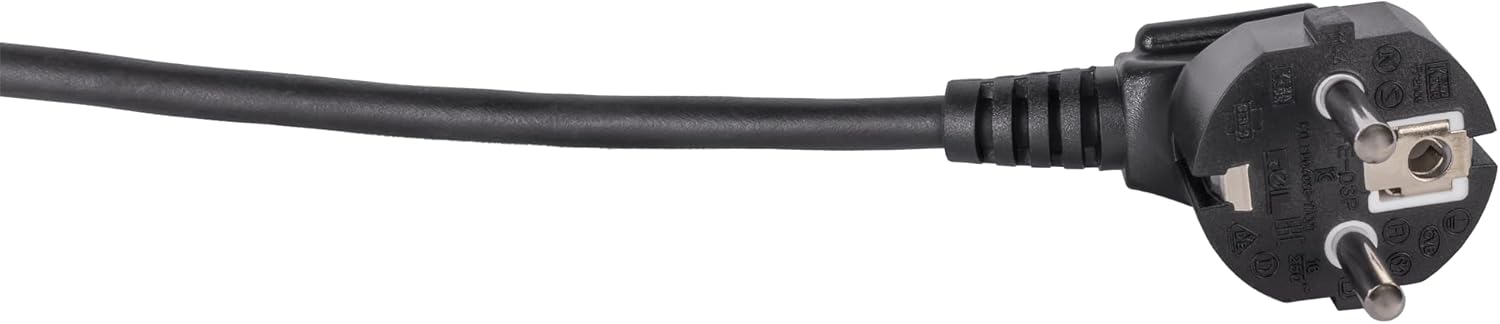
Image: Standard European power plug. Ensure the plug is fully inserted into a grounded outlet.
2. Ngwaahịa gafereview
2.1 Akụkụ
The Steba BM 3 Bread Maker includes the following main components:
- Main Unit with Control Panel and Display
- Removable Baking Pan with Non-stick Coating
- Akpụkpọ ụkwụ na -egbu egbu
- Iko atụ
- Ngaji nha
- Nko maka iwepụ ihe mkpuchi ikpu
- Ihe mkpuchi na Viewna Window

Foto: N'ihu view of the Steba BM 3 Bread Maker, showing its compact design.
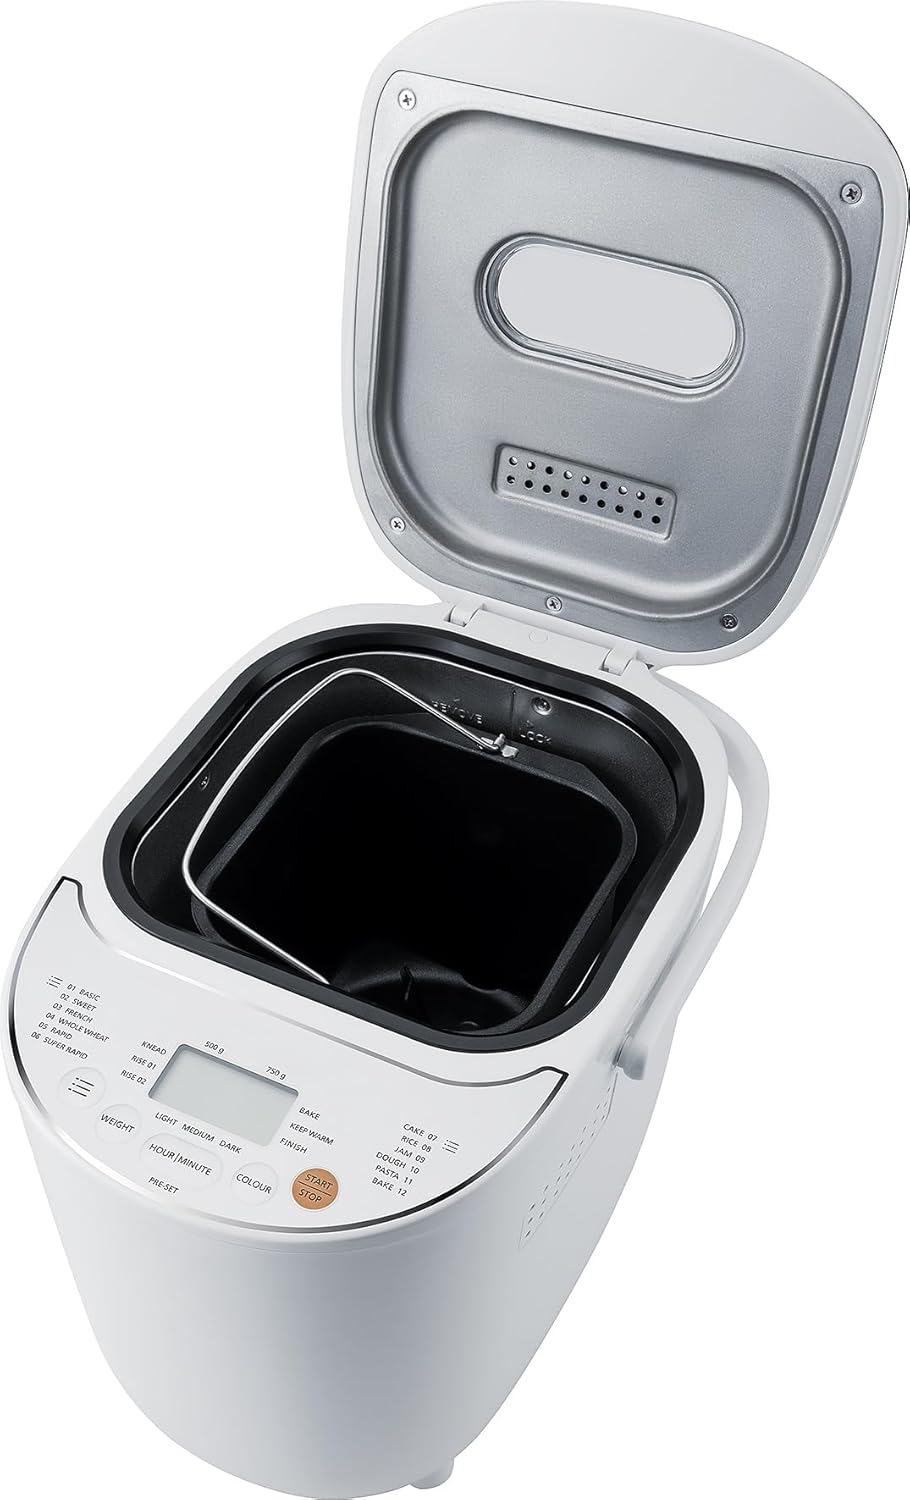
Image: The bread maker with its lid open, revealing the removable baking pan inside.
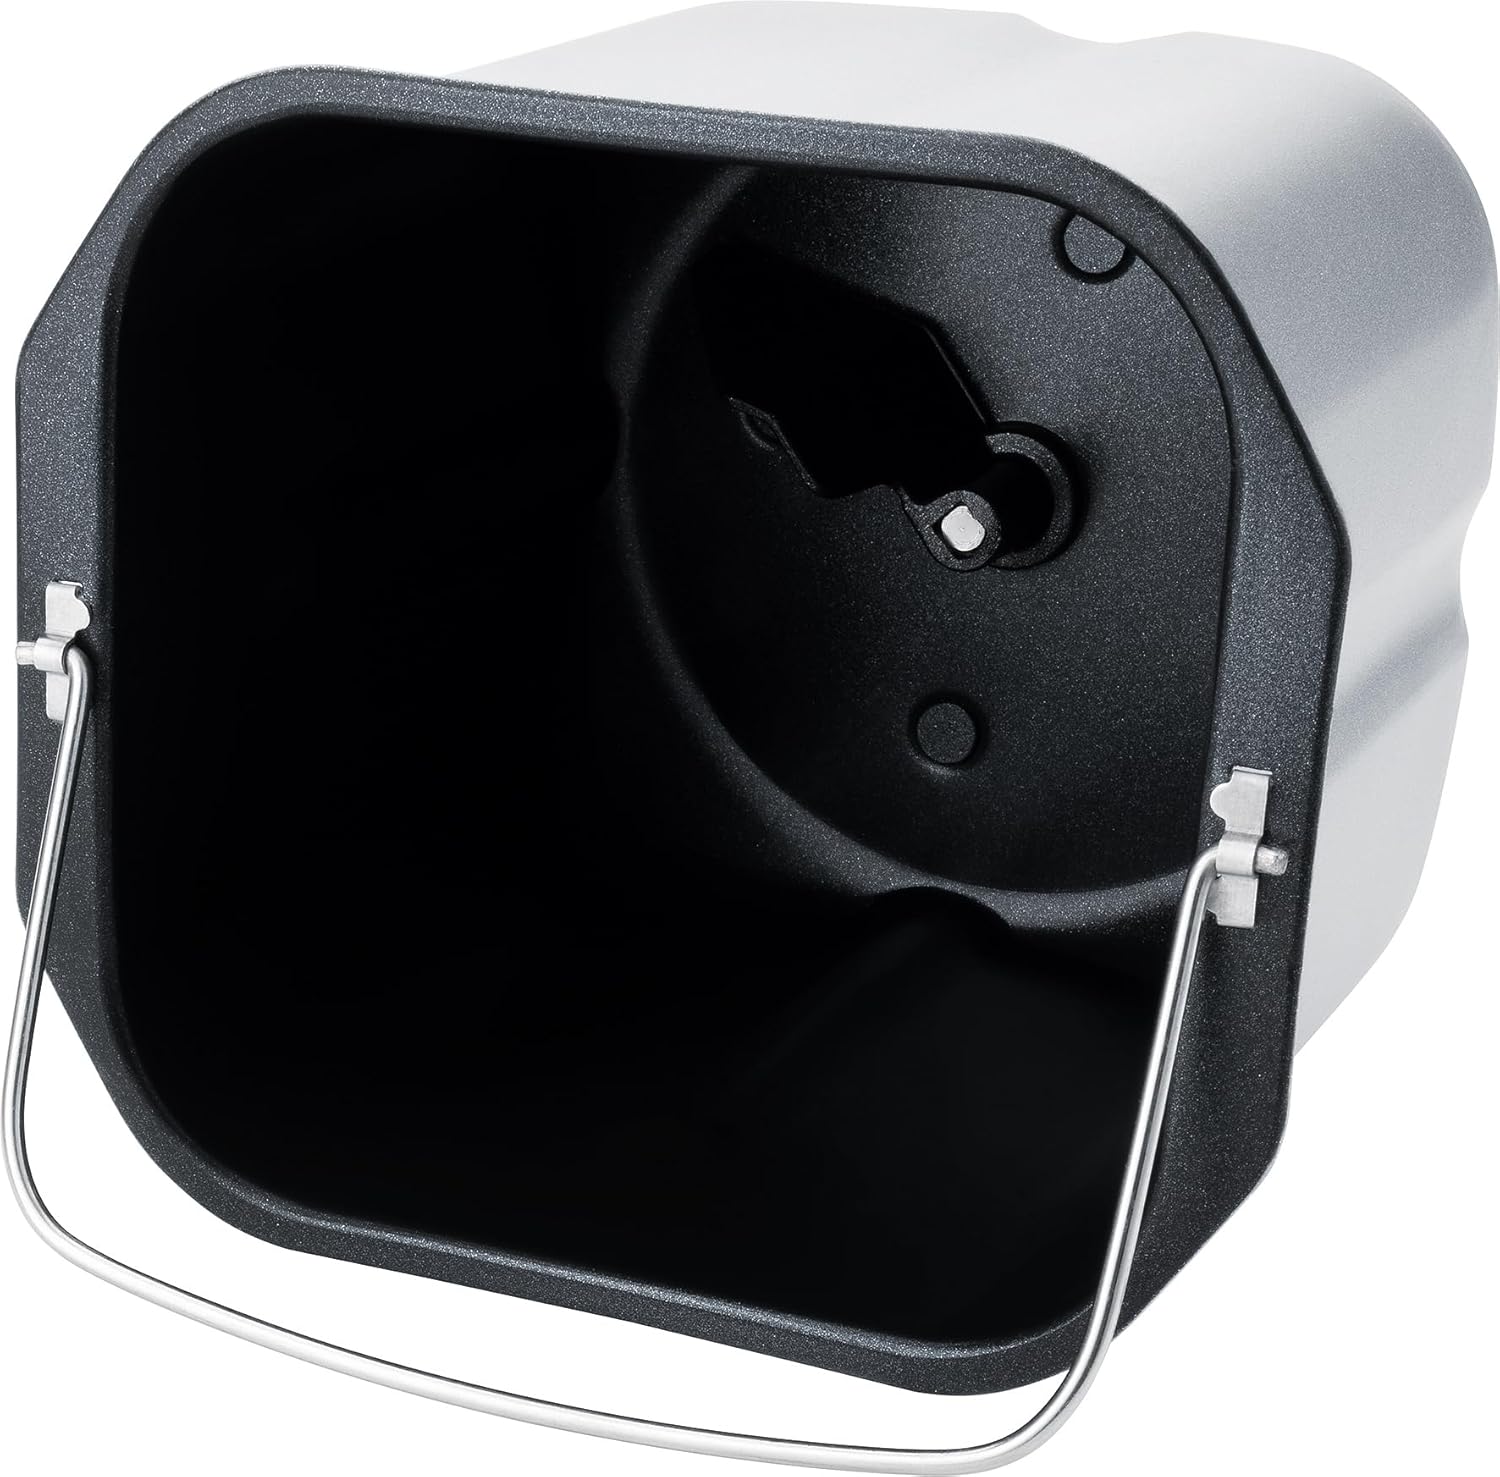
Foto: Zuru ezu view of the non-stick baking pan with the kneading paddle shaft.

Image: Included accessories: a measuring cup, a double-sided measuring spoon, and a hook for removing the kneading paddle.
2.2 Ogwe njikwa na ngosi
The intuitive Touch-Control panel allows for easy program selection and setting adjustments.

Image: Close-up of the control panel, showing the digital display, program list, and control buttons for weight, time, color, and start/stop.
Njikwa Isi:
- Ngosipụta: Shows selected program, time, and settings.
- Nhọrọ mmemme: Choose from 12 automatic programs (Basic, Sweet, French, Whole Wheat, Rapid, Super Rapid, Cake, Rice, Jam, Dough, Pasta, Bake).
- Weight Button: Adjust bread weight (500g or 750g).
- Colour Button: Select crust browning level (Light, Medium, Dark).
- Hour/Minute (Pre-set) Buttons: Set delay timer for up to 13 hours.
- Bọtịnụ mmalite/Kwụsị: Initiate or cancel a program.
3. Ntọala na ojiji mbụ
3.1 Nwepu
- Carefully remove the bread maker and all accessories from the packaging.
- Wepu ihe nkiri ma ọ bụ ihe mmado ọ bụla na-echebe na ngwa ahụ.
- Wash the baking pan, kneading paddle, measuring cup, and spoon in warm, soapy water. Rinse thoroughly and dry completely. The main unit should only be wiped with a damp akwa .
3.2 Ojiji mbụ
- Place the bread maker on a clean, dry, and stable surface.
- Insert the baking pan into the main unit and twist it clockwise until it locks into place.
- Tinye ihe mkpuchi ahụ n'elu osisi dị n'ime ite achịcha ahụ.
- For the first use, it is recommended to run a short 'Bake' cycle (Program 12) without ingredients for about 10 minutes to burn off any manufacturing residues. Ensure good ventilation during this process.
- Allow the appliance to cool down completely before cleaning and proceeding with actual baking.
4. Ọrụ
4.1 Basic Bread Making Steps
- Tinye ngwa nri: Follow a recipe and add liquid ingredients first, then dry ingredients, and finally yeast. Ensure yeast does not come into direct contact with liquids or salt.
- Họrọ Mmemme: Plug in the bread maker. The default program (usually 'Basic') will appear on the display. Press the 'Program' button repeatedly to cycle through the 12 available programs until your desired program is selected.
- Set Weight: Press the 'Weight' button to choose between 500g or 750g loaf size, if applicable for the selected program.
- Set Crust Colour: Press the 'Colour' button to select Light, Medium, or Dark crust.
- Malite ime achịcha: Press the 'Start/Stop' button. The bread maker will begin the selected program.
- Mmecha: Once the program finishes, the bread maker will beep and automatically switch to a 1-hour 'Keep Warm' function.
- Wepụ achịcha: Unplug the appliance. Using oven mitts, carefully remove the baking pan by twisting it counter-clockwise and lifting it out. Invert the pan to release the bread onto a wire rack to cool. If the kneading paddle remains in the bread, use the provided hook to remove it.
4.2 Delay Timer Function
The delay timer allows you to set the bread maker to finish baking at a later time, up to 13 hours. This is ideal for fresh bread in the morning.
- Tinye ihe niile na-esi nri na pan.
- Select your desired program, weight, and crust colour.
- Press the 'Hour' and 'Minute' buttons to set the desired delay time. The displayed time includes the baking cycle duration.
- Press 'Start/Stop'. The timer will count down, and the bread maker will start automatically when the delay time expires.
Mara: Do not use the delay timer with recipes containing highly perishable ingredients like milk, eggs, or fresh fruit, as they may spoil.

Image: An assortment of various types of freshly baked bread, illustrating the potential output of the bread maker.
5. Nlekọta na nhicha
Proper cleaning and maintenance ensure the longevity and optimal performance of your bread maker.
5.1 Nhicha
- Kwupu ngwa ngwa mgbe niile ma hapụ ya ka ọ dị jụụ kpamkpam tupu ihicha ya.
- Pan na igwakota agwa: These parts are non-stick and should be washed by hand with warm, soapy water. Avoid abrasive cleaners or scouring pads that could damage the non-stick coating. Rinse thoroughly and dry completely.
- Isi ngalaba: Jiri nwayọ hichaa mpụta nke onye na-eme achịcha, damp akwa . Ejila kemịkalụ siri ike ma ọ bụ tinye akụkụ ahụ n'ime mmiri.
- Ihe mkpuchi: The lid can be wiped clean with a damp akwa . Nke viewing window can be cleaned with a mild glass cleaner if necessary.
5.2 Nchekwa
Store the bread maker in a dry, clean place, away from direct sunlight and out of reach of children.
6. Nchọpụta nsogbu
Ọ bụrụ na ị na-enwe nsogbu na onye na-eme achịcha gị, rụtụ aka na nsogbu na ngwọta ndị a na-emekarị:
| Nsogbu | Ihe nwere ike ime | Ngwọta |
|---|---|---|
| Achịcha anaghị ebili | Expired yeast, incorrect water temperature, too much salt/sugar, wrong program. | Check yeast expiry, use lukewarm water, ensure correct ingredient ratios, select appropriate program. |
| Achịcha dị oke oke arọ | Oke ntụ ọka, ezughị mmiri mmiri, okwu yist. | Measure ingredients precisely, ensure proper liquid-to-flour ratio, check yeast activity. |
| Paddle na-agwakọta ọnụ rapaara na achịcha | Normal occurrence. | Use the provided hook to carefully remove the paddle after the bread has cooled slightly. |
| Ngwa anaghị amalite | Not plugged in, program not selected, 'Start/Stop' not pressed. | Ensure power connection, select a program, press 'Start/Stop'. |
7. Nkọwapụta
Technical details for the Steba BM 3 Bread Maker:
- Nọmba nlereanya: 188300
- Akara: Steba
- Voltage: 230 Volt
- Wattage: 540 Watt
- Ike: Up to 750 Grams
- Akụkụ ngwaahịa (D x W x H): 34D x 27.5W x 24H cm
- Ibu ihe: 4 kilogram
- Ihe: Plastic
- Ọnụọgụ nke mmemme: 12
- Ntuziaka nlekọta: Hand wash only (for removable parts)
- Ọnụ ahịa akụkụ ndị ọzọ nke EU: Afọ 2

Image: Diagram showing the dimensions of the Steba BM 3 Bread Maker: 34 cm depth, 27.5 cm width, and 24 cm height.
8. Akwụkwọ ikike na nkwado
For warranty claims, technical support, or service inquiries, please contact your retailer or the manufacturer directly. Keep your proof of purchase for warranty validation.