
Okwu mmalite
This manual provides detailed instructions for the installation, operation, and maintenance of your EVGATSAUTO 12V/24V 30A MPPT Solar Controller. Please read this manual thoroughly before using the product to ensure proper function and safety.
Ntuziaka nchekwa
- Ensure all connections are correct and secure before powering on the system.
- Do not attempt to repair or modify the controller yourself. Contact qualified personnel for service.
- Wụnye ihe njikwa ahụ n'ebe ikuku na-anaghị apụta nke ọma, ebe ihe ndị na-ere ọkụ na anwụ na-acha kpọmkwem.
- Avoid contact with water or other liquids. The controller has an IP32 waterproof rating, meaning it is protected against solid objects over 2.5mm and spraying water.
- Always connect the battery first, then the solar panel, and finally the load. Disconnect in the reverse order.
- Use appropriate wire gauges for all connections to prevent overheating.
Ngwaahịa gafereview
The EVGATSAUTO Solar Controller is designed to manage the power flow from your solar panel to your battery and load. It features an intelligent MPPT 3-stage charging mode for efficient battery charging and a humanized LCD display for easy monitoring and control.
Akụkụ ndị bụ isi:
- Automatic identification of 12V/24V system voltage.
- High efficiency intelligent MPPT 3-stage chaja mode.
- Humanized LCD display and double button interface for easy operation.
- Dual USB output (2.4A *2) for charging external devices.
- Multiple protection functions: over voltage, short circuit, over load, overcharge, over-discharge.
- Accurate temperature compensation for optimized charging and discharging voltage.
- Working storage function: records total run time, error timers, and full charge times.
- Load control mode selection and timer function for street light applications.
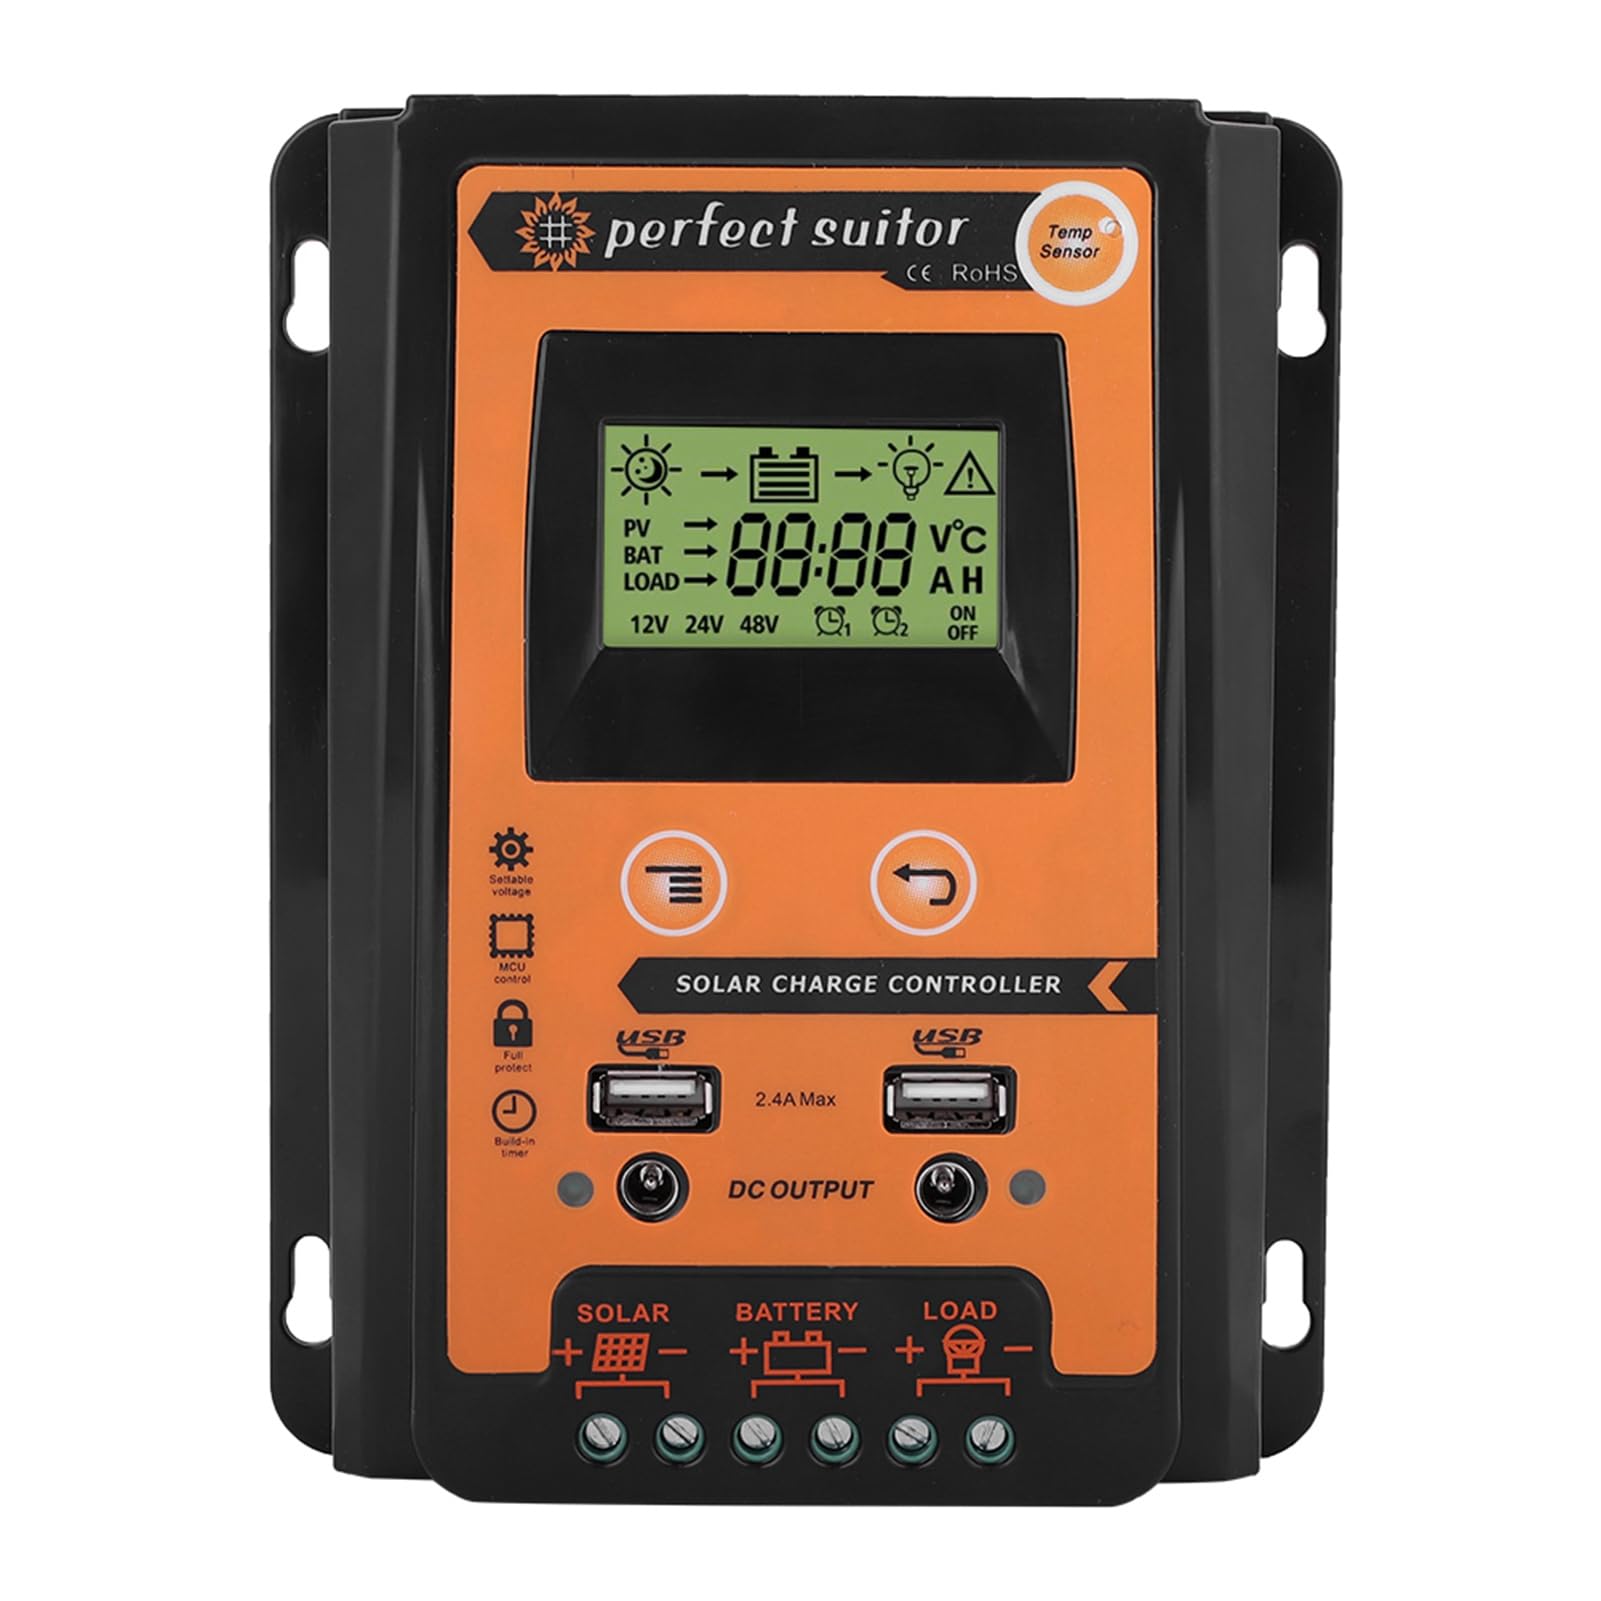
Figure 1: EVGATSAUTO Solar Controller in a solar power system context.

Foto 2: N'ihu view of the EVGATSAUTO Solar Controller.
Nkọwapụta
| Ugbu a | 30A |
| Ogo Voltage | 12V/24V (Auto Recognition) |
| USB mmepụta | 2.4A* 2 |
| Over Current (V) | 13.7V (for 12V system) / 27.4V (for 24V system) |
| Over Discharge Current (V) | 10.5-11V (for 12V system) / 21-22V (for 24V system) |
| Ụgwọ okpomọkụ | -3mv/℃/cell |
| Empty Load Wastage | <45mA |
| Loop Voltage dobe | <200mv |
| Ngosipụta | Ngosipụta LCD |
| Ụdị Nchaji | MPPT |
| Ọkwa mkpuchi mmiri | IP32 |
| Ihe onwunwe | Plastic |
| Agba | Oji + oroma |
| Product Dimensions (30A) | 17.5 x 14 x 4 cm (6.9 x 5.5 x 1.6 inch) |
| Ibu Ibu | 1.04 pound |
| Onye nrụpụta | EVGATSAUTO |

Figure 3: Product dimensions for the 30A model.
Ntuziaka nhazi
Follow these steps to correctly connect your solar controller to the solar panel, battery, and load. Ensure all power sources are disconnected before making any connections.
- Jikọọ batrị: Connect the battery to the controller's battery terminals (marked with a battery symbol). Ensure correct polarity (+ to + and - to -). The controller will automatically detect the system voltage (12V ma ọ bụ 24V).
- Jikọọ ogwe anyanwụ: Connect the solar panel to the controller's solar panel terminals (marked with a solar panel symbol). Ensure correct polarity.
- Connect the Load: Connect the DC load to the controller's load terminals (marked with a light bulb symbol). Ensure correct polarity.
Ihe dị mkpa: Always connect the battery first, then the solar panel, and finally the load. Disconnect in the reverse order: load first, then solar panel, then battery.

Figure 4: Controller Connection Method Diagram.
Ntuziaka ọrụ
LCD Display and Buttons:
The controller features an LCD display that shows real-time system status and parameters. Two buttons are used for navigation and setting adjustments.
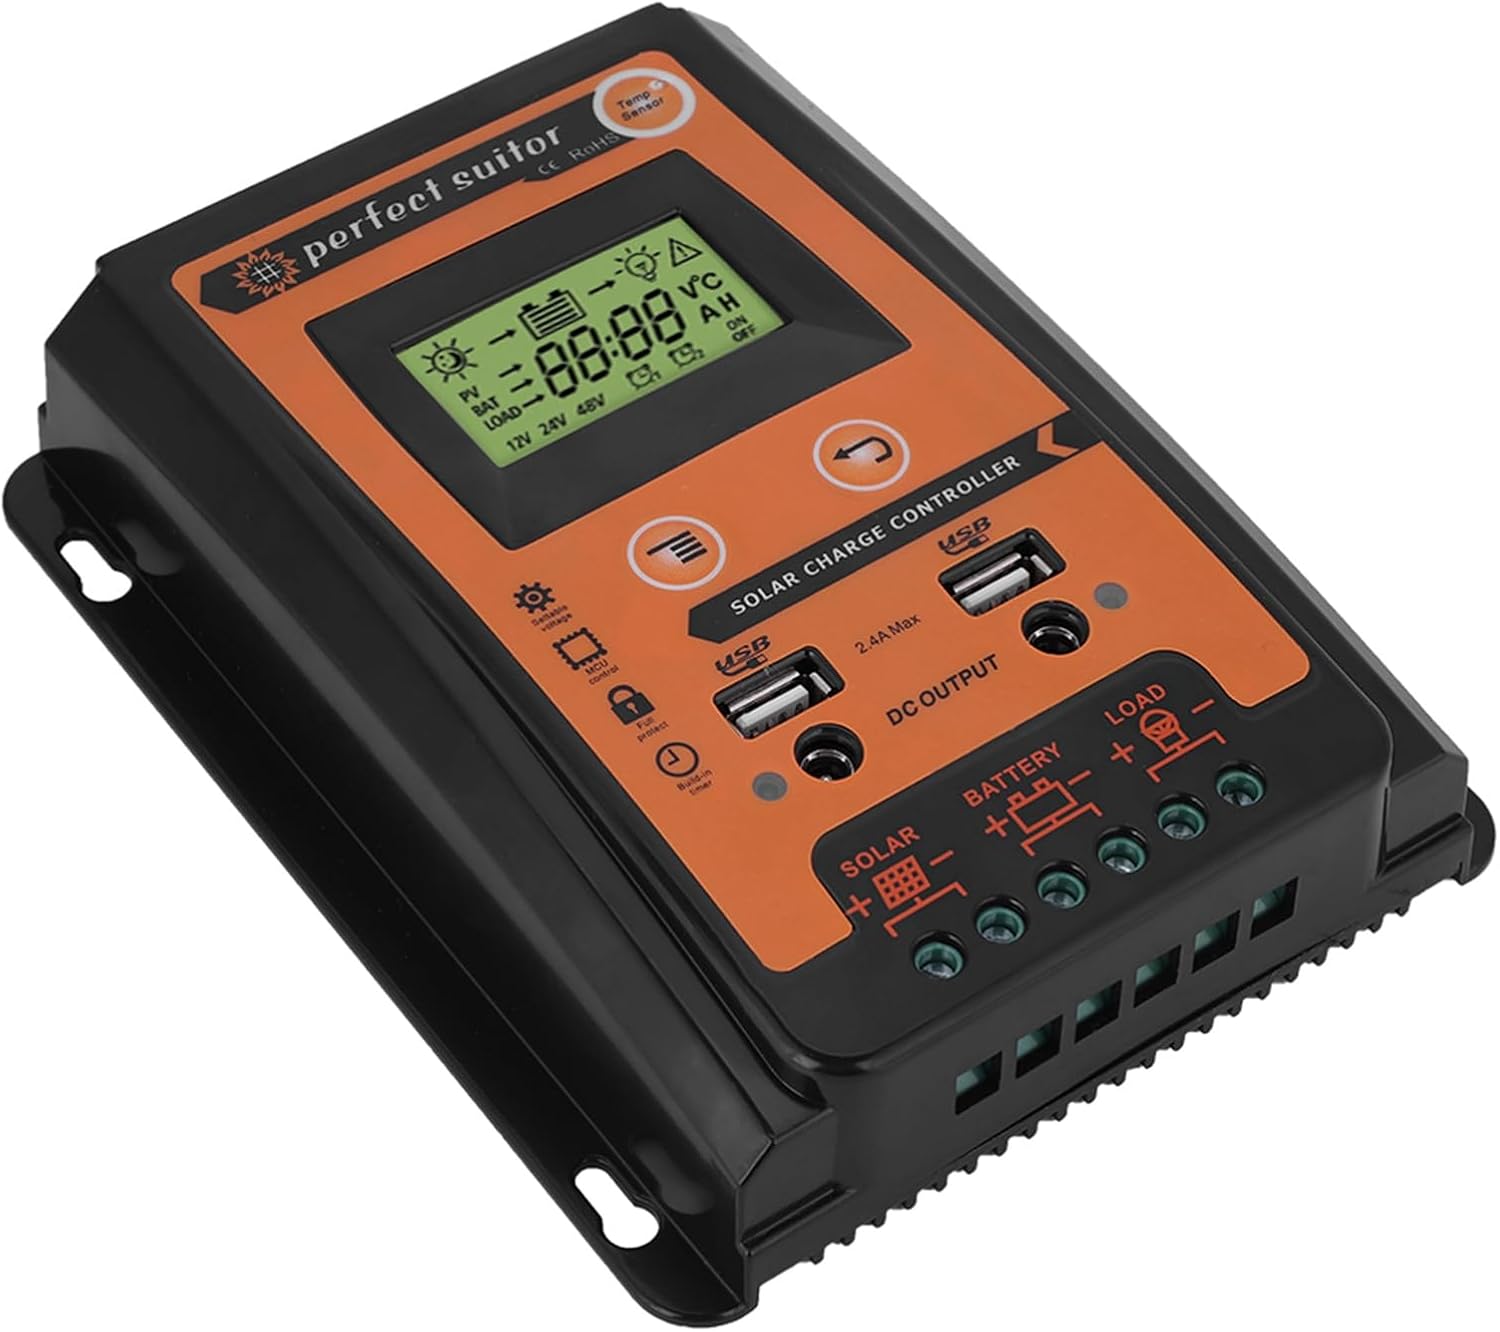
Figure 5: LCD Display and Control Buttons.
Ụdị chaja:
The controller utilizes an intelligent MPPT 3-stage charging mode to optimize battery life and performance:
- Nnukwu ego: Rapid charging to bring the battery to approximately 80% capacity.
- Ụgwọ mmịpụta: Charging at a constant voltage to bring the battery to 100% capacity.
- N'elu mmiri n'Aka: Maintaining the battery at full charge with a lower voltage to compensate for self-discharge.
USB mmepụta:
The controller includes dual USB ports (2.4A max each) for charging compatible devices such as mobile phones, driving recorders, cameras, and tablets.
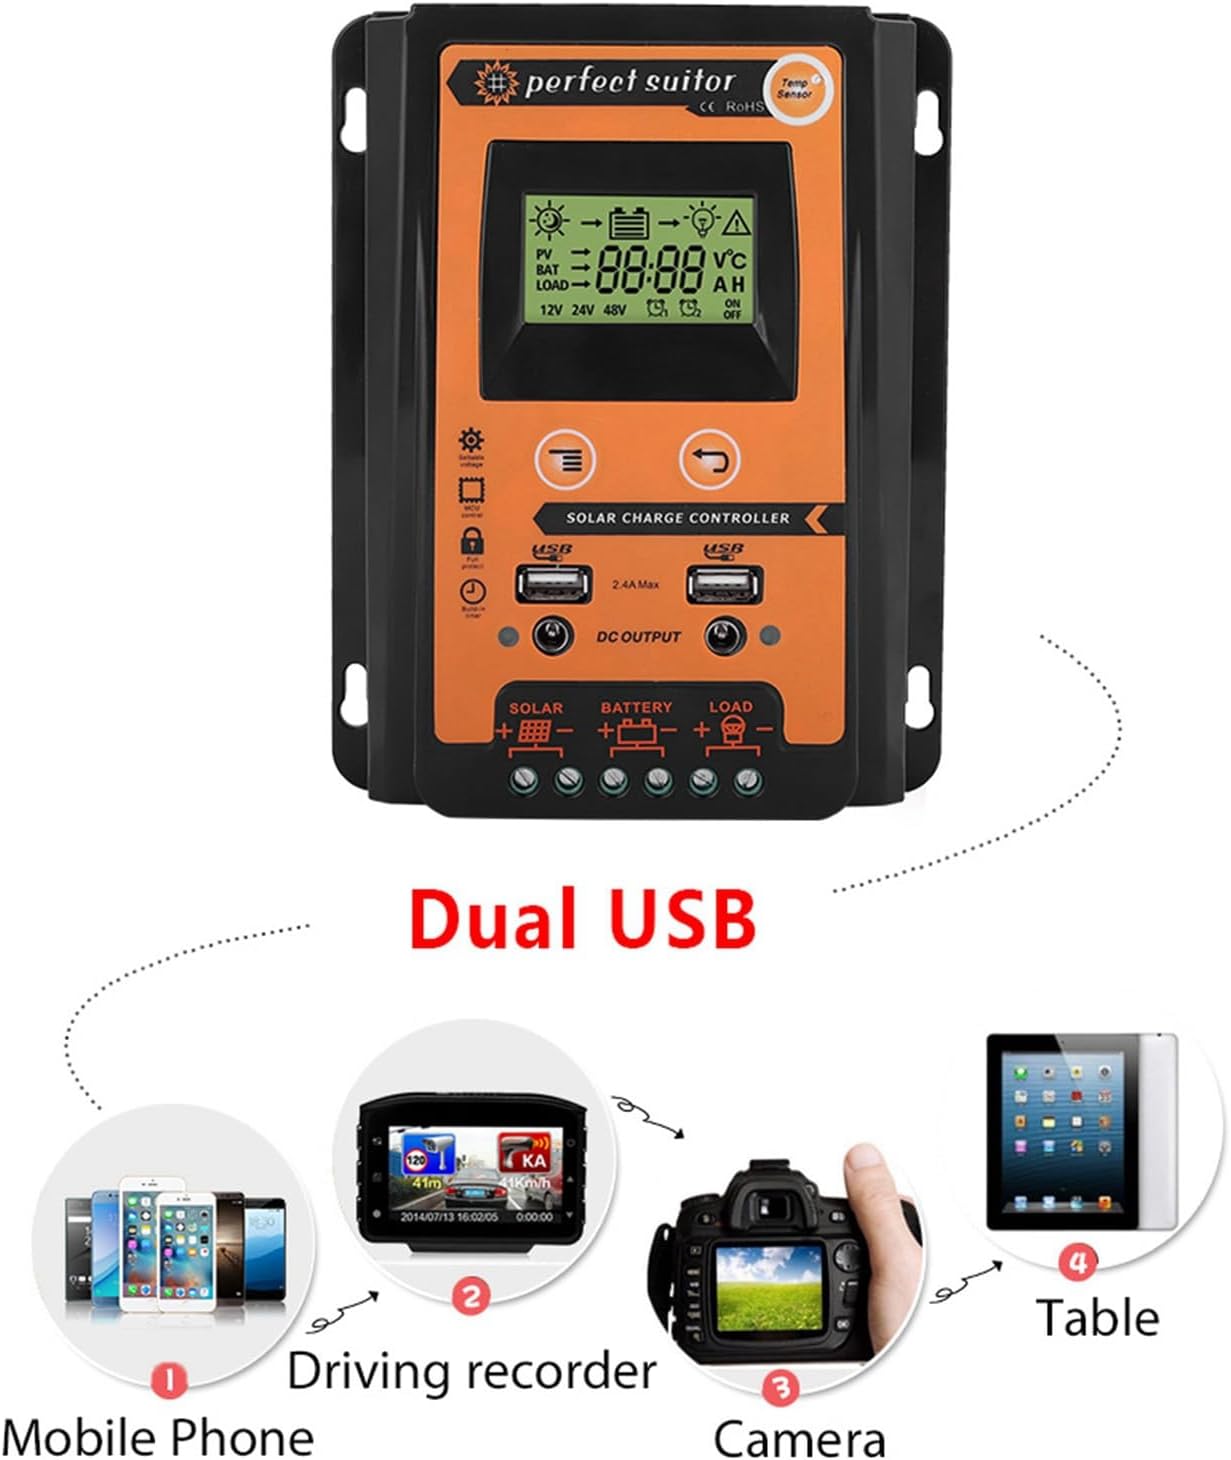
Figure 6: Dual USB Output Functionality.
Nlekọta
To ensure optimal performance and longevity of your solar controller, perform the following maintenance checks periodically:
- Ịdị ọcha: Keep the controller clean and free from dust and debris. Use a dry cloth for cleaning.
- Njikọ: Periodically check all wiring connections for tightness and corrosion. Loose connections can cause voltage na-ada ma na-ekpo oke ọkụ.
- Igwe ikuku: Ensure the installation area remains well-ventilated to prevent overheating of the controller.
- Ahụike batrị: Monitor your battery's health and ensure it is properly maintained according to the battery manufacturer's guidelines.
Nchọpụta nsogbu
If you encounter issues with your solar controller, refer to the following common problems and solutions:
| Nsogbu | Ihe nwere ike ime | Ngwọta |
|---|---|---|
| Enweghị ngosi na LCD | Batrị ejikọghị ma ọ bụ obere voltage; reversed polarity. | Lelee njikọ batrị na voltage. Hụ na e nwere ezi ọdịiche. |
| Batrị anaghị achaji | Solar panel not connected or insufficient sunlight; reversed polarity; faulty solar panel. | Check solar panel connections and ensure adequate sunlight. Verify polarity. Test solar panel output. |
| Load not working | Load not connected or reversed polarity; battery low; load overcurrent protection activated. | Check load connections and polarity. Ensure battery is sufficiently charged. Reduce load or check for short circuits. |
| Onye njikwa ekpo oke ọkụ | Ịkuku ikuku adịghị mma; ibu dị oke ibu. | Ensure adequate airflow around the controller. Reduce connected load if possible. |
Ọ bụrụ na nsogbu ahụ dịgidere mgbe ị nwara azịza ndị a, biko kpọtụrụ nkwado ndị ahịa.
Akwụkwọ ikike na nkwado
This product comes with a standard manufacturer's warranty. For specific warranty terms and conditions, please refer to the documentation provided with your purchase or contact the seller directly.
For technical support, troubleshooting assistance, or any questions regarding your EVGATSAUTO Solar Controller, please contact EVGATSAUTO customer service through the retailer where the product was purchased.
Ị nwekwara ike ịga na EVGATSAUTO Store on Amazon maka ozi ndị ọzọ na kọntaktị nhọrọ.