
Okwu mmalite
This manual provides detailed instructions for the assembly, operation, and maintenance of your Sunnydaze 10x13 Soft Top Patio Gazebo. Please read all instructions carefully before beginning assembly and retain this manual for future reference.

Image: Fully assembled Sunnydaze 10x13 Soft Top Patio Gazebo in tan.
Ozi nchekwa
Ịdọ aka ná ntị: Ọdịda ịgbaso ntuziaka nchekwa ndị a nwere ike bute mmerụ ahụ ma ọ bụ mebie ngwaahịa ahụ.
- Jiri opekata mpe mmadụ abụọ na-agbakọta gazebo mgbe niile.
- Gbaa mbọ hụ na echekwabara njikọ niile tupu ejie ya.
- Do not use the gazebo in strong winds, heavy rain, or snow. Disassemble or secure the canopy during adverse weather conditions to prevent damage.
- Debe ire ọkụ niile na ebe ikpo ọkụ na akwa gazebo. Akwa anaghị egbochi ọkụ.
- Edoghachila ihe ndị dị arọ na etiti ahụ.
- Na-elekọta ụmụaka gburugburu gazebo ahụ.
- Periodically check all nuts and bolts for tightness.
- This gazebo is designed for temporary shade and shelter. It is not intended as a permanent structure.
Ihe ngwugwu
Before assembly, verify that all components listed below are present and undamaged. If any parts are missing or damaged, contact customer support.
- 4 x ukwu
- 4 x ukwu
- 8 x Beams
- 13 x Trusses
- 4 x Akụkụ akụkụ
- 4 x Screens (Mosquito Netting)
- 2 x Peak Hubs
- 1 x Main Canopy
- 1 x Upper Canopy
- 4 x Long Net Poles
- 4 x Short Net Poles
- 1 x Hardware Kit (includes nuts, bolts, wrenches, etc.)
Ntuziaka Mgbakọ
Assembly requires two people. Please follow these steps carefully. Refer to the diagrams for visual guidance.
Kwụpụ 1: Chịkọta Frame Base
- Lay out the 4 legs and 4 feet on a flat, level surface.
- Attach the feet to the bottom of each leg using the provided hardware.
- Connect the 8 beams to the top of the legs to form the rectangular base structure. Ensure all bolts are finger-tight at this stage.
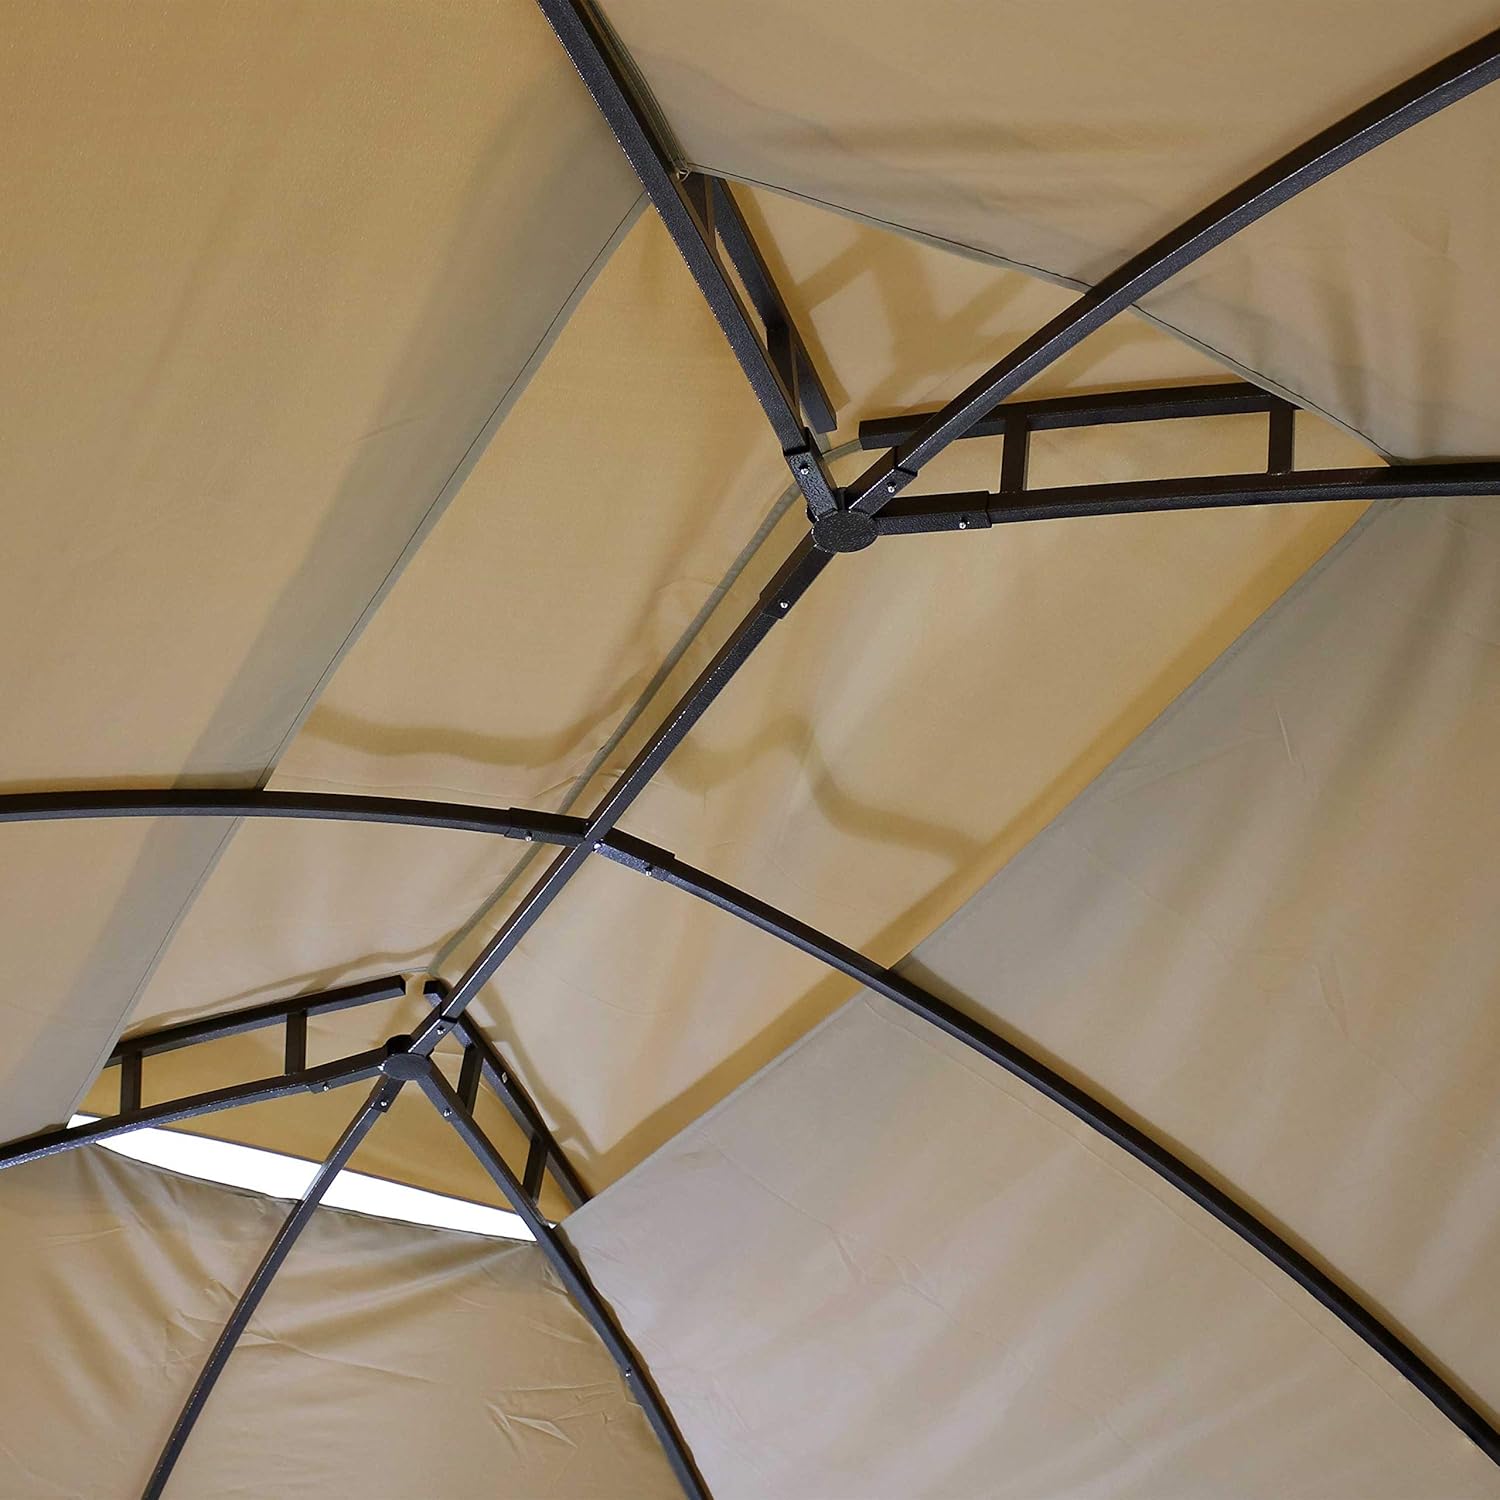
Foto: Zuru ezu view of the steel frame structure.
Step 2: Install the Roof Trusses and Peak Hubs
- Attach the 13 trusses to the beams and connect them to the 2 peak hubs to form the roof structure.
- Gbaa mbọ hụ na njikọ niile echekwara.
Nzọụkwụ nke 3: Jikọọ Canopies ahụ
- Carefully place the main canopy over the assembled roof frame. Ensure it is centered and all corners are aligned.
- Secure the main canopy to the frame using the integrated fasteners.
- Install the upper canopy onto the smaller top frame, ensuring it is properly seated for ventilation.

Image: Canopy fabric secured to the frame.
Step 4: Install Sidewalls and Screens
- Attach the long and short net poles to the frame as indicated in the diagram.
- Hang the 4 screens (mosquito netting) from the designated tracks or hooks on the frame.
- Hang the 4 sidewalls (privacy curtains) over the screens. The double zippers allow independent operation of screens and sidewalls.
- Use the fabric hook-and-loop fasteners to secure the sidewalls to the legs or tie them back when not in use.
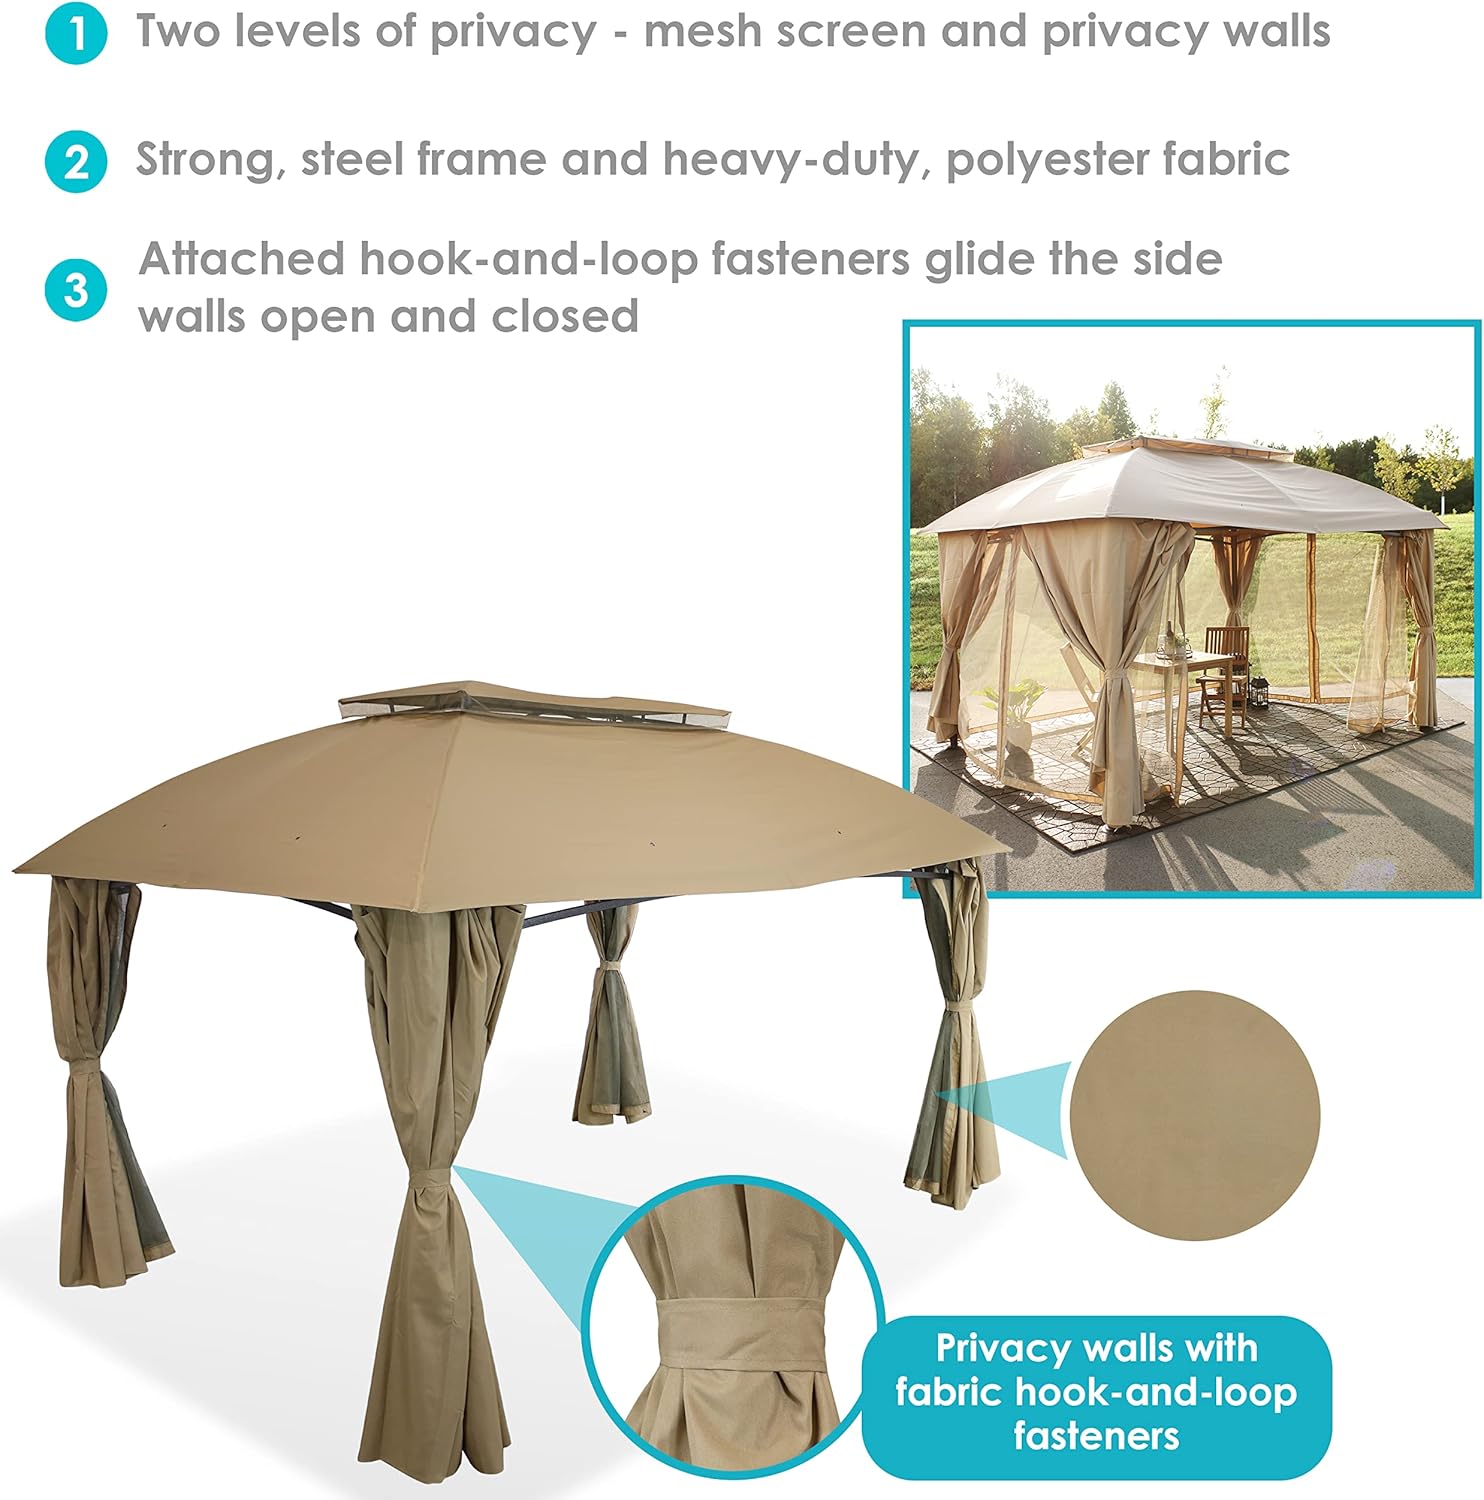
Image: Features of the gazebo including mesh screens and privacy walls.

Image: Detail of privacy wall with fabric hook-and-loop fastener.

Image: Visual comparison of screens versus privacy walls.
Nzọụkwụ 5: Imechi ikpeazụ
Once all components are in place, go back and fully tighten all nuts and bolts using the provided tools. Do not overtighten.
Ntuziaka ọrụ
Using the Mosquito Netting
The mesh screens are designed to provide ventilation while keeping insects out. They can be zipped closed for full enclosure or tied back to allow open access.
Using the Privacy Curtains
The privacy curtains offer additional shade and privacy. They can be pulled closed over the mesh screens and secured with zippers, or tied back to the gazebo legs using the integrated fabric fasteners when not needed.
Na-echekwa Gazebo
For added stability, especially in moderate weather, consider using stakes or weights (not included) to secure the gazebo feet to the ground.
Nlekọta
Nlekọta Canopy
- Clean the polyester canopy fabric with mild soap and water. Do not use harsh chemicals or abrasive cleaners.
- Allow the canopy to air dry completely before folding and storing to prevent mildew.
- Remove the canopy during strong winds or heavy precipitation to prolong its lifespan.
Nlekọta etiti
- Jiri mgbasa ozi hichapụ etiti igwe ahụamp akwa iji wepu unyi na irighiri ihe.
- Inspect the frame periodically for any signs of rust or damage. Touch up any scratches with rust-inhibiting paint if necessary.
- Ensure all bolts and connections remain tight.
Nchekwa oge
For prolonged periods of non-use or during winter months, it is recommended to disassemble the gazebo and store all components in a dry, protected area to prevent damage and extend product life.
Nchọpụta nsogbu
| Nsogbu | Ihe nwere ike ime | Ngwọta |
|---|---|---|
| Canopy does not fit or is too tight. | Incorrect assembly of frame; canopy not stretched evenly; fabric shrinkage. | Ensure frame is assembled correctly and square. Try loosening frame connections slightly, fitting the canopy, then re-tightening. Allow fabric to stretch over time. |
| Ịgbakọ mmiri n'elu mkpuchi. | Canopy not taut enough; improper installation of upper canopy; heavy rainfall. | Ensure canopy is stretched tightly over the frame. Verify upper canopy is correctly positioned for drainage. Remove canopy during heavy rain. |
| Gazebo na-enwe mmetụta nke enweghị usoro. | Njikọ ndị siri ike; anaghị ejikọta nke ọma. | Check and tighten all bolts and connections. Use ground stakes or weights to secure the gazebo legs. |
| Zippers on sidewalls/screens stick or break. | Dirt or debris in zipper teeth; excessive force. | Clean zipper teeth with a small brush. Apply a zipper lubricant. Operate zippers gently. |
Nkọwapụta

Image: Dimensional diagram of the gazebo.
| Njirimara | Nkọwa |
|---|---|
| Ụdị | Anwụ na -acha |
| Nọmba nlereanya | CRE-168 |
| Product Dimensions (Overall/Roof) | 156" L x 116.5" W x 106.5" H |
| Frame Dimensions (Base) | 140" W x 105" D |
| Mwepu isi | 75.25" (103.5" at frame peak) |
| Mpaghara Ndò | Ruo 126.2 square ụkwụ |
| Ibu Ibu | 106 pound |
| Frame Ihe | Alloy Steel (60mm) |
| Ihe mkpuchi mkpuchi | 100 GSM Polyester |
| Agba | Tan |
| Ọkwa Nguzogide mmiri | Ọ bụghị mmiri na-eguzogide |
| Nchedo UV | UPF 30 |
| Mgbakọ chọrọ | Yes (Two people recommended) |
Akwụkwọ ikike & Nkwado
Akwụkwọ ikike nke onye nrụpụta
Sunnydaze Decor backs its products with a Akwụkwọ ikike onye nrụpụta afọ 1 site na ụbọchị ịzụrụ. Akwụkwọ ikike a na-ekpuchi ntụpọ dị na ngwa na arụ ọrụ n'okpuru ojiji nkịtị.
Nkwado ndị ahịa
For questions, missing parts, or warranty claims, please contact Sunnydaze Decor customer service. Refer to your purchase documentation or the official Sunnydaze Decor websaịtị maka ozi kọntaktị ugbu a.
Akụrụngwa dị n'ịntanetị: You may find additional support and product information on the Sunnydaze Decor Brand Store.