
Okwu mmalite
This manual provides detailed instructions for the installation, operation, and maintenance of your ESX VN1015-MA-DAB-1DIN 1-DIN Touchscreen Navigation System. This advanced car multimedia unit features a 10.1-inch multi-angle touchscreen, Android operating system, DAB+ digital radio, Bluetooth hands-free and audio streaming, GPS navigation, and extensive media connectivity. Please read this manual thoroughly before using the device to ensure proper operation and to maximize your user experience.
Ntọala na nwụnye
Proper installation is crucial for the optimal performance of your ESX navigation system. It is recommended that installation be performed by a qualified professional.
1. Mwepu na nyocha
- Jiri nlezianya wepụ ihe niile dị na nkwakọ ngwaahịa.
- Verify that all listed accessories are present.
- Lelee ihe ngosi ọ bụla nke mmebi ahụ.
2. Njikọ njikọ
Refer to the wiring diagram for detailed connections. Ensure all connections are secure to prevent malfunctions.
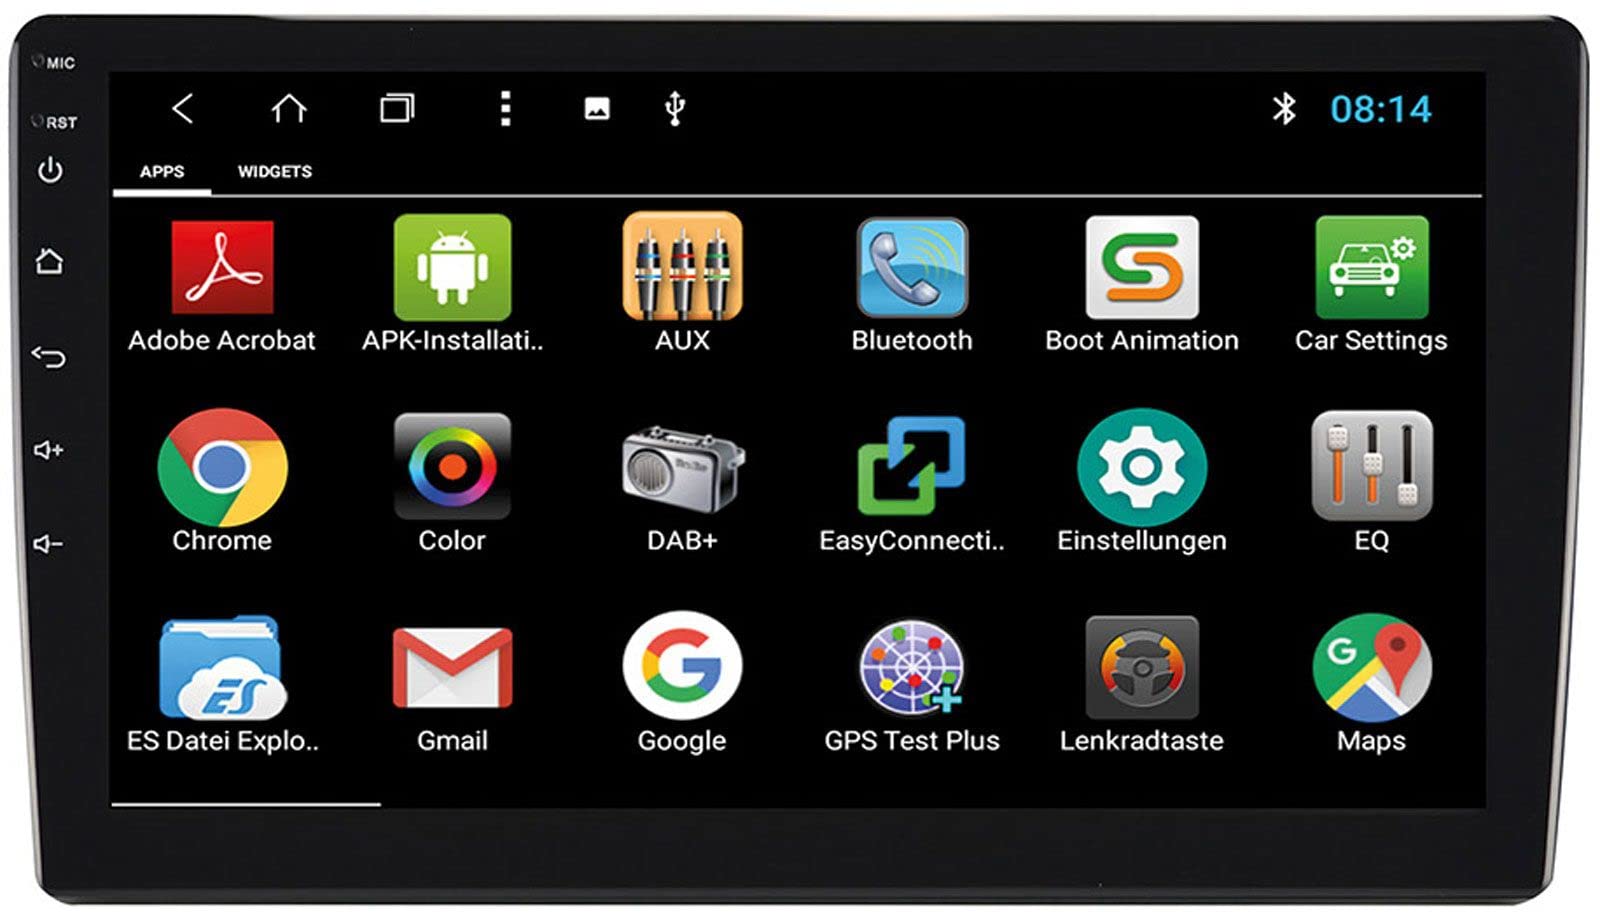
Image: Rear Connection Ports. This image displays the rear panel of the ESX VN1015-MA-DAB-1DIN unit, highlighting the various input and output ports. Key connections visible include GPS antenna input, WiFi antenna input, microphone input, USB ports, AV inputs, and the main power/speaker harness connector. A DAB+ antenna input is also present, along with a "PASSED" quality control sticker.
- Njikọ ike: Connect the main power harness to your vehicle's power supply (constant 12V, ignition 12V, and ground).
- Njikọ Ọkà Okwu: Connect the speaker wires to your vehicle's speakers, ensuring correct polarity.
- Antenna GPS: Connect the GPS antenna to the dedicated GPS input. Position the antenna in a location with a clear view nke eluigwe maka ezigbo nnabata mgbaama.
- DAB+ Antenna: Connect the included DAB+ antenna to the DAB+ input. Ensure proper placement for best digital radio reception.
- Antenna WiFi: Connect the WiFi antenna for internet connectivity via a mobile hotspot.
- ọdụ ụgbọ mmiri USB: Connect USB devices for media playback or smartphone charging.
- Igwe okwu: Connect the internal microphone or an optional external microphone (VNA-MIC-AND) for Bluetooth hands-free calling.
- AUX/Video Input: Connect external audio/video sources.
- Ntinye igwefoto: Jikọọ azụview camera to the camera input. The system supports adjustable parking lines.
- Tupu-amp Nsonaazụ: Jikọọ na mpụga amplifiers for front, rear, and subwoofer channels.
- Njikwa Wheel Steel: If your vehicle supports steering wheel controls, an optional adapter may be required. Connect the steering wheel control wires as per the adapter's instructions.
3. Ịkwanye Unit
- Install the 1-DIN chassis into your vehicle's dashboard opening.
- Attach the 10.1-inch touchscreen display to the chassis. The display is multi-angle adjustable (height and viewing angle) for optimal visibility.
- Secure the unit firmly to prevent movement during driving.
4. Gbanwee ike mbụ
- After all connections are made, turn on your vehicle's ignition.
- The unit should power on and display the ESX logo.
- Follow any on-screen prompts for initial setup, such as language selection and time zone.
Ntuziaka ọrụ
Your ESX navigation system runs on an Android operating system, offering a familiar and intuitive user interface.
1. Touchscreen Interface
The 10.1-inch high-resolution touchscreen allows for easy control of all functions. Tap, swipe, and pinch-to-zoom gestures are supported.
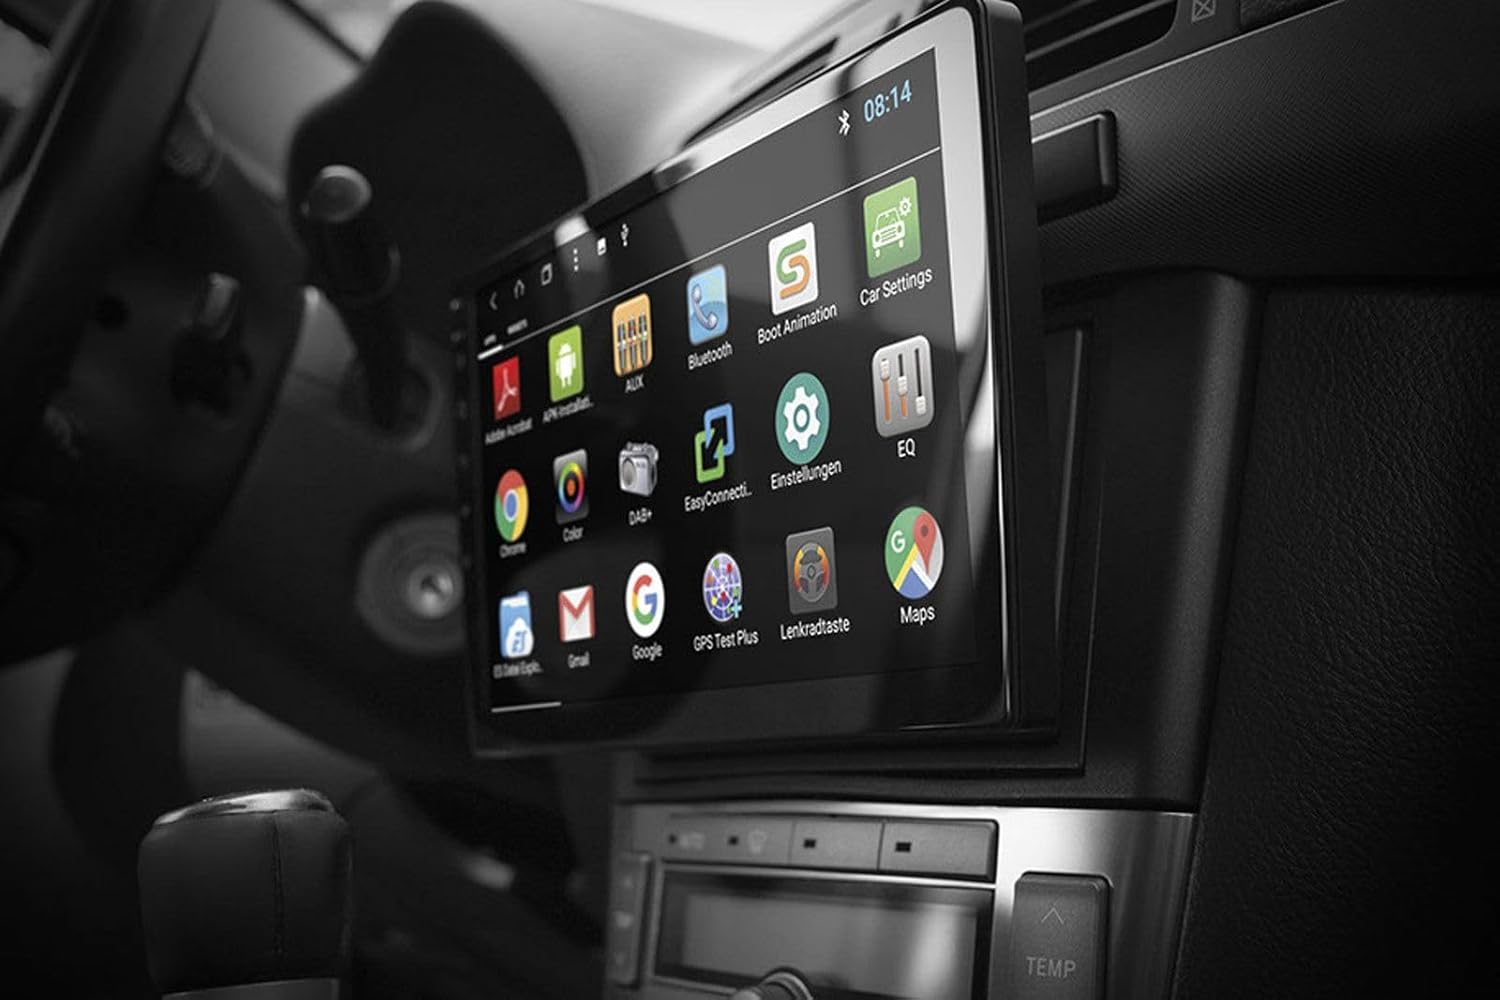
Image: Android App Interface. This image shows the ESX VN1015-MA-DAB-1DIN unit installed in a car, with its screen displaying a grid of Android application icons. Visible apps include Bluetooth, DAB+, EQ, Google, Maps, and various system settings, indicating the unit's smart functionality.
2. Navigation (GPS)
- The system uses Google Maps for navigation, supporting both online and offline modes.
- Ensure the GPS antenna is properly connected and positioned.
- For offline maps, download the required map data via a WiFi connection.
- To start navigation, open the Maps application and enter your destination.

Image: Navigation Display. This image illustrates the ESX VN1015-MA-DAB-1DIN unit's screen showing a detailed navigation map. The map displays street names and routes, indicating active GPS guidance within a vehicle's interior.
3. Radio Functions (DAB+/AM/FM)
- DAB+ Redio Dijitalụ: Access high-quality digital radio broadcasts. The system displays station logos. Ensure the DAB+ antenna is connected.
- Radio AM/FM: Tune into analog radio stations. RDS (Radio Data System) functionality provides station information.
- To switch between radio modes, select the appropriate option in the radio application.
- Scan for stations and save your favorites for quick access.

Image: Radio Interface. This image shows the ESX VN1015-MA-DAB-1DIN unit's screen displaying the FM radio interface. It features a frequency tuner, station presets, and controls for functions like REG, TA, AF, and PTY, indicating comprehensive radio capabilities.
4. Njikọ Bluetooth
- Na-ejikọta: Go to the Bluetooth settings on the unit and your smartphone. Chọọ maka available devices and select "ESX VN1015-MA-DAB-1DIN" (or similar). Enter the PIN if prompted (usually 0000 or 1234).
- Oku na-anaghị aka: Once paired, you can make and receive calls directly from the unit. Use the internal microphone or an optional external microphone for clear communication.
- Ngụgharị ọdịyo (A2DP): Stream music from your smartphone to the unit wirelessly.
5. Mgbasa mgbasa ozi
- USB/MicroSD: Insert USB drives or MicroSD cards containing audio or video files into the respective ports. The system will automatically detect and allow playback through the media player application.
- Ntinye AUX: Connect external audio/video devices via the AUX input.
- Njikọ Smartphone: Connect Android or iPhone devices via USB for charging. Some Android devices may support mirroring or data transfer depending on the phone and app.
6. Ntọala Sistemu
- Access the Android settings menu to customize various aspects of the unit, including display, sound, network, and system information.
- You can adjust display brightness, sound equalizer settings, and connect to a WiFi hotspot for internet access.
- Customize boot logos and background images from the settings.
Nlekọta
Regular maintenance ensures the longevity and optimal performance of your ESX navigation system.
- Na-ehicha ihuenyo: Jiri akwa dị nro, nke na-enweghị lint, jiri nwayọ hichaa ihuenyo mmetụ ahụ. Maka isi ike smudges, ntakịrị dampJiri mmiri ma ọ bụ ihe nhicha dị mma kpuchie ákwà ahụ. Zere kemịkalụ siri ike ma ọ bụ ihe ndị na-emebi emebi.
- Mmelite ngwanrọ: Periodically check for software updates from the manufacturer's website or through the unit's system settings (if available). Updates can improve performance and add new features.
- General Nlekọta: Avoid exposing the unit to extreme temperatures, direct sunlight for prolonged periods, or excessive moisture. Ensure proper ventilation around the unit.
Nchọpụta nsogbu
If you encounter issues with your ESX navigation system, refer to the following common problems and solutions.
| Nsogbu | Ngwọta enwere ike |
|---|---|
| Unit anaghị agbanye ọkụ. | Check all power connections (constant 12V, ignition 12V, ground). Verify the vehicle's fuse box and the unit's inline fuse. Ensure the ignition is on. |
| Enweghị ụda. | Check speaker connections. Ensure volume is not muted or set too low. Verify ampnjikọ lifier ma ọ bụrụ na mpụga amplifiers are used. Check audio source selection. |
| GPS signal is weak or unavailable. | Gbaa mbọ hụ na ejikọrọ antenna GPS na nchekwa ma debe ya n'ebe nwere oghere doro anya view of the sky (e.g., dashboard, under windshield). Avoid obstructions. |
| Bluetooth not connecting or unstable. | Ensure Bluetooth is enabled on both the unit and your smartphone. Delete previous pairings and try re-pairing. Move the phone closer to the unit. Restart both devices. |
| DAB+ radio reception is poor. | Check the DAB+ antenna connection and its placement. Ensure you are in an area with DAB+ coverage. Rescan for stations. |
| Ihuenyo mmetụ anaghị anabata. | Perform a soft reset of the unit (refer to the system settings for a reset option, or press and hold the power button if available). Ensure the screen is clean and free of debris. |
Nkọwapụta
Key technical specifications for the ESX VN1015-MA-DAB-1DIN navigation system:
- Ngosipụta: 10.1-inch high-resolution multi-angle LCD touchscreen
- Sistemụ nrụọrụ: Android
- Ntugharị: Google Maps (online and offline)
- Njikọta: WiFi Hotspot (requires compatible smartphone), Bluetooth (hands-free, audio streaming), USB (2 ports), MicroSD card slot (for navigation and media), AUX/Video input, AUX/Audio input
- Redio: DAB+ Digital Radio (with station logos, DAB antenna included), AM/FM Radio (with RDS function)
- Nsonaazụ ọdịyo: Front/Rear/Subwoofer pre-amp mmepụta
- Ntinye: 1 Camera input (adjustable lines), 1 AUX/Video input, 1 AUX/Audio input
- Atụmatụ pụrụ iche: Adjustable boot logos and background images, Internal microphone, Connector for optional external microphone (VNA-MIC-AND), Steering wheel control support (optional adapter required)
- Usoro njikwa: Ihuenyo mmetụ aka
- Ụdị ọrụ ụgbọ ala: Ụgbọ ala
- Onye nrụpụta: ESX
- Mba onye si: China
Ozi akwụkwọ ikike
The ESX VN1015-MA-DAB-1DIN unit includes a Certificate of Authenticity. For specific warranty terms and conditions, please refer to the documentation provided with your purchase or contact your retailer. Information regarding spare parts availability and guaranteed software updates is not explicitly provided.
Nkwado ndị ahịa
If you require further assistance or have questions not covered in this manual, please contact your authorized ESX dealer or the retailer from whom you purchased the product. They can provide specialized support and service.