1. Okwu mmalite
This manual provides comprehensive instructions for the assembly, operation, and maintenance of your Glorious Sound Desk Pro Professional Studio Workstation. Please read this manual thoroughly before assembly and use to ensure proper function and longevity of your product. Keep this manual for future reference.
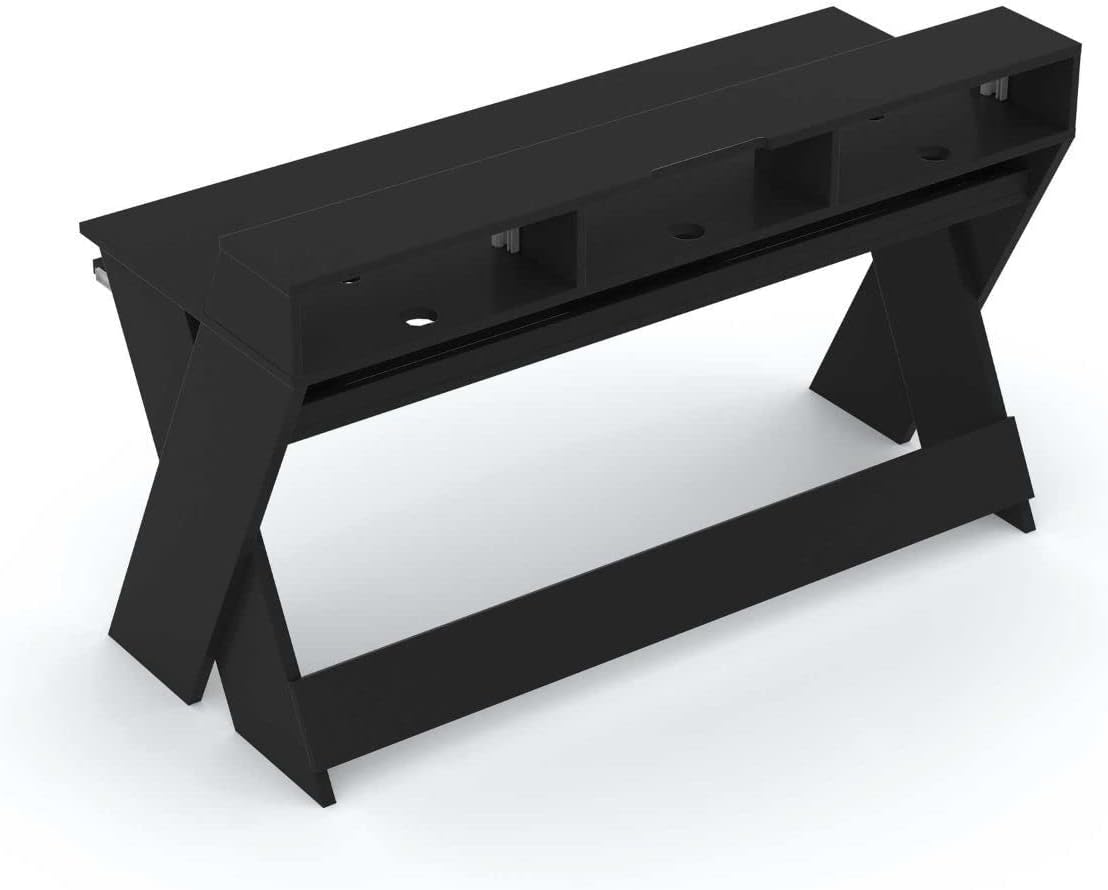
The Glorious Sound Desk Pro is designed as a professional studio workstation, optimized for various creative applications. It provides ample space for a computer, screen, studio monitors, audio interface, 19-inch rack-mount equipment, MIDI controllers, synthesizers, and a master keyboard. Its design allows for multi-level production setups, featuring a pull-out drawer for keyboards and integrated cable management solutions.

Figure 1.1: Glorious Sound Desk Pro Professional Studio Workstation.
2. Ozi nchekwa
Ntuziaka nchekwa dị mkpa:
- Always ensure the desk is properly anchored to the wall when mounted flush to prevent tipping.
- Do not exceed the maximum weight limit of 23.383 kilograms (51.55 pounds) for the desk surface to maintain stability.
- Use only the provided assembly tools and hardware.
- Ensure all connections are secure before placing equipment on the desk.
- Debe ụmụaka na anụ ụlọ n'oge mgbakọ.
3. Ihe ngwugwu
Nyochaa na akụrụngwa niile dị na enweghị mmebi tupu ịmalite mgbakọ. Ọ bụrụ na akụkụ ọ bụla na-efu ma ọ bụ mebie, biko kpọtụrụ nkwado ndị ahịa.
- Glorious Sound Desk Pro components (various wood panels and supports)
- Assembly hardware (screws, dowels, brackets)
- Assembly tools (as specified by manufacturer)
- Akwụkwọ ntuziaka
Ọgụgụ 3.1: Ọpụample of Glorious Sound Desk Pro components before assembly.
4. Ntuziaka Mgbakọ
Assembly requires approximately 1 person. All necessary assembly tools are included. Follow these steps carefully:
- Wepu akụrụngwa: Carefully remove all parts from the packaging and lay them out on a clean, soft surface to prevent scratches. Identify each component using the provided parts list.
- Kpọkọta akụkụ akụkụ: Attach the cross-braces to the X-shaped side panels using the designated screws. Ensure all connections are tight.
- Install Main Desk Surface: Secure the main desk surface to the assembled side panels. Pay attention to the orientation for proper alignment of cable cutouts and rack slots.
- Attach Upper Shelf: Mount the upper shelf, which includes the 19-inch rack slots, to the main desk surface.
- Assemble Keyboard Tray:
- Attach the drawer glides to the keyboard tray and the underside of the main desk surface.
- The keyboard tray is adjustable in 4 height positions. Select the desired height before fully securing the glides. Refer to Figure 4.1 for height options.
- Nyocha ikpeazụ: Ensure all screws are tightened and the desk is stable.

Figure 4.1: Keyboard tray height adjustment options (measurements in mm).

Figure 4.2: Overall dimensions of the Glorious Sound Desk Pro (measurements in mm).
5. Atụmatụ na Ojiji
The Sound Desk Pro is designed for optimal studio workflow. Here's how to utilize its key features:
5.1 Workspace Organization
The desk provides a large working surface with increased width and depth, allowing for simultaneous production on three levels. This accommodates a laptop/computer, screen, studio monitors, audio interface, MIDI controllers, and synthesizers.

Figure 5.1: Glorious Sound Desk Pro with a typical studio setup.
5.2 19-inch Rack Slots
Two 3U rack slots are integrated into the upper shelf, suitable for mounting 19-inch devices such as compressors, equalizers, or effects units.

Figure 5.2: Integrated 19-inch rack slots with equipment.
5.3 Mpempe akwụkwọ ahụigodo
The pull-out drawer is designed to accommodate keyboards up to 88 keys. It can be adjusted to four different height positions during assembly to suit your specific keyboard and ergonomic needs.
5.4 Njikwa eriri
The desk features multiple ducts for cable routing on the top, interior, and bottom. An interior cable duct is suitable for organizing power supplies using multiple sockets and is accessible from both the front and rear. A cable recess at screen height allows the desk to be placed flush against a wall.

Figure 5.3: Cable routing for studio monitors.

Figure 5.4: Internal cable management for power strips.
6. Nkọwapụta
| Njirimara | Nkọwa |
|---|---|
| Ụdị | Ebube |
| Nọmba nlereanya | AMS-SOUND-DESK-PRO-BLK |
| Agba | Nwa |
| Isi ihe | Osisi |
| Ụdị ihe kacha elu | Osisi |
| Ụdị mmecha | Lacquered or Varnished |
| Ibu Ibu | 23.38 Kilogram (51.55 pound) |
| Ogologo kachasị elu | Sentimita 157.48 (62 sentimita) |
| Ogologo diagonal dị elu na-arụ ọrụ | 59 sentimita asatọ |
| Mgbakọ achọrọ | Ee |
| Ọnụọgụ ndị mmadụ akwadoro maka Mgbakọ | 1 |
| Gụnyere Ngwa Mgbakọ niile | Ee |
| Number of Keyboard Tray Height Positions | 4 |
7. Nlekọta
To ensure the longevity and appearance of your Glorious Sound Desk Pro, follow these maintenance guidelines:
- Nhicha: Jiri nwayọ hichaa elu ala, damp ákwà. Zere ihe nhicha ma ọ bụ kemịkalụ siri ike, n'ihi na ihe ndị a nwere ike imebi njedebe.
- Nchara Regularly dust the desk to prevent buildup, especially in cable management areas and rack slots.
- Nyochaa ngwaike: Lelee skru na njikọ niile iji hụ na ha kwụgidere. Tinyegharịa ọzọ ma ọ dị mkpa.
- Nkesa arọ: Distribute equipment weight evenly across the desk surface and shelves to prevent stress on any single point.
- Zere mmiri mmiri: Protect the desk from excessive moisture and direct sunlight to prevent warping or fading.
8. Nchọpụta nsogbu
This section addresses common issues you might encounter with your Sound Desk Pro.
| Nsogbu | Ihe nwere ike ime | Ngwọta |
|---|---|---|
| Desktọpụ ahụ na-ama jijiji ma ọ bụ enweghị ntụkwasị obi. | Klas ndị rụrụ arụ ma ọ bụ ala na-enweghị isi. | Ensure all assembly screws are tightened. Check if the floor is level; use shims if necessary. Verify proper wall anchoring if applicable. |
| Keyboard tray does not slide smoothly. | Drawer glides are misaligned or dirty. | Check alignment of glides and ensure they are free of debris. Apply a small amount of silicone lubricant if needed. |
| Equipment does not fit in 19-inch rack slots. | Incorrect rack unit size or mounting method. | Ensure equipment is standard 19-inch rack-mountable and does not exceed 3U height per slot. Use appropriate rack screws. |
9. Akwụkwọ ikike na nkwado
The Glorious Sound Desk Pro comes with a 1-year limited manufacturer's warranty. This warranty covers defects in materials and workmanship under normal use. It does not cover damage resulting from misuse, accidents, unauthorized modifications, or normal wear and tear.
For warranty claims, technical support, or to order replacement parts, please contact Glorious customer service through their official website or your point of purchase. Please have your model number (AMS-SOUND-DESK-PRO-BLK) and proof of purchase ready.