
Ntuziaka nchekwa dị mkpa
To ensure safe operation and prolong the life of your monitor, please read and follow these instructions carefully:
- Mgbe niile, wepụ eriri ọkụ eletrik na oghere ọkụ eletrik tupu ị sachaa ihe nlele ahụ.
- Ewepụla ihe nleba anya na mmiri ozuzo ma ọ bụ mmiri iji zere ujo eletrik.
- Ensure proper ventilation around the monitor to prevent overheating. Do not block ventilation openings.
- Jiri naanị ihe nkwụnye ike na eriri ndị nrụpụta nyere.
- Avoid placing heavy objects on the power cord or monitor.
- If the monitor is damaged or malfunctions, do not attempt to repair it yourself. Contact qualified service personnel.
Ihe ngwugwu
Before proceeding with the setup, please check the contents of your package to ensure all items are present:
- Acer CB272U smiiprx LED Monitor
- Monitor Stand (Base and Arm)
- Ụdọ ọkụ
- HDMI USB
- Quick Start Guide / Warranty Card
Melite
1. Ịchịkọta ihe nguzozi ihe nlele ahụ
- Carefully remove the monitor from its packaging. Place the monitor face down on a soft, clean cloth or surface to prevent scratches to the screen.
- Attach the stand arm to the back of the monitor panel. Ensure it is securely fastened, typically by sliding it into place until it clicks or by tightening screws.
- Connect the stand base to the bottom of the stand arm. Secure the base by tightening the captive screw located underneath the base.

Ọgụgụ 1: N'azụ view of the Acer CB272U smiiprx monitor with the stand attached, illustrating the assembly points.
2. Connecting the Monitor to Your Computer
- Connect one end of the provided HDMI cable to the HDMI port on the monitor.
- Connect the other end of the HDMI cable to the HDMI output port on your computer or graphics card.
- Plug the power cord into the monitor's power input, then plug the other end into a grounded electrical outlet.

Foto nke 2: Azụ nwere akụkụ anọ view showing the input ports of the monitor, including HDMI and power connections.
Na-arụ ọrụ Monitor
Na-agbanye ma gbanyụọ
Locate the power button on the monitor's bezel. Press it once to turn the monitor on. The power indicator light will illuminate. Press it again to turn the monitor off.
Adjusting Display Settings (OSD Menu)
The On-Screen Display (OSD) menu allows you to customize various monitor settings. Use the control buttons (usually located on the back or bottom right of the monitor) to navigate the OSD menu. Common adjustments include:
- Icha ọkụ/ọdịiche: Gbanwee ìhè na ọdịiche dị n'etiti ebe ìhè na ebe gbara ọchịchịrị.
- Ntọala agba: Gbanwee okpomọkụ agba, gamma, na ọkwa RGB nke ọ bụla.
- Isi mmalite ntinye: Manually select the video input (e.g., HDMI).
- Audio: Control volume for the built-in speakers.
Ndozi ergonomic
The Acer CB272U smiiprx monitor stand offers multiple ergonomic adjustments to optimize your viewnkasi obi:
- Ndozi elu: Welie ma ọ bụ wedata ihe nlele ahụ ruo n'ọkwa anya.
- Gbaa: Adjust the screen angle forward or backward to reduce glare.
- Swivel: Rotate the monitor horizontally to share your screen or adjust viewakụkụ n'akuku.
- Pivot: Rotate the screen to a portrait orientation for document viewing or coding.
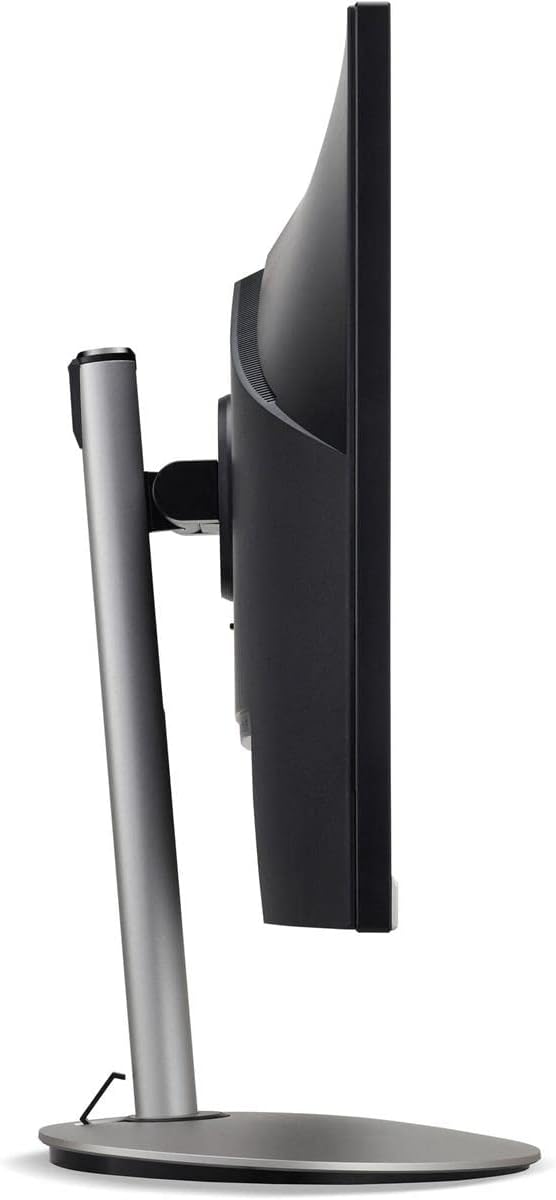
Ọgụgụ 3: Akụkụ profile of the monitor, illustrating its adjustable stand for ergonomic positioning.
Nlekọta
Cleaning the Monitor Screen and Casing
To clean your monitor, first ensure it is turned off and unplugged from the power outlet. Use a soft, lint-free cloth. For stubborn marks, lightly dampen the cloth with water or a specialized non-abrasive screen cleaner. Do not spray liquid directly onto the screen or casing. Zere iji kemịkalụ siri ike, ihe na-ehicha ihe, ma ọ bụ ihe mgbaze.
Ntuziaka nchekwa
If you need to store the monitor for an extended period, it is recommended to use its original packaging to protect it from dust, moisture, and physical damage. Store in a cool, dry environment away from direct sunlight and extreme temperatures.
Nchọpụta nsogbu
Rụtụ aka na tebụl dị n'okpuru maka okwu nkịtị na azịza ha:
| Nsogbu | Ihe nwere ike ime | Ngwọta |
|---|---|---|
| Enweghị onyonyo na ihuenyo | Akwụsịla eriri ọkụ; Ekwupụrụ eriri vidiyo; ahọpụtara isi mmalite ntinye ezighi ezi. | Check power and video cable connections; Ensure the monitor is powered on; Select the correct input source via the OSD menu. |
| Onyonyo na-agbagọ ma ọ bụ agbagọ | Incorrect resolution setting; Faulty video cable. | Set the display resolution to 2560 x 1440 at 75 Hz; Try a different HDMI cable. |
| Enweghị ụda sitere na ndị ọkà okwu | Monitor volume too low or muted; Incorrect audio output selected on computer. | Adjust monitor volume via OSD; Unmute audio; Select the monitor as the audio output device in your computer's sound settings. |
| Mmụba ihuenyo | Refresh rate mismatch; Interference; Faulty cable. | Ensure refresh rate is set to 75 Hz; Check for nearby electronic devices causing interference; Replace video cable. |
Nkọwapụta
Key technical specifications for the Acer CB272U smiiprx LED Monitor:
| Njirimara | Nkọwa |
|---|---|
| Aha Nlereanya | CB272U smiiprx |
| Nha ihuenyo | 24.1 sentimita asatọ |
| Mkpebi obodo | 2560 x 1440 (WQHD) |
| Ọnụego ume ọhụrụ | 75 Hz |
| Oge nzaghachi | 1 Millisecond (VRB) |
| Akụkụ akụkụ | 16:9 |
| Ụdị ngosi | LED-backlit LCD / TFT active matrix (IPS) |
| Icha ọkụ | 350 cd/m² |
| Ọnụọgụ ọdịiche | 1000:1 (Static) |
| Njikọta | HDMI |
| Mmekọrịta na-agbanwe agbanwe | FreeSync |
| Ndị na-ekwu okwu arụrụ arụ | Ee |
| Dimensions (WxDxH with stand) | 24.1 n'ime x 9.2 na x 20.5 inch |
| Ibu (ya na nkwụnye) | 18.1 pound |

Figure 4: Monitor dimensions with stand, indicating width, depth, and height.
Ozi akwụkwọ ikike
The Acer CB272U smiiprx LED Monitor comes with a 3 afọ emeputa nwere ikike ikike. This warranty covers defects in materials and workmanship under normal use. For complete details regarding warranty coverage, limitations, and how to make a claim, please refer to the warranty documentation included with your product or visit the official Acer support websaịtị.
Please retain your proof of purchase (receipt or invoice) as it will be required for any warranty service.
Nkwado ndị ahịa
Should you require further assistance, technical support, or wish to download the latest drivers and firmware updates for your monitor, please visit the official Acer support websaịtị:
You can also find contact information for Acer customer service in your region on the support website for personalized assistance.