
1. Okwu mmalite
Daalụ maka ịzụrụasing the DACOM GF7 TWS V4.2 Bluetooth Earbuds. This manual provides detailed instructions on how to set up, operate, and maintain your earbuds to ensure optimal performance and longevity. Please read this manual thoroughly before using the product and retain it for future reference.
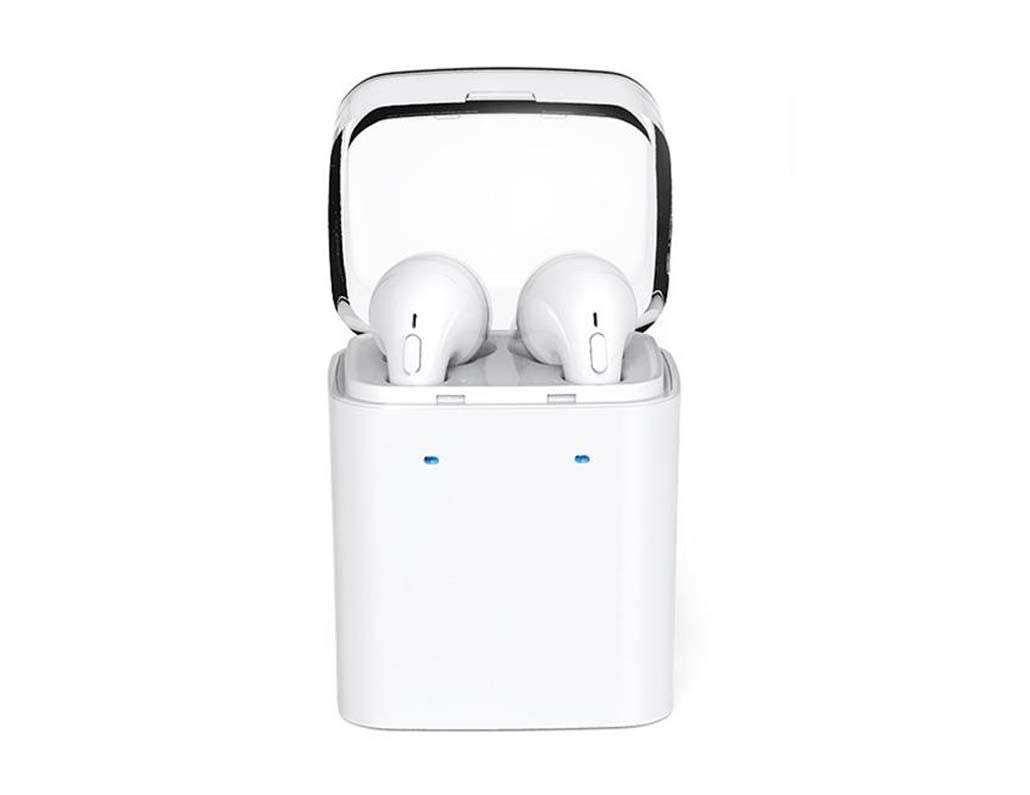
Image 1.1: DACOM GF7 TWS V4.2 Bluetooth Earbuds in their charging case.
2. Ihe ngwugwu
Biko lelee ihe dị n'ime ngwugwu ahụ mgbe ị na-emepe igbe ahụ. Ọ bụrụ na ihe ọ bụla efuola ma ọ bụ mebie, kpọtụrụ onye na-ere ahịa gị.
- DACOM GF7 TWS V4.2 Bluetooth Earbuds (Left and Right)
- Akpa Nchaji enwere ike ibugharị
- Igwe nchaji USB
- Nkịta ntị (nha dị iche iche)
- Akwụkwọ ntuziaka (akwụkwọ a)
3. Ngwaahịa gafereview
Familiarize yourself with the components of your DACOM GF7 TWS V4.2 Earbuds and charging case.

Image 3.1: Detailed diagram showing the Multifunction Button (MFB), Indicator Light, Microphone (Mic), Air Gate, DC5V Charge Jack Cover, Headphone Charging Indicator Light, USB Charging Input Port, and the Charging Indicator Light of the bottom on the DACOM GF7 TWS V4.2 Earbuds and Charging Case.
- bọtịnụ Multifunction (MFB): Used for power, playback, call management, and voice assistant activation.
- Ìhè ihe ngosi: Displays pairing status, charging status, and power status.
- Maị: Built-in microphone for calls and voice commands.
- Ọnụ ụzọ ikuku: Acoustic vent for sound performance.
- DC5V Charge Jack Cover: Protects the charging port on the earbuds.
- Headphone Charging Indicator Light: Shows charging status of individual earbuds within the case.
- USB Charging Input Port: For charging the portable charging case.
- Charging Indicator Light of the bottom: Shows charging status of the case.
4. Nhazi
4.1. Ịchaji ntị na akpa chaja
- Ịchaji ikpe ahụ: Connect the USB charging cable to the USB Charging Input Port on the charging case and the other end to a 5V USB power adapter (not included). The Charging Indicator Light at the bottom of the case will illuminate to indicate charging. Once fully charged, the indicator light may change color or turn off.
- Ịchaji ekwe ntị: Place the earbuds into their respective slots in the charging case. Ensure the earbuds are properly seated. The Headphone Charging Indicator Light on the case will show the charging status of the earbuds. The earbuds' indicator lights will also show charging status (e.g., red while charging, off when fully charged).
- Maka ojiji mbụ, chajie ma ekweisi na akpa chaji ahụ nke ọma.
4.2. Njikọ Bluetooth
- Ike Na: Take both earbuds out of the charging case. They will automatically power on and attempt to pair with each other. You will hear an audible prompt indicating they are connected to each other.
- Mmakọ Mmakọ: Once the earbuds are paired with each other, one earbud's indicator light will flash red and blue alternately, indicating it is in pairing mode and ready to connect to your device.
- Jikọọ na ngwaọrụ: On your smartphone or Bluetooth-enabled device, go to the Bluetooth settings and search for available devices. Select "DACOM GF7 TWS" (or similar name) from the list.
- Njikọ na-aga nke ọma: Once connected, the earbud's indicator light will stop flashing, and you will hear a confirmation sound.
- Njikọta akpaaka: After initial pairing, the earbuds will automatically connect to the last paired device when taken out of the charging case, provided Bluetooth is enabled on your device.
5. Ntuziaka ọrụ
The DACOM GF7 TWS V4.2 Earbuds feature a Multifunction Button (MFB) for various controls.
5.1. Gbanyụọ / gbanyụọ
- Ike Na: Take the earbuds out of the charging case. They will power on automatically. Alternatively, press and hold the MFB on both earbuds for approximately 3 seconds until you hear a power-on prompt.
- Gbanyụọ: Place the earbuds back into the charging case. They will power off automatically. Alternatively, press and hold the MFB on both earbuds for approximately 5 seconds until you hear a power-off prompt.
5.2. Nghaghachi egwu
- Gwuo/kwụsịtụ: Single press the MFB on either earbud.
- Track na-esote: Double press the MFB on the right earbud.
- Gara aga Track: Double press the MFB on the left earbud.
5.3. Njikwa oku
- Azịza/Kwụsị Oku: Single press the MFB on either earbud.
- Jụ oku: Press and hold the MFB on either earbud for approximately 2 seconds.
5.4. Onye enyemaka olu
- Mee ka onye enyemaka olu rụọ ọrụ: Triple press the MFB on either earbud to activate your device's voice assistant (e.g., Siri, Google Assistant).
5.5. Ịkagbu mkpọtụ
- The DACOM GF7 TWS V4.2 features active noise cancellation. Specific activation methods may vary. Refer to the product's quick start guide or manufacturer's website for precise instructions if not detailed here. Typically, a long press or specific tap sequence on an MFB or dedicated button activates/deactivates ANC.
6. Nlekọta
Nlekọta kwesịrị ekwesị na-eme ka ogologo ndụ na arụmọrụ nke ntị ntị gị dị ogologo.
- Nhicha: Jiri akwa dị nro, kpọrọ nkụ na-adịghị na-ehicha ntị ntị na chaja mgbe niile. Ejila kemịkalụ siri ike ma ọ bụ ihe abrasive.
- Ndụmọdụ ntị: Wepụ ma hichaa nsọtụ ntị mgbe niile site na iji mgbasa oziamp ákwà na ncha dị nro, wee sachaa ma kpoo nke ọma tupu ị tinyeghachi ya.
- Nchekwa: Mgbe ejighị ya, chekwaa ntị ntị na chaja ha iji chebe ha pụọ na uzuzu na mmebi.
- Zere mmiri mmiri: Keep the earbuds and charging case away from water, excessive humidity, and extreme temperatures.
7. Nchọpụta nsogbu
If you encounter issues with your earbuds, refer to the following common problems and solutions.
| Nsogbu | Ngwọta |
|---|---|
| Earbuds not pairing with each other. |
|
| Earbuds not connecting to device. |
|
| Enweghị ụda sitere na ekweisi. |
|
| Charging case or earbuds not charging. |
|
8. Nkọwapụta
| Aha ika | DACOM |
| Aha Nlereanya | GF7 TWS |
| Nọmba nlereanya | 7 TWS |
| Agba | Ọcha |
| Ụdị ekweisi | N'ime ntị |
| Njikwa mkpọtụ | Nkagbu mkpọtụ nọ n'ọrụ |
| Teknụzụ Njikọta | Ikuku (Bluetooth) |
| Teknụzụ nzikọrịta ozi ikuku | Bluetooth V4.2 (inferred from title) |
| Ngwa gụnyere | Nkịta ntị |
| Atụmatụ pụrụ iche | Noise Cancellation, Microphone Included |
| Usoro njikwa | Metụ aka |
| Ngwa dakọtara | Ngwa niile |
| Ihe onwunwe | PU Metal Eraser (likely referring to ear tip material or casing finish) |
9. Ozi nchekwa
Please read and follow these safety guidelines to prevent injury or damage to your device.
- Do not disassemble, repair, or modify the product. This may cause fire, electric shock, or complete damage to the product.
- Keep the product away from extreme temperatures (hot or cold), direct sunlight, and sources of heat.
- Zere ikpughe ngwaahịa a na mmiri ma ọ bụ mmiri mmiri ndị ọzọ.
- Do not use the product at high volume for extended periods to prevent hearing damage.
- Jiri naanị eriri na nkwụnye chaja enyere ma ọ bụ akwadoro.
- Debe ya ebe ụmụaka na anụ ụlọ na-agaghị eru ya aka. Akụkụ ndị dị nta nwere ike ibute ihe egwu nke ịpịa ya n'ime afọ.
- Be aware of your surroundings when using the earbuds, especially in traffic or other potentially dangerous situations.
10. Akwụkwọ ikike na nkwado
DACOM products are designed and manufactured to the highest quality standards. For detailed warranty information, please refer to the warranty card included with your purchase or visit the official DACOM websaịtị.
For technical support, troubleshooting assistance, or to inquire about replacement parts, please contact DACOM customer service through their official websaịtị ma ọ bụ ozi kọntaktị enyere na nkwakọ ngwaahịa gị.
- Nkwado n'ịntanetị: Visit the official DACOM websaịtị maka FAQ, akụkọ nkwado na ụdị kọntaktị.
- Nkwado email: Refer to your product packaging for customer service email addresses.