
Vive 3 Wheel Mobility Scooter
Vive 3 Wheel Mobility Scooter Instruction Manual
Model: 3 Wheel Mobility Scooter
1. Okwu mmalite
This manual provides essential information for the safe and effective operation, assembly, and maintenance of your Vive 3 Wheel Mobility Scooter. Designed for adults, this electric-powered device offers stable assistance for navigating smooth indoor and light outdoor surfaces, ensuring comfort and independence.
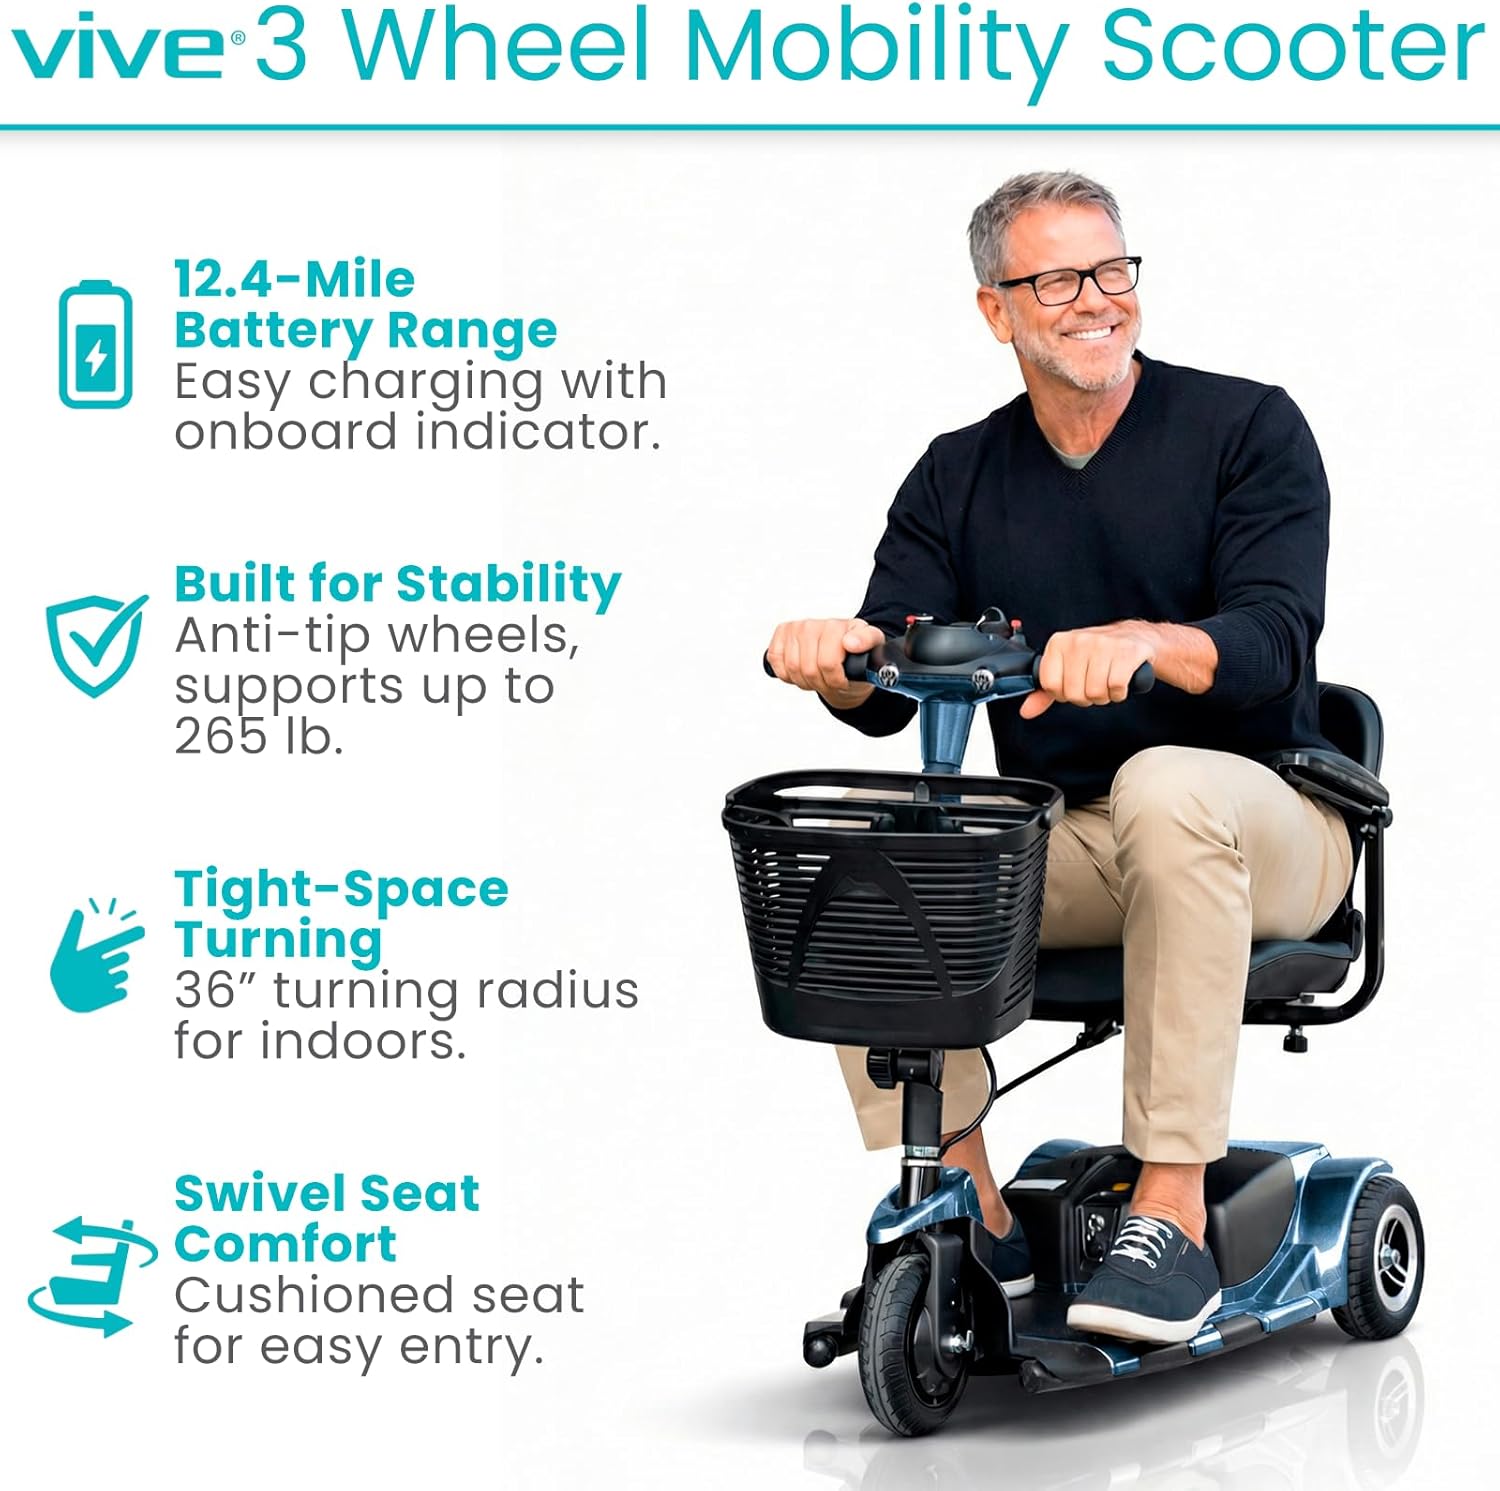
Image: A man riding the Vive 3 Wheel Mobility Scooter, showcasing Nhazi ya dị obere ma dị mfe iji.
2. Ozi nchekwa
Always prioritize safety when operating the mobility scooter. Adhere to the following guidelines:
- Ike ibu: The scooter is designed to safely support up to 265 pounds. Do not exceed this limit.
- Ala: Suitable for smooth indoor surfaces and light outdoor terrains such as concrete, pavement, and short grass. Avoid rugged terrain, very steep inclines, or uneven surfaces to prevent instability.
- Taya: Equipped with flat-free, non-marking 8-inch tires for worry-free rides.
- Nkwụsi ike: Features anti-tip wheels for enhanced stability.
- breeki: The scooter is equipped with an automatic braking system. Ensure the drive lever is released to engage the brakes.
- Na-emegharị: Exercise caution when navigating tight spaces or around obstacles.

Foto: Zuru ezu view of the scooter's flat-free tires, suitable for different smooth terrains.
3. Ihe ngwugwu
Chọpụta na akụrụngwa niile dị mgbe ị na-ewepụ igbe:
- Vive 3 Wheel Mobility Scooter (main unit)
- Comfortably padded seat with flip-up armrests
- Front-mounted storage basket
- Batrị agbatịgoro
- Quick-connect battery charger
- Igodo mgbanye
4. Mgbakọ na Ntọala
The Vive 3 Wheel Mobility Scooter is designed for quick and easy assembly and disassembly. It can be separated into four lightweight pieces for convenient transport and storage.
- Wepu akụrụngwa: Jiri nlezianya wepụ akụkụ niile na nkwakọ ngwaahịa.
- Attach Rear Section: Connect the rear drive section to the main chassis.
- Wụnye Batrị: Securely place the extended battery into its compartment.
- Tinye oche: Mount the padded seat onto the seat post, ensuring it locks into place.
- Install Tiller: Raise and secure the folding tiller into the upright position.
- Attach Basket: Hook the front storage basket onto the tiller.

Image: The scooter disassembled into its main components, demonstrating its portability for vehicle transport.
For a visual guide on assembly, please refer to the "About the Vive 3 Wheel Mobility Scooter" video below.
Vidiyo: Efereview of the Vive 3 Wheel Mobility Scooter, including assembly and key features.
5. Ntuziaka ọrụ
5.1 Tiller Console Controls
The tiller console provides all necessary controls for operating your scooter:

Foto: Zuru ezu view of the scooter's control panel, showing the power switch, battery indicator, speed dial, horn, and headlight controls.
- Mgbanwe igodo: Insert the key and turn to the 'ON' position to power on the scooter.
- Ihe ngosi ọkwa batrị: Located at the top of the console, this color-coded display shows the current battery charge.
- Ịkpọ oku ọsọ ọsọ: Adjust the maximum speed of the scooter. Turn left for slower speeds, right for faster speeds (up to 3.7 mph).
- Drive Lever: Press the right side of the lever to move forward. Press the left side to engage reverse. Releasing the lever will activate the automatic brake.
- Mgbanwe ọkụ ihu: Activates the scooter's headlight.
- Bọtịnụ mpi: Pịa ka ịkpọọ opi.
For a detailed demonstration of the control panel, watch the video below:
Video: A demonstration of the Vive 3 Wheel Mobility Scooter's control panel functions.
5.2 Seating and Comfort
The scooter features a comfortably padded 16.9-inch wide seat and backrest. The seat can be adjusted for height and swivels to facilitate easier entry and exit. Padded armrests can be adjusted and flipped upward for added convenience.

Image: A user demonstrating the adjustable and flip-up armrests, highlighting the comfortable padded seat.
5.3 Maneuverability
The 3-wheel design provides a tight 36-inch turning radius, allowing for easy navigation through doorways, hallways, and other narrow indoor and outdoor spaces.

Image: A woman demonstrating the scooter's maneuverability by navigating around cones, showcasing its tight turning radius.
6. Ịchaji batrị
The scooter is equipped with an extended battery providing a driving range of up to 12.4 miles per charge. The battery is removable, allowing for convenient off-board charging.
- Gbaa mbọ hụ na agbanyụrụ skuuta.
- Chọta ebe batrị ma wepụ batrị ahụ.
- Connect the quick-connect charger to the battery and a standard power outlet.
- Allow the battery to charge fully. The battery indicator lights on the charger will indicate charging status.
- Once fully charged, disconnect the charger and re-install the battery into the scooter.

Image: The quick-connect charger and the scooter's battery, illustrating the charging process.
7. Disassembly for Transport
For easy transport and storage, the scooter quickly disassembles into four manageable pieces. The heaviest piece weighs approximately 29 pounds, making it suitable for lifting into standard vehicle trunks.
- Remove the front storage basket.
- Fold down the tiller.
- Wepu oche.
- Separate the main chassis from the rear drive section.
Reverse these steps for reassembly.
8. Nlekọta
Regular maintenance ensures optimal performance and longevity of your scooter:
- Nhicha: Regularly wipe down the scooter with a damp akwa . Zere iji kemịkalụ siri ike ma ọ bụ ihe nchacha.
- Nlekọta batrị: Keep the battery charged, especially during periods of non-use, to prolong its lifespan.
- Nyocha taya Periodically check tires for wear and tear. Although flat-free, excessive wear can affect performance.
- Njikọ: Gbaa mbọ hụ na njikọ eletrik niile nwere nchebe na enweghị mmebi.
- Nchekwa: Store the scooter in a dry, cool place when not in use.
9. Nchọpụta nsogbu
If your scooter experiences an issue, the battery indicator lights on the tiller console may blink in a specific sequence to indicate an error code. Refer to your user manual (physical copy) for a comprehensive list of error codes and their corresponding troubleshooting steps.
Okwu ndị nkịtị:
- Skoota anaghị agba ọkụ: Check if the key is fully inserted and turned to the 'ON' position. Ensure the battery is charged and properly connected. Verify the manual/drive mode lever is in the correct position (drive mode).
- Reduced speed or range: This may indicate a low battery charge. Charge the battery fully.
- Unresponsive controls: Ensure all connections are secure and the scooter is powered on.
10. Nkọwapụta
| Njirimara | Nkọwapụta |
|---|---|
| Akụkụ ngwaahịa | 38"D x 19.5"W x 33"H |
| Ibu Ibu | 84 pound |
| Ike ibu | Ruo 265 Pound |
| Ọsọ kacha elu | 3.7 mph |
| Ogologo ịnya ụgbọ ala | Ruo 12.4 kilomita kwa ụgwọ |
| Na-atụgharị Radius | 36 sentimita asatọ |
| Nha taya | 8 inches (flat-free, non-marking) |
| Heaviest Piece (Disassembled) | 29 pound |
| Ụdị batrị | Nonstandard Battery (included) |
| Onye nrụpụta | Ahụike Vive |

Image: The scooter's durable aluminum frame, designed for everyday reliability.
11. Akwụkwọ ikike na nkwado
The Vive 3 Wheel Mobility Scooter comes with a 5-afọ nkwa, reflecting our commitment to quality and customer satisfaction. For any questions, technical assistance, or warranty claims, please contact Vive Health Direct customer support.

Image: Highlighting the Vive Health 5-Year Guarantee, ensuring product reliability and customer confidence.
Ask a question about this manual
Ask about setup, troubleshooting, compatibility, parts, safety, or missing instructions. Manuals+ will review the question and use this page’s manual context to help answer it.