
1. Okwu mmalite
Thank you for choosing the Jocca 6579 Window Vacuum Cleaner ABS. This device is designed to simplify the cleaning of windows, mirrors, tiles, and other smooth surfaces, providing a streak-free finish. Its cordless design and rechargeable battery offer convenience and efficiency. Please read this manual carefully before first use to ensure proper operation, maintenance, and safety.
2. Ntuziaka nchekwa
Na-edebe nchekwa nchekwa ndị a mgbe niile iji gbochie mmerụ ahụ ma ọ bụ mebie ngwaọrụ:
- Gụọ ntuziaka niile tupu i jiri ngwa.
- Debe ngwa ahụ n'ebe ụmụaka nọ.
- Eminyela ngwa ahụ n'ime mmiri ma ọ bụ ihe mmiri ndị ọzọ.
- Use only the original charger provided with the device.
- Do not use the appliance on hot surfaces or to vacuum flammable liquids.
- Ensure the water tank is correctly installed before operation.
- Do not operate the appliance if it is damaged. Contact customer support.
- Ngwa a bụ maka naanị ụlọ.
3. Ihe ngwugwu
Chọpụta na ihe niile dị na ngwugwu:
- Jocca 6579 Window Vacuum Cleaner ABS unit
- Nchaji nkwụnye
- Mmiri nchịkọta mmiri
- Akwụkwọ ntuziaka
4. Ngwaahịa gafereview
Familiarize yourself with the components of your Jocca Window Vacuum Cleaner.
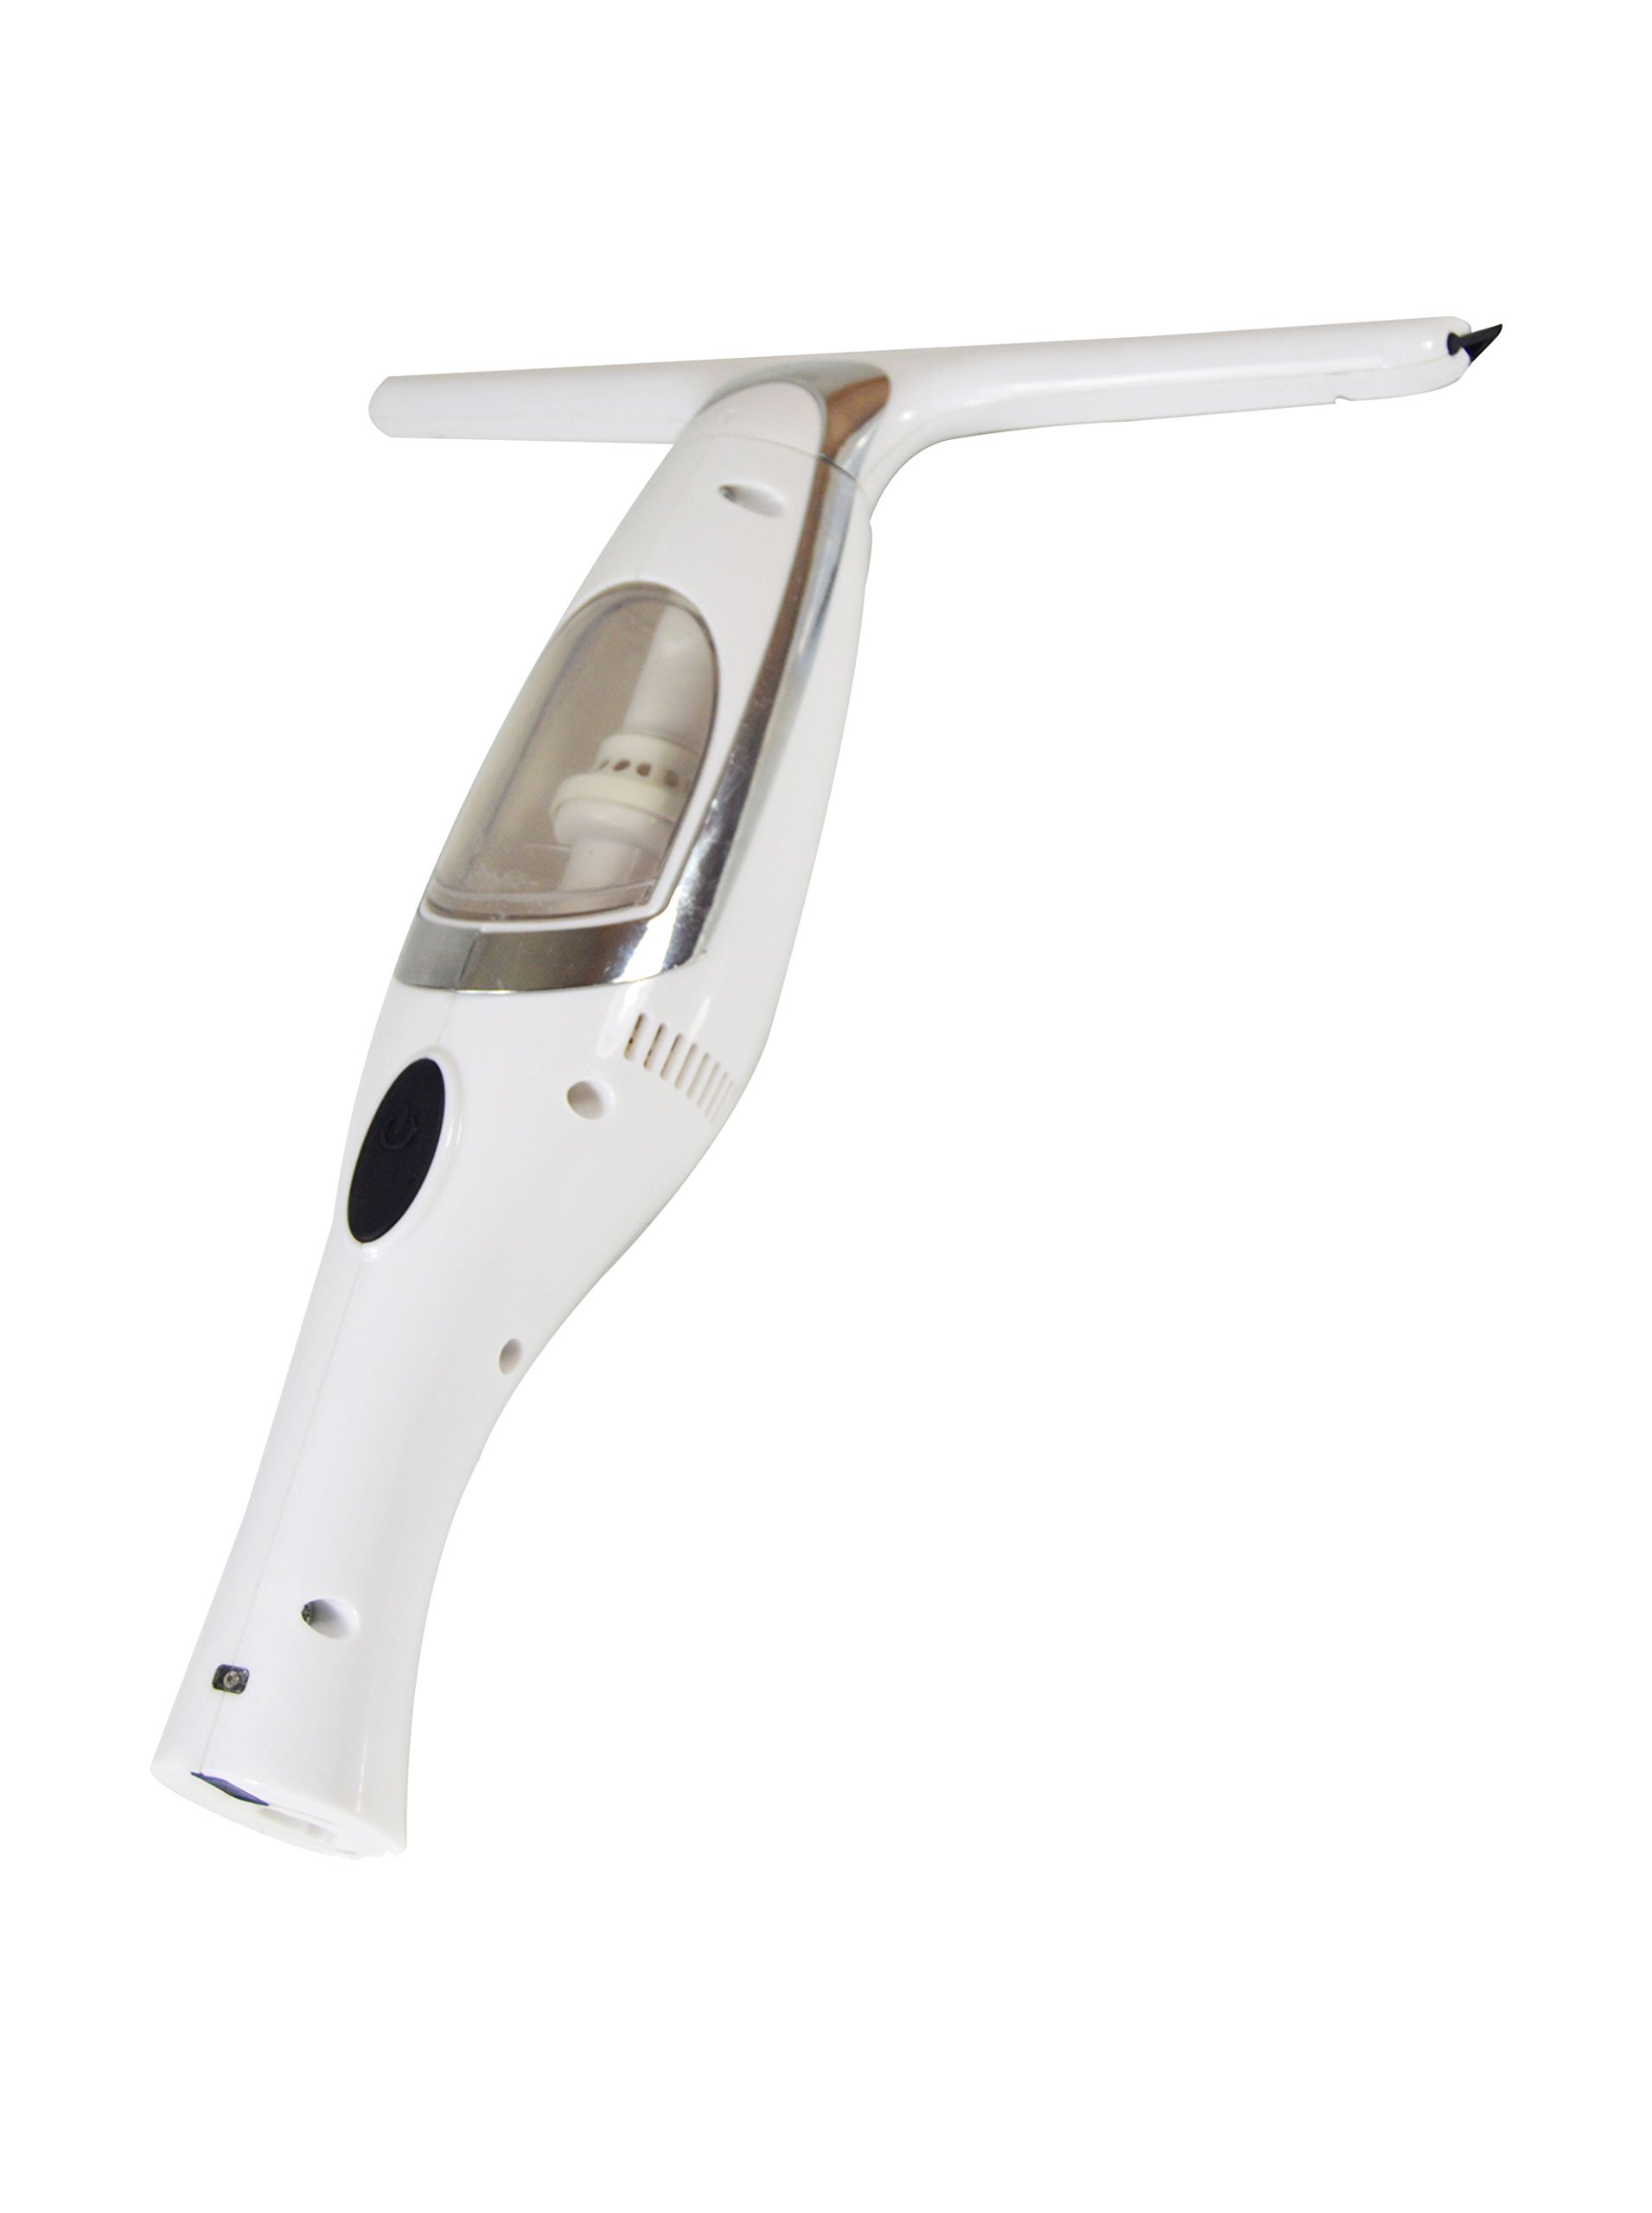
Foto 4.1: Main unit of the Jocca 6579 Window Vacuum Cleaner. This image shows the complete assembled device, highlighting its ergonomic handle and the suction head.
Isi ihe gụnyere:
- Igwe mmiri ara
- Rubber Blade
- Mmiri nchịkọta mmiri
- bọtịnụ ike
- Nchaji ọdụ ụgbọ mmiri
- Jikwaa
5. Nhazi
5.1. Nchaji mbụ
Before first use, fully charge the device. Connect the charging adapter to the charging port on the unit and plug it into a power outlet (100-240V ~ 50/60Hz). The charging indicator light will illuminate. Charging typically takes approximately 3-4 hours. Disconnect the charger once fully charged.
Note: An image showing the charging process would typically be included here.
5.2. Assembling the Water Tank
Ensure the water collection tank is securely attached to the main unit. Refer to the product overview for the correct placement.
6. Ntuziaka ọrụ
Follow these steps for effective window cleaning:
- Kwadebe elu: Spray the surface to be cleaned with a suitable window cleaning solution.
- Mee ka ngwaọrụ rụọ ọrụ: Press the power button to turn on the window vacuum cleaner.
- Hichaa elu ahụ: Place the rubber blade firmly against the top of the wet surface. Glide the device downwards in straight, overlapping strokes. The vacuum will suction the dirty water into the collection tank.
- Overlap Strokes: For best results, overlap each stroke slightly to avoid leaving streaks.
- Gbanyụọ: Ozugbo nhichachara, pịa bọtịnụ ike ọzọ iji gbanyụọ ngwaọrụ ahụ.
7. Nlekọta na nhicha
Regular maintenance ensures optimal performance and extends the life of your device.
7.1. Na-ekpochapụ tank mmiri ahụ
After each use, or when the tank is full, empty the dirty water. The water tank is designed for easy removal and cleaning.
- Gbanyụọ ngwaọrụ.
- Detach the water collection tank from the main unit.
- Wunye mmiri ruru unyi.
- Jiri mmiri dị ọcha kpochaa tank ahụ.
- Reattach the dry tank securely to the main unit.
7.2. Cleaning the Rubber Blade
Wipe the rubber blade with a damp cloth after each use to remove any residue and ensure effective suction.
7.3. Na-ehicha ngalaba isi
Jiri nwayọ hichaa mpụta nke ngwaọrụ ahụ, damp akwa . Ejila ihe nchacha abrasive ma ọ bụ tinye isi ihe n'ime mmiri.
8. Nchekwa
When not in use, store the Jocca Window Vacuum Cleaner in a cool, dry place, away from direct sunlight and extreme temperatures. Ensure the device is clean and the water tank is empty before storage.
9. Nchọpụta nsogbu
| Nsogbu | Ihe nwere ike ime | Ngwọta |
|---|---|---|
| Ngwaọrụ anaghị agbanwu. | Agbanyụrụ batrị. | Chajie batrị zuru oke. |
| Arụmọrụ afọ na-adịghị mma. | Water tank is full or improperly attached. Rubber blade is dirty or damaged. | Empty and reattach the water tank. Clean or replace the rubber blade. |
| Leaves streaks on surface. | Rubber blade is dirty or worn. Insufficient cleaning solution. | Clean or replace the rubber blade. Apply more cleaning solution. |
Ọ bụrụ na nsogbu ahụ dịgidere mgbe ị nwara azịza ndị a, biko kpọtụrụ nkwado ndị ahịa.
10. Nkọwapụta
| Ụdị | Jọka |
| Nọmba nlereanya | 6579 |
| Akụkụ (L x W x H) | 13.5 x 12 x 35 cm |
| Ibu | 508 grams |
| Ihe onwunwe | Plastic |
| Voltage | 100-240 V ~ 50/60 Hz |
| Ụdị batrị | 1 Lithium-ion (gụnyere) |
| Klas ike | A+++ |
11. Akwụkwọ ikike na nkwado
This product comes with a standard manufacturer's warranty. For specific warranty terms and conditions, please refer to the warranty card included in your package or visit the official Jocca website. For technical support, spare parts, or service inquiries, please contact Jocca customer service through their official channels.
Note: Information regarding specific warranty duration or direct contact details is not provided in the product data.