1. Okwu mmalite
Thank you for choosing the AMS Uhrenfabrik Quartz Wall Clock, Model W9463. This manual provides essential information for the proper setup, operation, and maintenance of your new clock. Please read these instructions carefully before use and retain them for future reference.
2. Ozi nchekwa
- Ekwela ka elekere ahụ hụ oke okpomọkụ, anwụ kpọmkwem, ma ọ bụ oke iru mmiri.
- Zere ịtụfu elekere ma ọ bụ itinye ya n'ihe ike siri ike.
- Use only the specified battery type (1 AA battery). Incorrect battery usage may cause leakage or damage.
- Debe batrị ebe ụmụaka na-apụghị iru. Ọ bụrụ na iloro, chọọ nlekọta ahụike ozugbo.
- Do not attempt to disassemble or repair the clock yourself. Contact qualified service personnel for assistance.
- Ensure the clock is securely mounted if hung on a wall to prevent falling.
3. Ihe ngwugwu
Carefully unpack your AMS Uhrenfabrik Quartz Wall Clock and ensure all items are present and undamaged.
- AMS Uhrenfabrik Quartz Wall Clock (Model W9463)
- Akwụkwọ ntuziaka
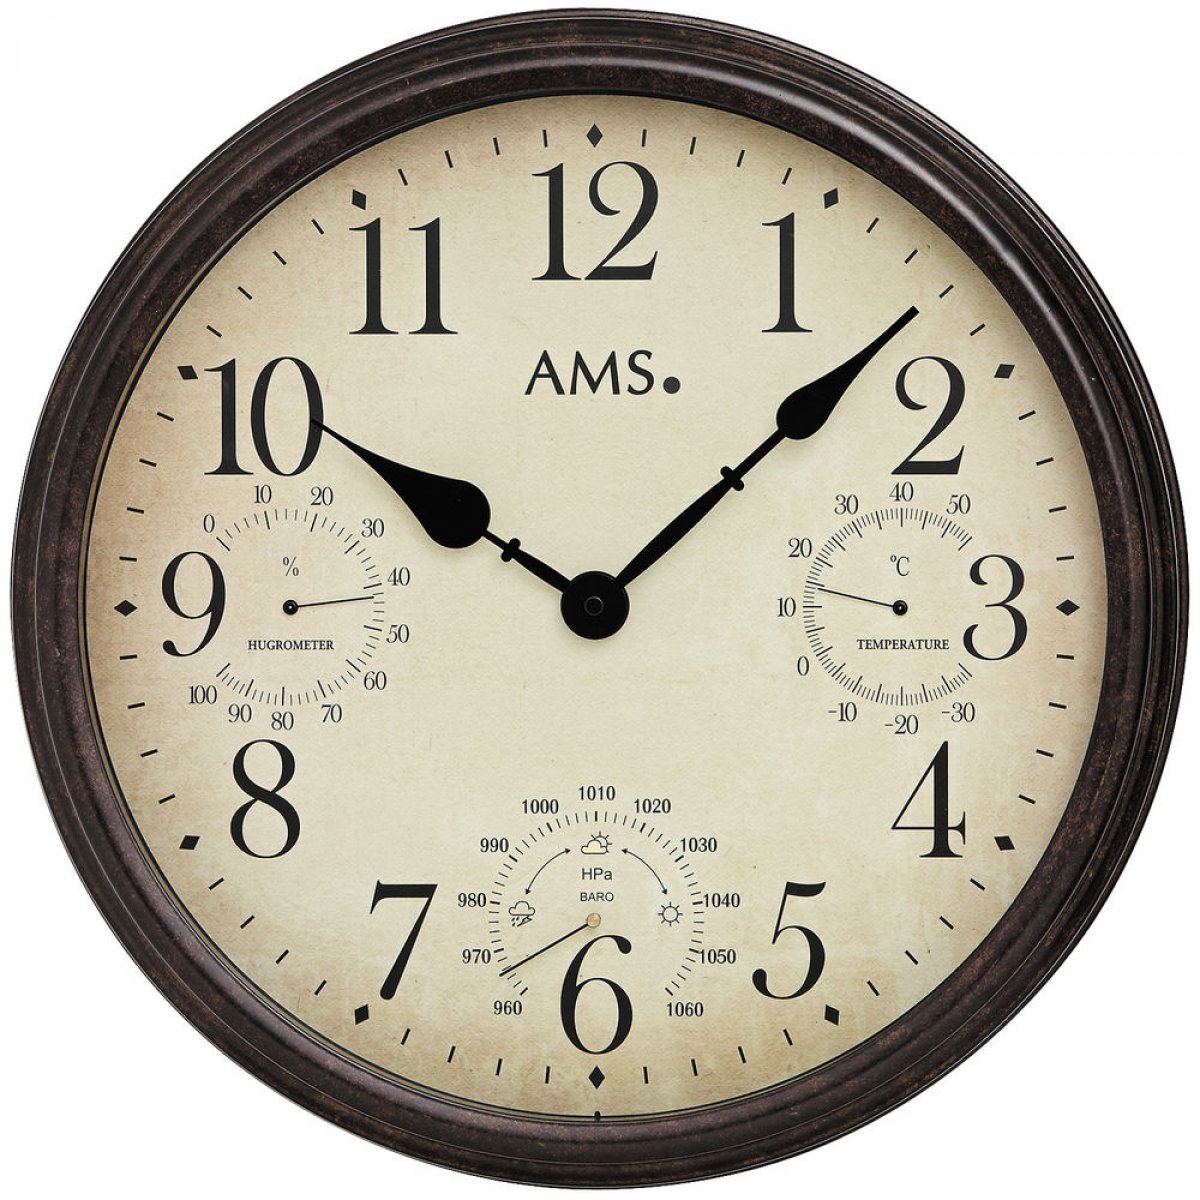
Image of the AMS Uhrenfabrik Clock, Model W9463, showcasing its silver metal frame and analog display.
4. Ntọala na nwụnye
4.1 Ntinye batrị
Your clock requires one (1) AA battery (not included).
- Chọta ebe batrị dị n'azụ elekere.
- Mepee mkpuchi nke batrị batrị.
- Insert one new AA battery, ensuring the positive (+) and negative (-) terminals align correctly with the markings inside the compartment.
- Mechie mkpuchi nke batrị batrị nke ọma.
4.2 Ịwụnye Elekere ahụ
This clock is designed for indoor wall mounting.
- Choose a suitable location on an indoor wall, away from direct heat sources, moisture, or strong vibrations.
- Use an appropriate wall anchor and screw (not included) for your wall type to ensure secure mounting.
- Hang the clock using the integrated hanging slot on the back. Ensure it is level and stable.
4.3 Isetịpụ oge
Once the battery is installed, the clock will begin to run.
- Locate the time setting knob on the back of the clock mechanism.
- Gently turn the knob in either direction to move the hour and minute hands to the correct time.
- Zere ịmanye aka ozugbo. Jiri aka ntọala mgbe niile.
5. Ntuziaka ọrụ
The AMS Uhrenfabrik Quartz Wall Clock operates continuously once the battery is installed and the time is set. The quartz movement ensures accurate timekeeping. Simply observe the hour and minute hands to read the current time.
6. Nlekọta
6.1 Nhicha
- Iji hichaa elekere ahụ, jiri nwayọ hichaa elu ya na akwa dị nro ma kpọọ nkụ.
- Do not use abrasive cleaners, solvents, or chemical sprays, as these may damage the finish or internal components.
- For glass surfaces, a mild glass cleaner applied to a cloth (not directly to the clock) can be used.
6.2 nnọchi batrị
Replace the AA battery approximately once a year, or when the clock begins to lose time or stops running. Follow the battery installation steps in Section 4.1.
7. Nchọpụta nsogbu
| Nsogbu | Ngwọta |
|---|---|
| Elekere anaghị agba ọsọ. | Check if the battery is inserted correctly with the correct polarity. Replace with a new AA battery. Ensure the time setting knob is not stuck. |
| Elekere na-efunahụ ma ọ bụ na-enweta oge. | Replace the AA battery with a fresh one. Quartz movements are generally accurate, but a weak battery can affect performance. |
| Hands are stuck or not moving smoothly. | Ensure no foreign objects are obstructing the hands. If the issue persists after battery replacement, contact support. |
8. Nkọwapụta
- Akara: AMS
- Nọmba nlereanya: W9463
- Akụkụ (ihe dị ka): 16.54 inches (42 cm) W x 3.15 inches (8 cm) D x 16.54 inches (42 cm) H
- Ibu ihe: Pound 3.3 (1.5 n'arọ)
- Ntughari: mmegharị Quartz
- Isi mmalite ike: Batrị 1 x AA (anaghị etinye ya)
- Ihe: Metal frame, Glass
- Agba: Ọlaọcha
- Ụdị ngosi: Analọg
- Ojiji ime ụlọ/n'èzí: Ime ụlọ
- Mmalite: Emere na Germany
9. Akwụkwọ ikike na nkwado
For information regarding warranty coverage, please refer to the documentation provided at the time of purchase or contact your retailer. For technical support or service inquiries, please reach out to the manufacturer or the authorized service center in your region.