
1. Ngwaahịa gafereview
The TP-Link TL-WA750RE is a 150Mbps Universal Wireless Range Extender designed to expand the coverage of an existing wireless network. It eliminates Wi-Fi dead zones by boosting the wireless signal to previously unreachable or hard-to-wire areas. Its compact, wall-mounted design allows for flexible deployment and easy relocation within your home or office.
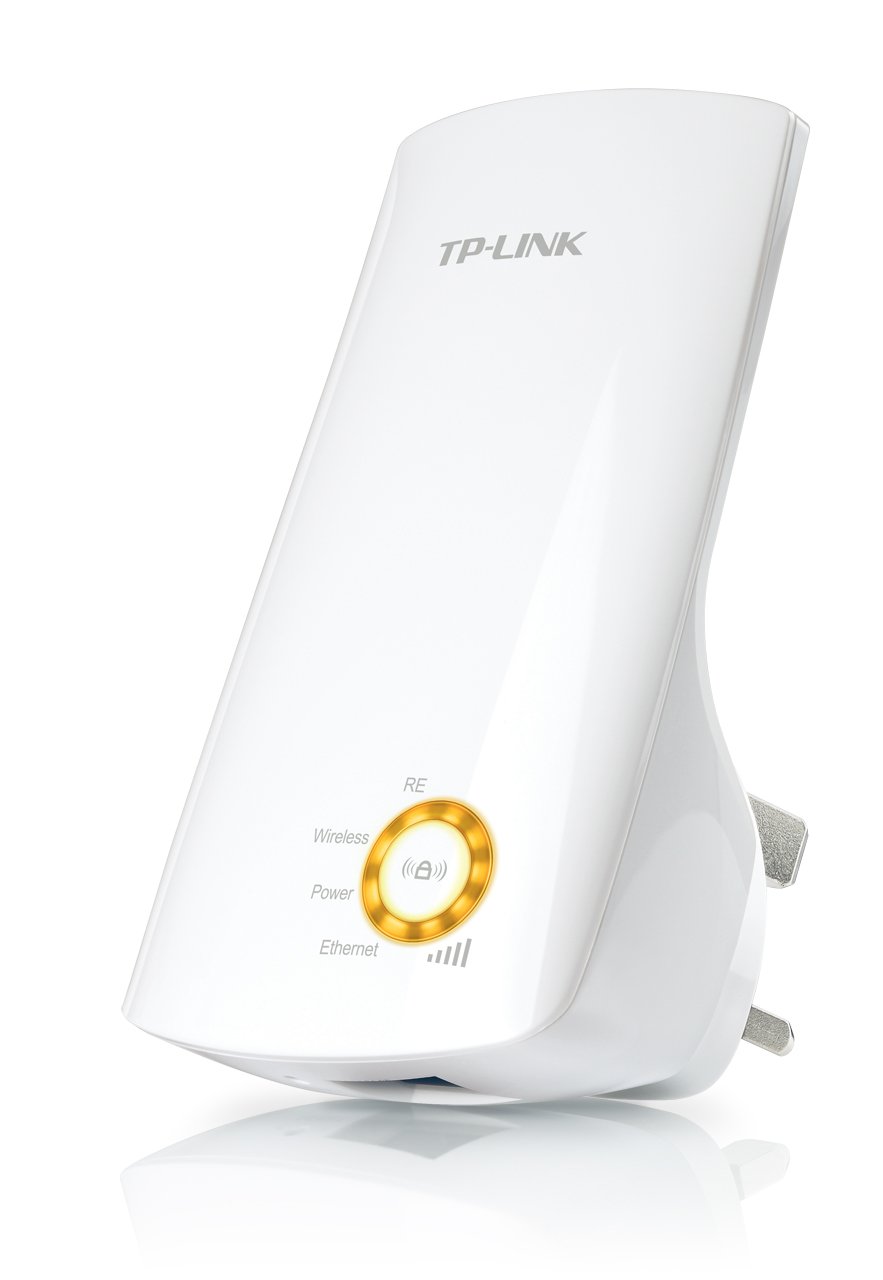
Foto 1: TP-Link TL-WA750RE Universal Wireless Range Extender. This image shows the device in its retail packaging, highlighting its compact design and wall-plug form factor.
2. Atụmatụ igodo
- Ụdị Mgbasa Ọdịnaya: Boosts wireless signal to eliminate Wi-Fi dead zones and extend network coverage.
- Nhazi kọmpat: Small size and wall-mounted design for easy deployment and flexible movement.
- WPS bọtịnụ: Allows for instant setup and secure connection with compatible routers.
- Ihe ngosi mgbama smart: Helps users find the optimal location for placing the range extender for best performance.
- Ndakọrịta Universal: Works seamlessly with all 802.11n/g/b wireless devices.
3. Ihe ngwugwu
The product package typically includes the following items:
- TP-Link TL-WA750RE 150Mbps Universal Wireless Range Extender
- Akwụkwọ ntuziaka
4. Ntuziaka Nhazi
4.1. Ntọala ngwa ngwa site na iji bọtịnụ WPS
- Tinye: Plug the TL-WA750RE into an electrical outlet near your wireless router.
- Activate WPS on Router: Press the WPS button on your main wireless router. Refer to your router's manual for the exact location and procedure.
- Activate WPS on Extender: Within two minutes, press the WPS button on the TL-WA750RE. The Signal LED on the extender should begin to flash.
- Chere maka njikọ: The Signal LED will turn solid blue or green when a successful connection is established.
- Bugharịa Extender: Unplug the extender and move it to a location between your router and the Wi-Fi dead zone. Ensure the Signal LED indicates a strong connection (e.g., solid blue or green) in the new location.
4.2. Nhazi aka site na Web Ihe nchọgharị
- Tinye: Plug the TL-WA750RE into an electrical outlet near your computer.
- Jikọọ na Extender: Connect your computer to the extender's Wi-Fi network (e.g., "TP-LINK_Extender_XXXXXX"). No password is required initially.
- Nweta Web Ihuenyo: Mepee a web nchọgharị na ụdị http://tplinkrepeater.net or the extender's default IP address (usually 192.168.0.254) into the address bar.
- Banye: Enter "admin" for both the username and password when prompted.
- Soro ntuziaka na ihuenyo: Use the Quick Setup wizard to select your main Wi-Fi network and enter its password.
- Bugharịa Extender: Once configured, unplug the extender and move it to an optimal location between your router and the desired coverage area.
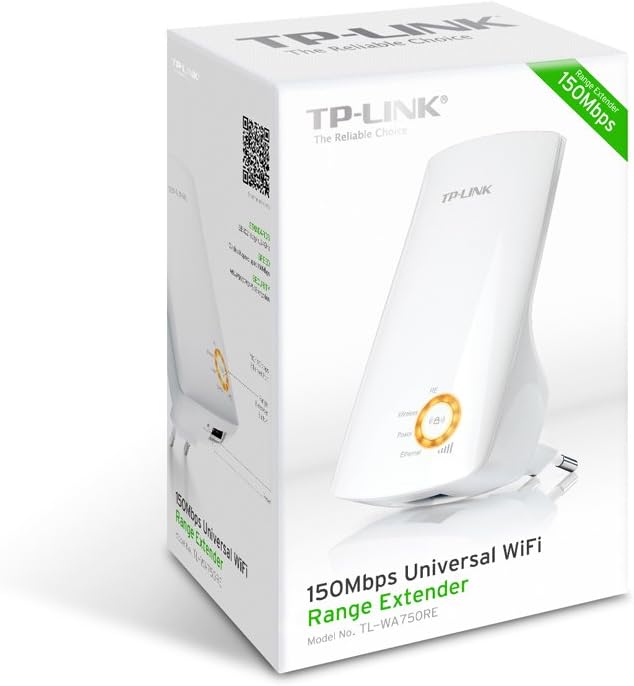
Foto 2: Akụkụ view of the TL-WA750RE. This image illustrates the physical layout of the device, including the WPS button and Ethernet port, which are crucial for setup and operation.
5. Na-arụ ọrụ Range Extender
Once the TL-WA750RE is successfully set up, it will automatically extend your existing Wi-Fi network. Devices within the extended range can connect to the network name created by the extender (e.g., "YourNetworkName_EXT").
5.1. Smart Signal Indicator
The Smart Signal Indicator LEDs on the front of the device provide real-time feedback on the signal strength received from your main router. This helps you determine the best placement for the extender:
- Acha anụnụ anụnụ/ Green siri ike: Excellent signal strength.
- Uhie siri ike: Weak signal strength. Consider relocating the extender closer to your router.
- Gbanyụọ: No connection to the main router.
5.2. Ethernet Port Usage
The TL-WA750RE includes an Ethernet port. This port can be used to connect a wired device, such as a desktop computer, gaming console, or smart TV, to your wireless network, providing a stable wired connection in the extended Wi-Fi area.
6. Nlekọta
- Nhicha: Jiri akwa dị nro dị nro hichaa ngwaọrụ ahụ. Ejila ihe nhicha mmiri ma ọ bụ ikuku ikuku.
- Nkwanye: Avoid placing the extender in direct sunlight, near heat sources, or in areas with high humidity.
- Mmelite femụwe: Lelee onye ọrụ TP-Link kwa oge websaịtị maka mmelite firmware iji hụ na arụmọrụ na nchekwa kacha mma.
- okirikiri ike: If the device experiences issues, try unplugging it from the power outlet for 10 seconds and then plugging it back in.
7. Nchọpụta nsogbu
- Q1: Kedu ihe m ga-eme ma ọ bụrụ na enweghị m ike ịnweta ihe ndọtị ahụ web ibe njikwa?
- A1: Ensure your computer is connected to the extender's network. Verify that http://tplinkrepeater.net is correctly typed in the browser. If issues persist, try using the extender's IP address (e.g., 192.168.0.254) or reset the extender to factory defaults.
- Q2: My extended network has poor signal or frequent disconnections.
- A2: Check the Smart Signal Indicator on the extender. If it's red or off, the extender is too far from your main router. Relocate the extender to a position where the indicator shows a strong signal (solid blue/green). Ensure there are no major obstructions between the router and the extender.
- Q3: Kedu ka m ga-esi tọgharịa mgbatị ahụ na ntọala ntọala ụlọ ọrụ?
- A3: With the extender powered on, use a pin to press and hold the Reset button (usually a small hole) for approximately 5-10 seconds until all LEDs flash briefly. The extender will then restart with factory default settings.
8. Nkọwapụta
| Ụdị | TP-njikọ |
| Nọmba nlereanya | TL-WA750RE |
| Ikuku Standard | 802.11b/g/n |
| Ọnụego mbufe data | 150 Mbps |
| Ugboro ugboro | 2.4 GHz |
| Atụmatụ pụrụ iche | Smart Signal Indicator, WPS Button |
| Ụdị njikọ | RJ45 (ọdụ ụgbọ mmiri Ethernet) |
| Ibu Ibu | 0.4 pound |
| Agba | Ọcha |
9. Akwụkwọ ikike na nkwado
9.1. Akwụkwọ ikike Ozi
This TP-Link TL-WA750RE device comes with a 2-afọ akwụkwọ ikike site na ụbọchị ịzụrụ. Biko dowe ihe akaebe nke ịzụrụ ihe maka akwụkwọ ikike. Akwụkwọ ikike ahụ na-ekpuchi ntụpọ dị na akụrụngwa yana arụ ọrụ n'okpuru ojiji nkịtị.
9.2. Nkwado nka na ụzụ
For technical assistance, troubleshooting, or further inquiries, please visit the official TP-Link support website or contact their customer service. You can find detailed support resources, FAQs, and contact information at www.tp-link.com/support.