
Okwu mmalite
Thank you for choosing the MIPRO MU-55HN Headset Microphone. This manual provides essential information for the proper setup, operation, and maintenance of your device. The MU-55HN features an omnidirectional capsule for excellent off-axis response, capturing sound from all directions. Its flexible and durable headset frame, combined with comfortable, soft ear-hooks, ensures a secure and ideal fit for extended use.
Please read this manual thoroughly before using the microphone to ensure optimal performance and longevity.
Ngwaahịa gafereview
The MIPRO MU-55HN is a wired headset microphone designed for clear audio capture. It is equipped with an omnidirectional condenser capsule, making it suitable for various vocal applications where consistent sound pickup is desired regardless of head movement.
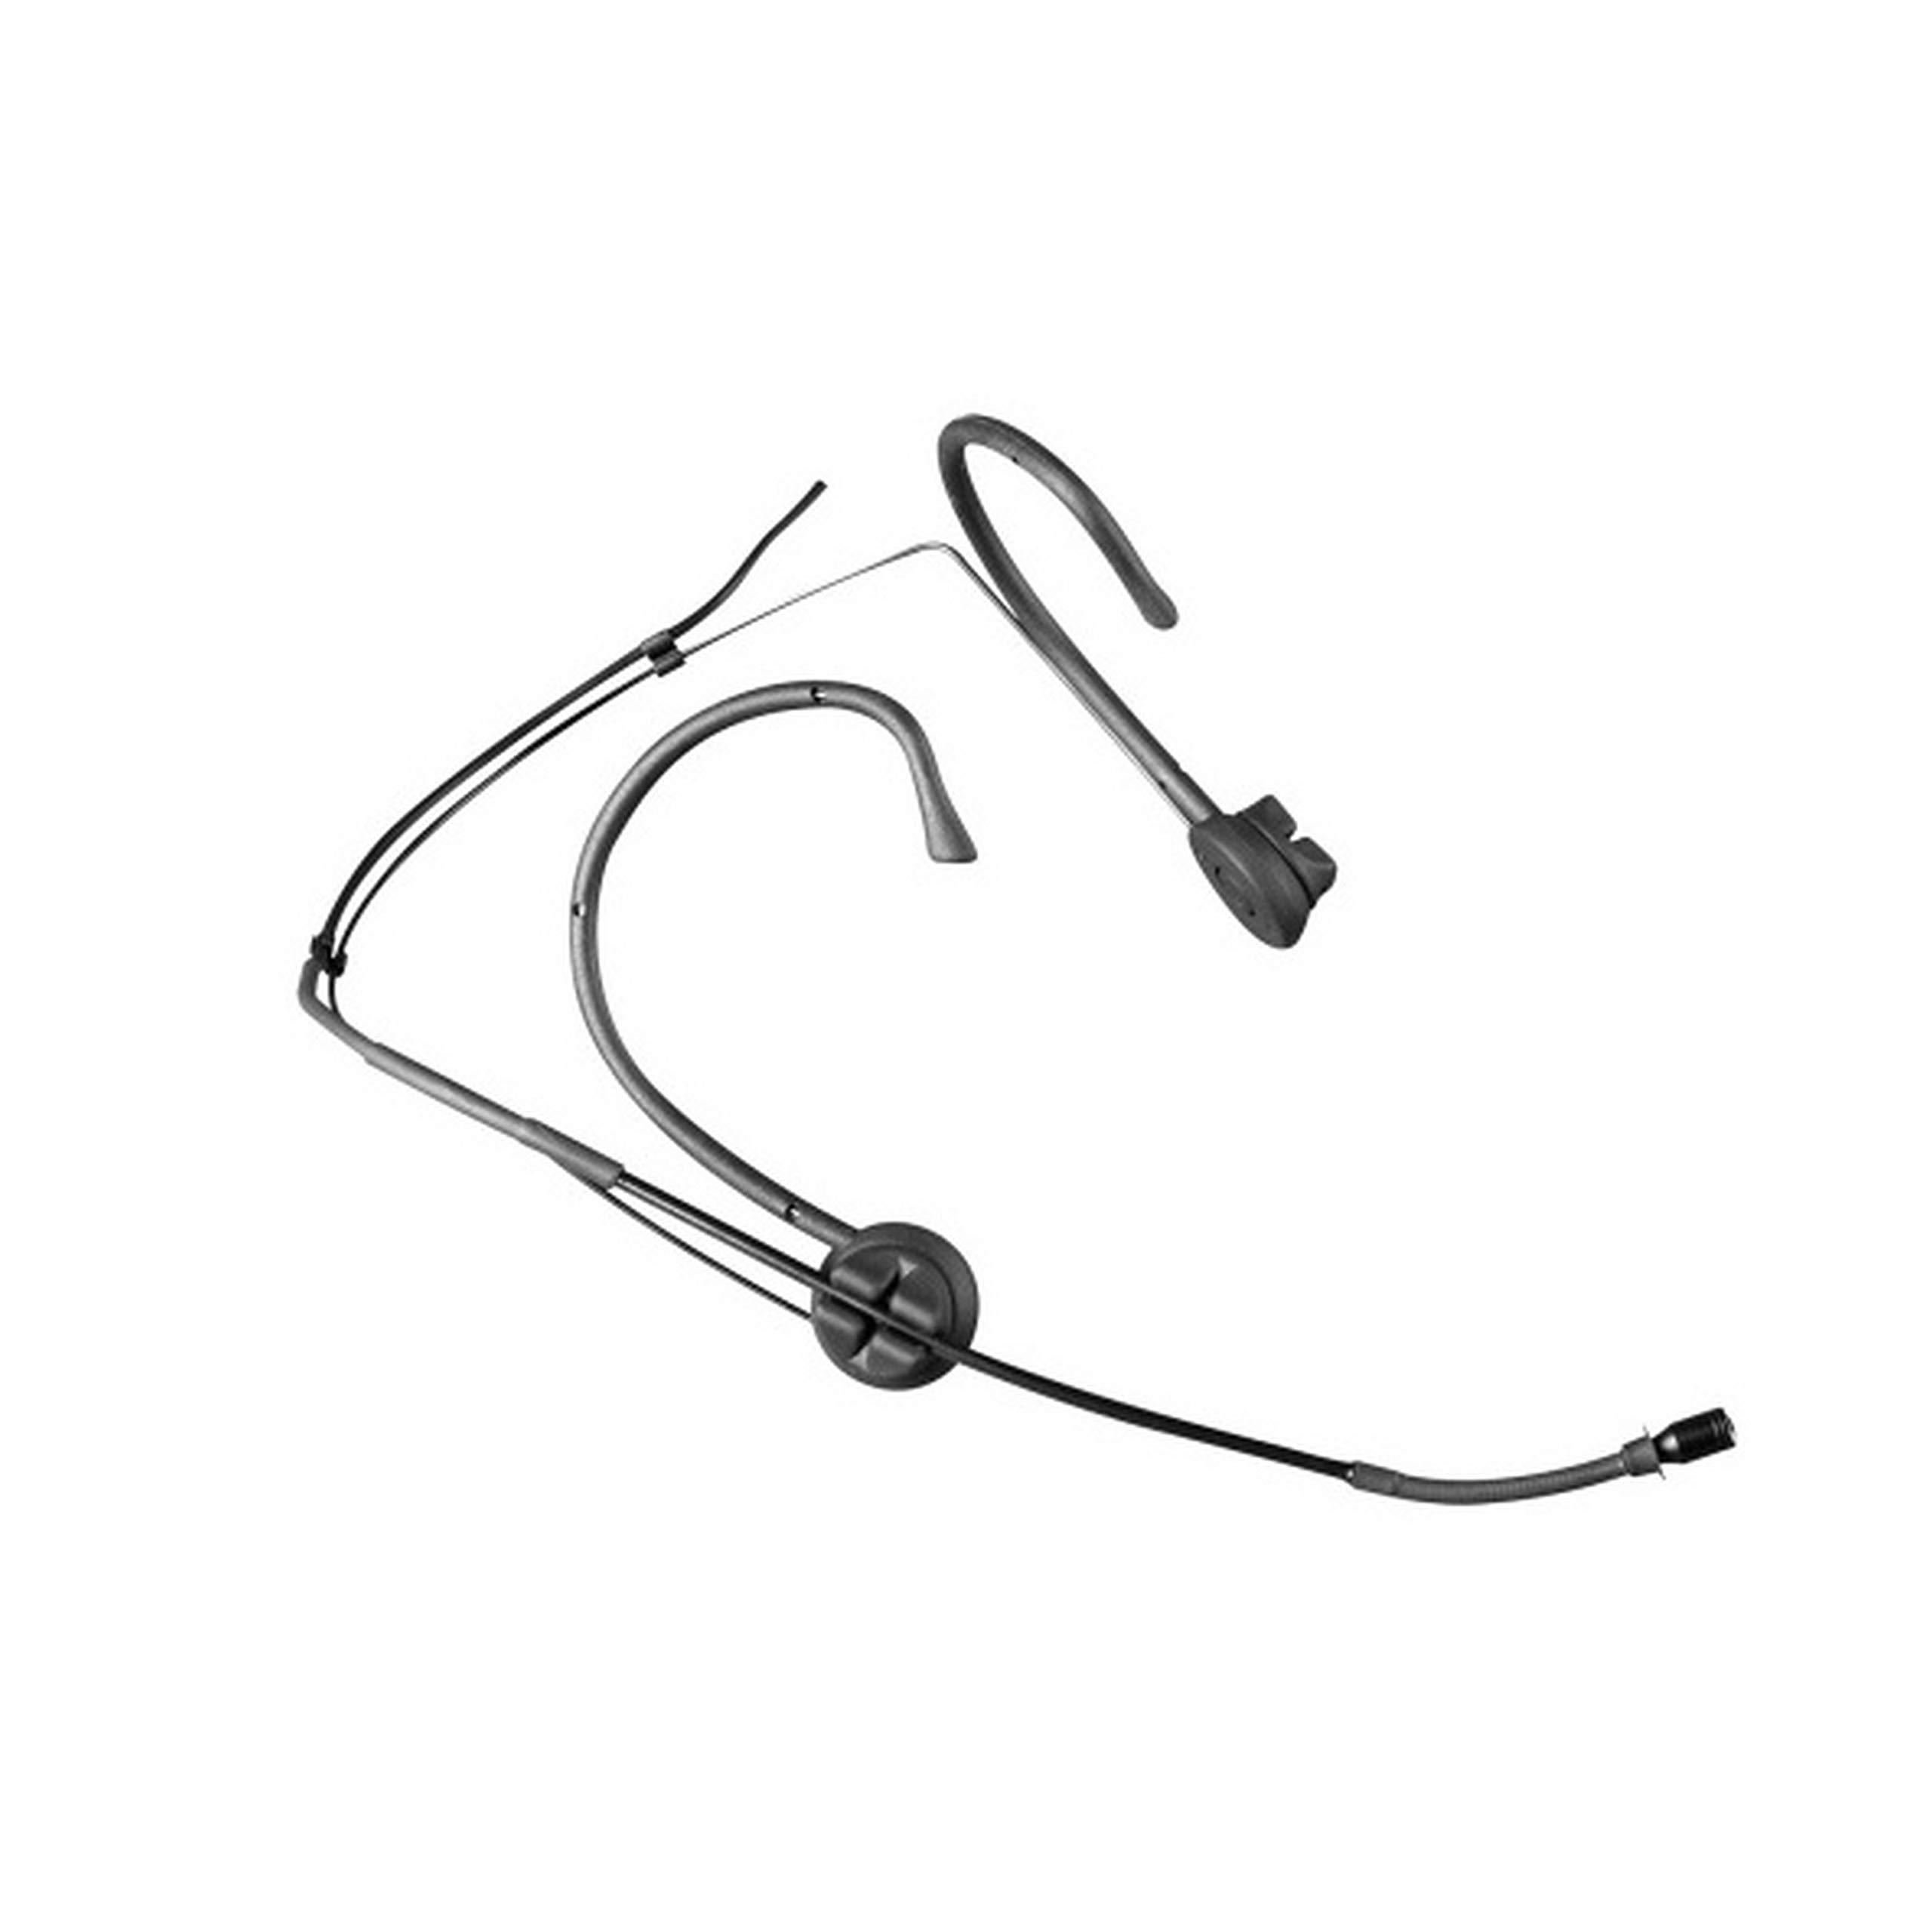
Image: The MIPRO MU-55HN headset microphone, featuring a slender boom arm and ear-hooks for secure placement.
The headset is designed for comfort and stability, allowing users to wear it for extended periods without discomfort. It connects via a 3.5 mm jack, compatible with a wide range of audio equipment.
Melite
- Mepee igwe okwu: Carefully remove the MU-55HN headset microphone from its packaging. Inspect for any visible damage.
- Jikọọ na ngwaọrụ ọdịyo: Locate the 3.5 mm jack connector on the microphone cable. Plug this connector into the corresponding 3.5 mm microphone input port on your audio device (e.g., transmitter, mixer, amplifier, or computer sound card). Ensure the connection is secure.
- Position the Headset: Place the headset over your ears, ensuring the ear-hooks sit comfortably and securely behind your ears. The flexible frame allows for minor adjustments to fit different head sizes.
- Adjust Microphone Boom: Gently bend the microphone boom arm to position the microphone capsule approximately 1-2 cm (0.4-0.8 inches) from the corner of your mouth. Avoid placing it directly in front of your mouth to minimize plosive sounds.
- Chekwaa eriri ahụ: Route the microphone cable in a way that prevents it from snagging or interfering with your movement. Use cable clips if necessary to secure it to clothing.
Ntuziaka ọrụ
- Power On Your Audio Device: Ensure your connected audio device (e.g., transmitter, mixer) is powered on and configured for microphone input.
- Set Input Gain: Adjust the input gain or volume level on your audio device. Start with a low gain setting and gradually increase it while speaking into the microphone at your normal speaking volume. Monitor the audio levels to prevent clipping or distortion.
- Perform a Sound Check: Speak or sing into the microphone as you would during normal use. Listen to the output through your monitoring system (headphones or speakers) to ensure clear audio and appropriate volume levels.
- Ebe kacha mma: Due to its omnidirectional polar pattern, the MU-55HN picks up sound from all directions. Maintain consistent distance from the microphone for stable audio levels.
- Zere nzaghachi: If using speakers, position them away from the microphone to prevent audio feedback. Adjust microphone gain and speaker volume as needed.
Nlekọta
- Nhicha: Use a soft, dry cloth to wipe down the microphone boom and headset frame after each use. For stubborn grime, a slightly damp cloth with mild soap can be used, ensuring no moisture enters the microphone capsule.
- Nchekwa: Store the microphone in a clean, dry place, preferably in its original packaging or a protective case, to prevent dust accumulation and physical damage.
- Nlekọta USB: Avoid sharply bending or twisting the microphone cable. Coil it loosely when storing to prevent internal wire damage.
- Ijikwa: Handle the microphone gently. Avoid dropping it or subjecting it to strong impacts, which can damage the delicate internal components.
Nchọpụta nsogbu
| Nsogbu | Ihe nwere ike ime | Ngwọta |
|---|---|---|
| Enweghị mmepụta ụda | Microphone not properly connected; Audio device input gain too low; Audio device not powered on. | Ensure 3.5 mm jack is fully inserted; Increase input gain on audio device; Verify audio device is powered on. |
| Ụda dị ala ma ọ bụ gbagọrọ agbagọ | Incorrect gain setting; Microphone too far from mouth; Damaged cable. | Adjust input gain; Reposition microphone closer to mouth (1-2 cm); Inspect cable for damage, replace if necessary. |
| Feedback (squealing sound) | Microphone too close to speakers; High gain setting. | Move microphone further from speakers; Reduce input gain or speaker volume. |
| Headset discomfort | Improper fit or adjustment. | Adjust the flexible frame and ear-hooks for a more comfortable and secure fit. |
Nkọwapụta
| Nọmba nlereanya | MU 55-HNS |
| Ụdị | MIPRO |
| Ihe kpatara ụdị igwe okwu | Igwe isi |
| Ụkpụrụ Polar | Omnidirectional |
| Teknụzụ Njikọta | Ekwenyere |
| Ụdị njikọ | 3.5mm ọkpụrụkpụ |
| Njirimara Pụrụ Iche | XLR (Note: Primary connector is 3.5mm Jack) |
| Mmetụta ọdịyo | 49 decibel |
| Ngwa dakọtara | Ọkà okwu |
| Ngwa gụnyere | Igwe okwu |
| Isi Iyi Ike | Igwe ọkụ eletrik |
| Ọnụọgụ nke ọwa | 1 |
| Ibu Ibu | 12 pound |
Akwụkwọ ikike na nkwado
For warranty information and technical support, please refer to the documentation included with your purchase or visit the official MIPRO websaịtị. Usoro na ọnọdụ akwụkwọ ikike nwere ike ịdị iche site na mpaghara na onye na-ere ahịa.
If you encounter issues not covered in this troubleshooting section, please contact MIPRO customer support or your authorized dealer for assistance.