
Weller 8200PKS
Weller 8200PKS Universal Soldering Gun Kit Instruction Manual
Model: 8200PKS
1. Okwu mmalite
This manual provides essential instructions for the safe and effective use of your Weller 8200PKS Universal Soldering Gun Kit. This kit is designed for various soldering applications, offering dual heat settings of 140 watts and 100 watts. Please read this manual thoroughly before operation to ensure proper usage and to prevent injury or damage.
2. Ozi nchekwa
Ịdọ aka ná ntị: Na-agbaso usoro nchekwa nchekwa mgbe niile mgbe ị na-eji ngwa eletrik iji belata ihe egwu nke ọkụ, ujo eletrik na mmerụ ahụ nkeonwe.
- Igwe ikuku: Use the soldering gun in a well-ventilated area to avoid inhaling fumes from solder and flux.
- Nchedo anya: Always wear safety glasses or goggles to protect your eyes from splashes of molten solder or flux.
- Ọkụ Hazard: The soldering tip and surrounding metal parts become extremely hot during operation. Avoid contact with skin and flammable materials. Allow the tool to cool completely before handling or storing.
- Nchekwa Eletriki: Ensure the power cord is in good condition and avoid using the tool in damp or wet conditions. Do not modify the plug.
- Usoro ọrụ: To prevent overheating and prolong tool life, operate the soldering gun for a maximum of 1 minute ON, followed by a minimum of 4 minutes OFF. Exceeding this duty cycle can damage the tool.
- Nchekwa: Chekwaa ngwá ọrụ ahụ n'ebe kpọrọ nkụ, nke dị nchebe, nke ụmụaka na-apụghị iru.
- UL & cUL Listed: This product is UL & cUL listed, indicating compliance with safety standards.
3. Ihe ngwugwu
Your Weller 8200PKS Soldering Gun Kit includes the following items:
- Weller 8200 Soldering Gun (120V, 140/100W)
- Ndụmọdụ ịre ahịa
- Smoothing Tip
- Ndụmọdụ ịkpụ
- Coil of Lead-Free Solder
- Flux Brush
- Soldering Aid Tool
- Akpa nchekwa

Image 1: The Weller 8200PKS Soldering Gun Kit, including the gun, various tips, solder, and other accessories, neatly organized within its black plastic storage case.
4. Nhazi
- Họrọ Ndụmọdụ: Choose the appropriate tip for your task (soldering, smoothing, or cutting). The kit includes different tips for various applications.
- Install the Tip: Ensure the soldering gun is unplugged and cool. Loosen the two screws at the front of the gun. Insert the desired tip into the two holes, ensuring it is seated firmly. Tighten the screws to secure the tip.
- Kwadebe Mpaghara Ọrụ: Work on a heat-resistant surface in a well-ventilated area. Have your solder, flux, and any necessary cleaning tools ready.
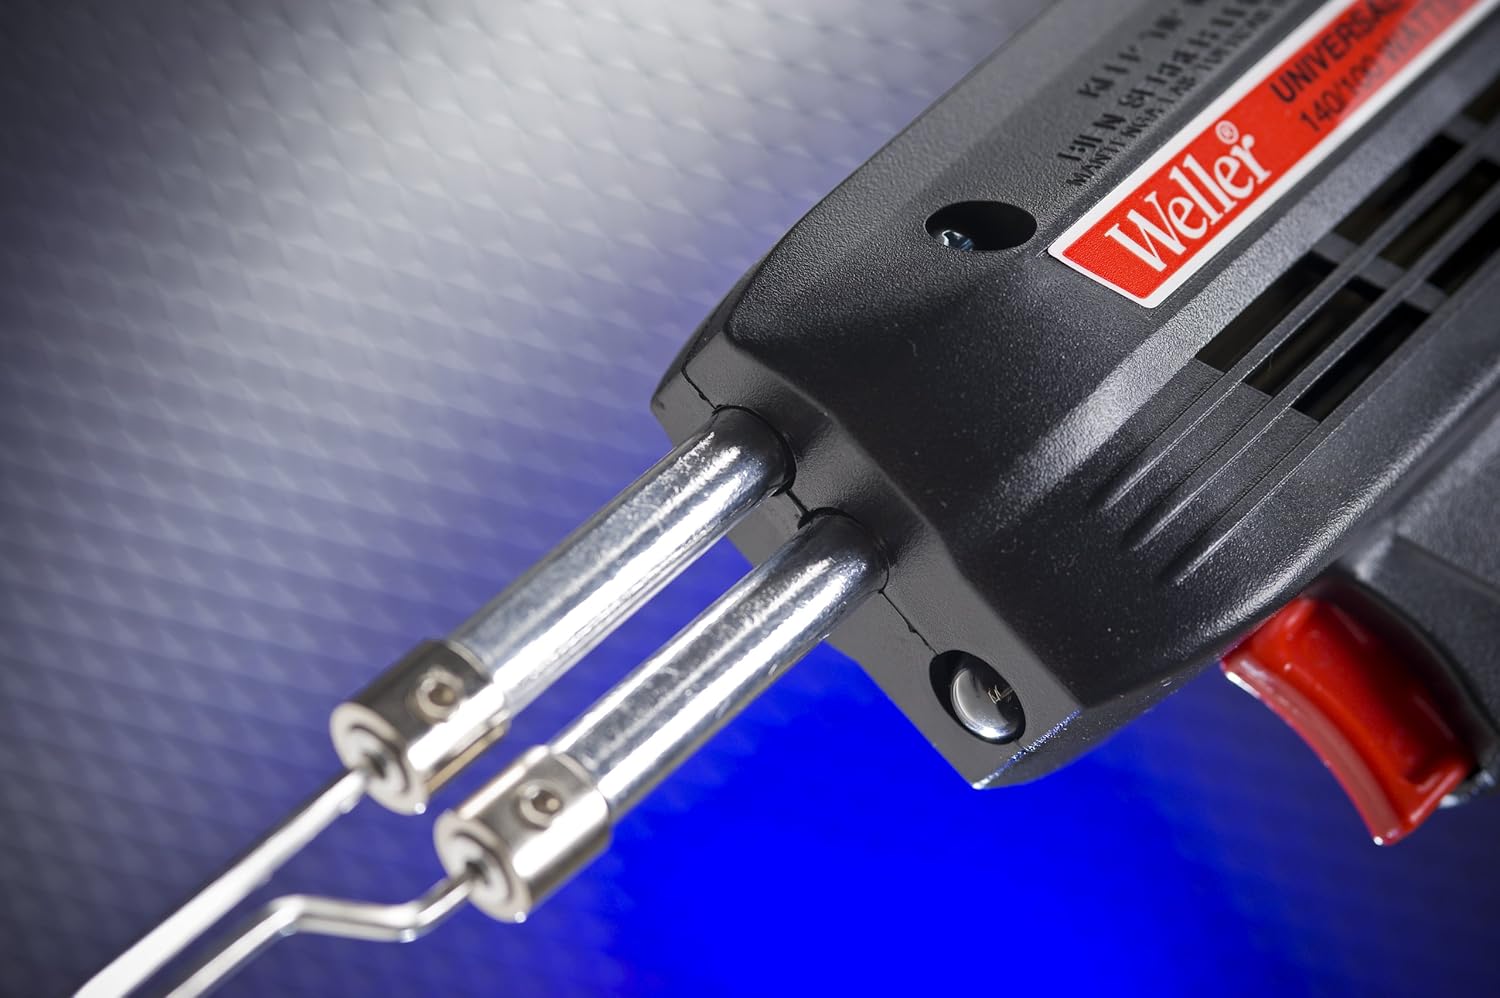
Foto 2: nso nso view of the front of the Weller soldering gun, highlighting the two metal tubes where the soldering tips are inserted and secured with screws.
5. Ntuziaka ọrụ
- Ike Na: Plug the soldering gun into a standard 120-volt AC outlet.
- Họrọ Ntọala okpomọkụ: The gun features a dual-heat trigger.
- Press the trigger partially (first position) for 100 watts of heat.
- Press the trigger fully (second position) for 140 watts of heat.
- Ịzụ ahịa:
- Apply the hot tip to the joint to be soldered, ensuring both surfaces are heated simultaneously.
- Feed solder onto the heated joint, not directly onto the tip. The solder should flow smoothly and evenly.
- Remove the solder wire, then remove the soldering gun. Allow the joint to cool undisturbed.
- Duty Cycle Adherence: Remember to observe the 1 minute ON / 4 minutes OFF duty cycle to prevent damage to the tool.
- Gbanyụọ: Release the trigger to turn off the heating element. Unplug the tool from the outlet when finished or when not in use.

Image 3: The Weller 8200PKS Soldering Gun, showing its pistol grip design, red trigger for dual heat control, and the integrated work light.
6. Nlekọta
- Ndụmọdụ ihicha: Regularly clean the soldering tip with a damp sponge or brass wool to remove excess solder and oxidation. A clean tip ensures efficient heat transfer.
- Ndokwa ndụmọdụ: Tips will wear out over time. Replace them when they become pitted, corroded, or no longer hold solder effectively. Ensure the gun is unplugged and cool before replacing tips.
- Nchacha izugbe: Keep the body of the soldering gun clean and free of dust and debris. Use a dry cloth for cleaning.
- Nyocha eriri: Periodically inspect the power cord for any signs of damage. Do not use the tool if the cord is frayed or damaged.
7. Nchọpụta nsogbu
| Nsogbu | Ihe nwere ike ime | Ngwọta |
|---|---|---|
| Gun does not heat up. | Not plugged in; faulty outlet; damaged cord; loose tip connection. | Check power connection; try a different outlet; inspect cord for damage; ensure tip screws are tight. |
| Solder does not melt or flows poorly. | Dirty or oxidized tip; insufficient heat setting; improper application. | Clean the tip thoroughly; ensure full trigger press for 140W; apply tip to joint, not solder. |
| Gun overheats or shuts off. | Exceeded duty cycle (1 min ON / 4 min OFF). | Allow the gun to cool down for at least 4 minutes. Adhere strictly to the recommended duty cycle. |
| Work light is dim or not working. | Bulb failure; electrical issue. | Contact Weller customer support for assistance. |
8. Nkọwapụta
- Ụdị: 8200PKS
- Akara: Weller
- Isi mmalite ike: Igwe ọkụ eletrik
- Voltage: 120 volts
- Wattage: 140 Watts (Elu), 100 Watts (Elu ala)
- Oge ikpo ọkụ: Ihe dị ka sekọnd iri atọ
- Nleba okpomọkụ: 1100 ogo Fahrenheit
- Ihe ejikwa: Rubber or Acrylonitrile Butadiene Styrene (ABS)
- Ibu ihe: 3 pound
- Ogologo eriri: 6 ụkwụ
- Atụmatụ pụrụ iche: Dual Heat, Work Light, Durable
- Asambodo: UL & cUL edepụtara
- Ngwa gụnyere: Soldering Gun, Soldering Iron Tips (Soldering, Smoothing, Cutting), Flux, Lead-free Solder, Soldering Aid Tool, Storage Case
9. Akwụkwọ ikike na nkwado
The Weller 8200PKS Universal Soldering Gun Kit comes with a 7-afọ akwụkwọ ikike. For warranty claims, technical support, or to purchase replacement parts and accessories, please contact Weller customer service.
Visit the official Weller website for contact information and further resources: www.weller-tools.com
Ask a question about this manual
Ask about setup, troubleshooting, compatibility, parts, safety, or missing instructions. Manuals+ will review the question and use this page’s manual context to help answer it.