1. Okwu mmalite
This manual provides essential information for the safe and efficient operation of your Technaxx Wireless CarPlay & Android Car Monitor TX-361. Please read this manual thoroughly before using the device and retain it for future reference. The TX-361 is designed to integrate modern smartphone connectivity, including Apple CarPlay and Android Auto, into your vehicle without requiring a complex car radio replacement. It also features an integrated DAB digital radio for enhanced audio experience.
2. Ozi nchekwa
- Always operate the device responsibly and in accordance with local traffic laws. Distracted driving can lead to accidents.
- Do not attempt to disassemble or modify the device. This may void the warranty and pose safety risks.
- Debe ngwaọrụ ahụ pụọ na oke okpomọkụ, ìhè anyanwụ kpọmkwem na mmiri.
- Hụ na etinyere ngwaọrụ ahụ nke ọma ma ọ naghị egbochi ngwaọrụ gị view ma ọ bụ tinye aka na njikwa ụgbọ ala.
- Jiri naanị eriri ike na ihe ndị ọzọ enyere.
- If the device malfunctions, disconnect it from the power source and contact customer support.
3. Ihe ngwugwu
Nyochaa na etinyere ihe niile edepụtara n'okpuru na ngwugwu gị:
- DAB 7-inch CarPlay with Touch Screen TX-361
- Power Supply (USB-A to USB-C, 1.5m cable)
- AUX Cable (1m)
- Antenna DAB
- Holder (Mounting Bracket)
- Akwụkwọ ntuziaka onye ọrụ
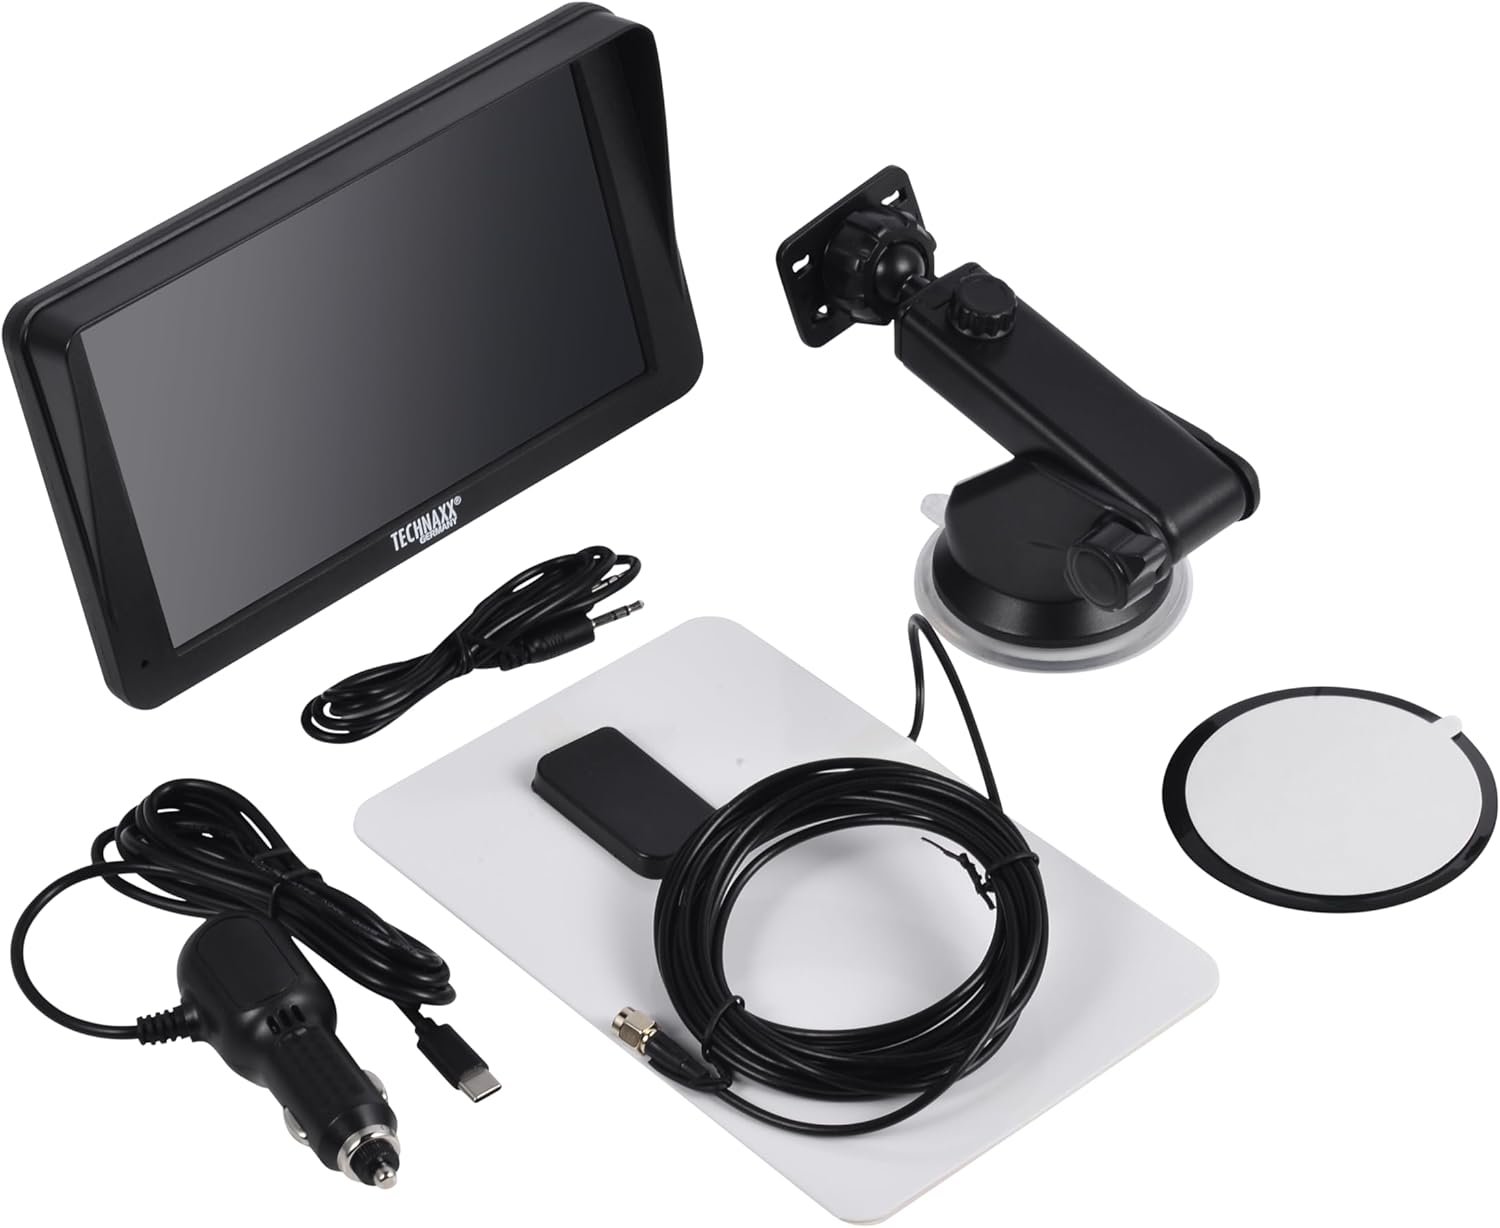
Image: All components included in the Technaxx TX-361 package, neatly laid out.
4. Ngwaahịa gafereview
Familiarize yourself with the main components of your TX-361 monitor.
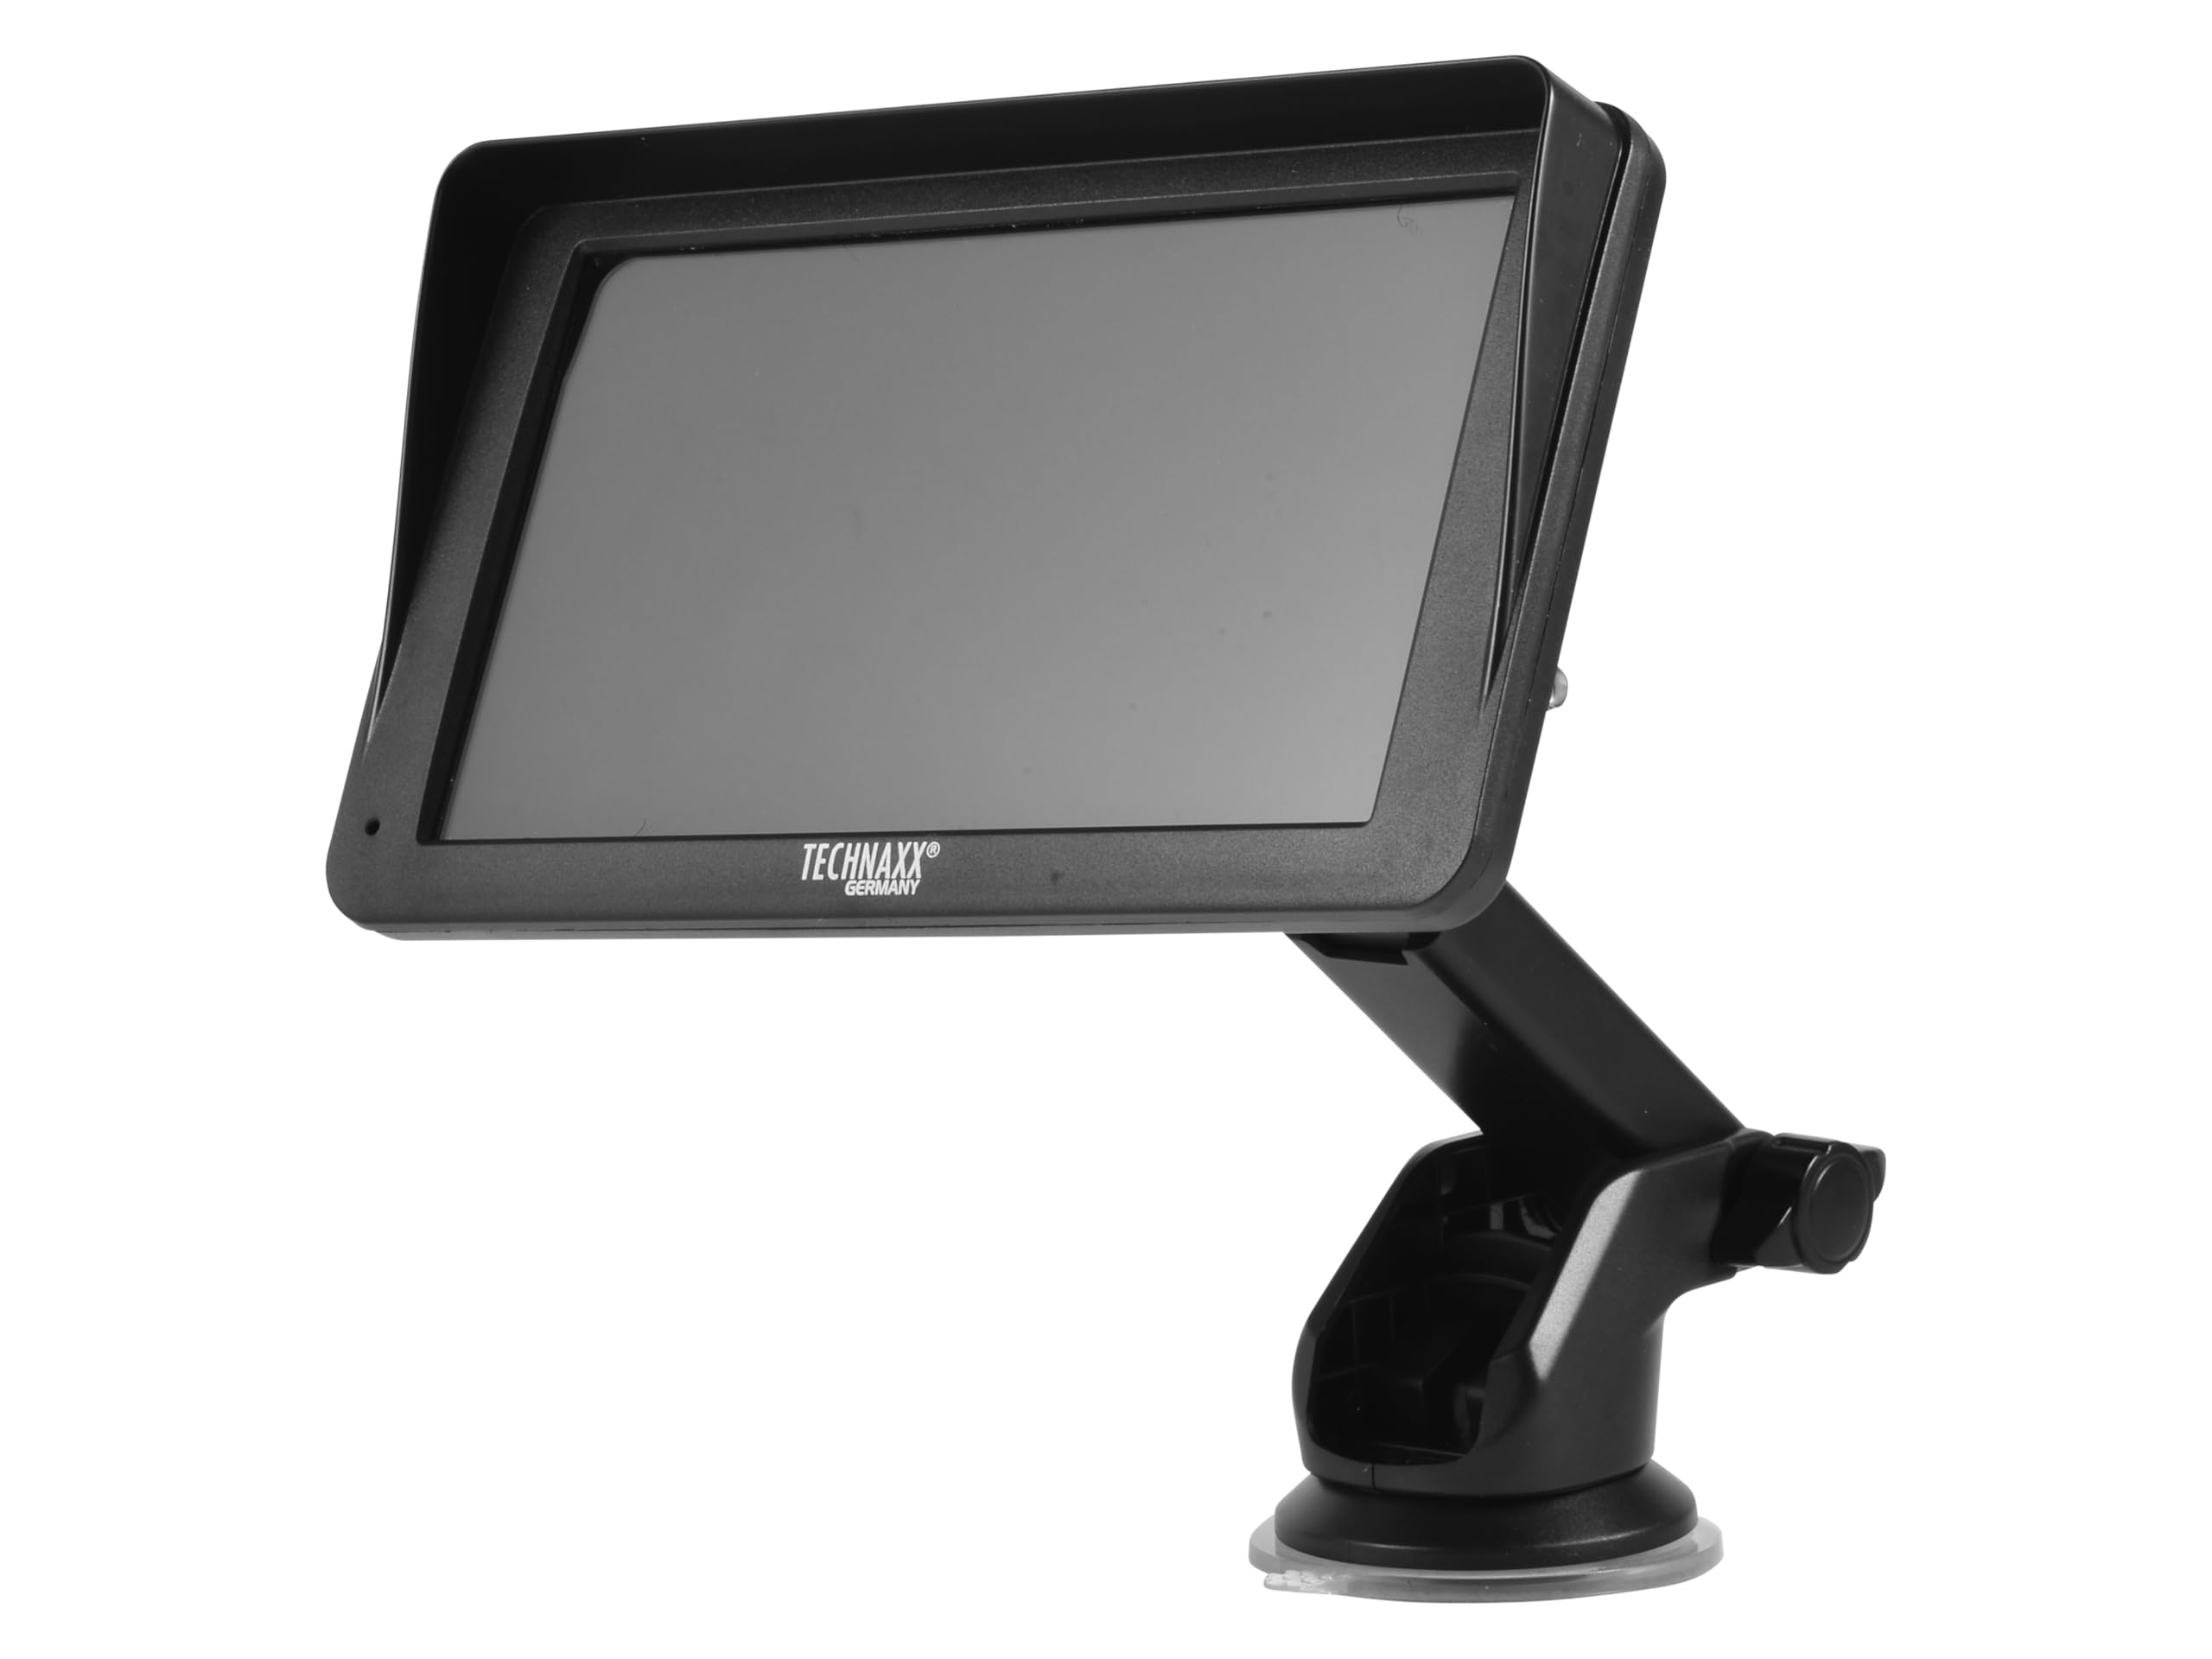
Foto: N'ihu view of the TX-361 monitor with its 7-inch display and 'TECHN AXX GERMANY' branding, attached to the adjustable mounting stand.

Foto: N'azụ view of the TX-361 monitor, highlighting the ventilation grilles and the attachment point for the mounting bracket.

Foto: Zuru ezu view of the right side of the TX-361 monitor, showing the power button, reset button, USB-C power input, AUX output, and USB-A port.
4.1. Ngwa ngwaọrụ
- Ihuenyo Mmetụ Aka nke Capacitive nke 7-inch: Main display for all functions.
- Bọtịnụ ike: Located on the top right side.
- Tọgharịa bọtịnụ: Small pinhole button for system reset.
- Ọdụ USB-C: Maka ntinye ike.
- Mpụta AUX: 3.5mm jack for wired audio transmission.
- Ọdụ ụgbọ mmiri USB-A: For media playback or charging external devices.
- DAB Antenna Input: Connector for the external DAB antenna.
- Ọkà okwu agbakwunyere: For direct audio playback.
5. Nhazi
5.1. Ịkwanye ngwaọrụ
The TX-361 can be mounted on your vehicle's windscreen or dashboard using the provided holder.
- Attach the monitor to the mounting bracket.
- For Windscreen Mounting: Clean the desired area on the windscreen. Press the suction cup firmly against the glass and engage the lever to secure it.
- For Dashboard Mounting: Clean the desired area on the dashboard. If necessary, use the adhesive disc provided for a more secure attachment point for the suction cup. Press the suction cup firmly and engage the lever.
- Gbanwee akụkụ ihe nleba anya ka ọ kacha mma viewna-eme ihe n'enweghị ihe mgbochi ịkwọ ụgbọala gị view.

Image: The TX-361 monitor securely mounted on a car dashboard, showing its position relative to the driver's view.

Image: The TX-361 monitor mounted on a car windscreen, demonstrating an alternative placement option.
5.2. Njikọ ike
- Connect the USB-C end of the power cable to the USB-C port on the monitor.
- Plug the USB-A end of the power cable into the provided 12V/24V cigarette lighter adapter.
- Insert the cigarette lighter adapter into your vehicle's 12V/24V power socket. The device will power on automatically or can be turned on using the power button.
5.3. DAB Antenna Connection
For optimal DAB radio reception, connect the included DAB antenna:
- Connect the DAB antenna cable to the dedicated DAB antenna input on the monitor.
- Mount the DAB antenna on your windscreen or another suitable location, ensuring it has clear line of sight for best signal reception.
6. Ntuziaka ọrụ
6.1. Ịgbanye / gbanyụọ
- Ike Na: The device typically powers on automatically when connected to the vehicle's power. If not, press and hold the power button on the top right side.
- Gbanyụọ: Press and hold the power button until the device shuts down. A short press will turn the screen off/on.
6.2. Initial Setup and Smartphone Connection
The TX-361 supports wireless Apple CarPlay and Android Auto via Wi-Fi and Bluetooth 5.0.
- Hụ na agbanyere Wi-Fi na Bluetooth nke ekwentị gị.
- On the TX-361 monitor, navigate to the CarPlay or Android Auto section.
- The monitor will display a Bluetooth name. On your smartphone, search for and connect to this Bluetooth device.
- Once connected via Bluetooth, the device will prompt you to enable Wi-Fi for CarPlay/Android Auto functionality. Confirm the connection on your phone.
- After successful pairing, Apple CarPlay or Android Auto will launch automatically on the monitor.
6.3. Touchscreen Ọrụ
The 7-inch capacitive touchscreen allows for intuitive control:
- Kpatụ: Select items or confirm actions.
- Mịpụta: Navigate through menus or lists.
- Tụọ-gaa-mbugharị: (Where supported, e.g., in navigation apps) Adjust map zoom levels.
6.4. DAB Digital Radio
To use the integrated DAB digital radio:
- Ensure the DAB antenna is properly connected.
- From the main menu, select the 'DAB Radio' option.
- The device will automatically scan for available DAB stations.
- Select your desired station from the list.
6.5. Redio FM
For traditional FM radio reception:
- From the main menu, select the 'FM Radio' option.
- Use the on-screen controls to scan for stations or manually tune to a frequency.
6.6. Nhọrọ Mmepụta Audio
The TX-361 offers several ways to transmit audio to your vehicle's sound system:
- Ọkà okwu agbakwunyere: Audio will play directly from the monitor's built-in speaker.
- eriri AUX: Connect the provided 3.5mm AUX cable from the monitor's AUX output to your car's AUX input. Select 'AUX' as the input source on your car radio.
- Mbufe FM: Select an unused FM frequency on the TX-361 and tune your car radio to the same frequency. Audio will be transmitted wirelessly to your car's speakers.
7. Nlekọta
- Nhicha: Jiri ákwà dị nro ma kpọọ nkụ hichaa ihuenyo na mpụta nke ngwaọrụ ahụ. Ejila ihe nhicha ma ọ bụ ihe mgbaze.
- Nchekwa: Ọ bụrụ na ị na-echekwa ngwaọrụ ahụ ruo ogologo oge, kwụpụ ya na ike wee chekwaa ya n'ebe dị jụụ na nkụ.
- Mmelite ngwanrọ: Lelee nke onye nrụpụta oge ụfọdụ website for any available firmware updates to ensure optimal performance.
8. Nchọpụta nsogbu
| Nsogbu | Ngwọta enwere ike |
|---|---|
| Ngwaọrụ anaghị agbanwu ọkụ. |
|
| Cannot connect to CarPlay/Android Auto. |
|
| Poor DAB/FM radio reception. |
|
| Enweghị mmepụta ọdịyo. |
|
9. Nkọwapụta
| Njirimara | Nkọwapụta |
|---|---|
| Nọmba nlereanya | 5361 |
| Ngosipụta | 7-inch Capacitive Touch ihuenyo |
| Teknụzụ Njikọta | Wi-Fi (Dual-band 2.4 / 5 GHz), Bluetooth 5.0 |
| Atụmatụ pụrụ iche | Wireless CarPlay & Android Auto, DAB Digital Radio, FM Radio, Touchscreen Display |
| Ogologo oge DAB | Band III: 174-240 MHz |
| Mmepụta ọdịyo | AUX, FM Transmission, Integrated Speaker |
| Ịnye ọkụ | 12V/24V via Cigarette Lighter |
| Akụkụ ngwaahịa (D x W x H) | 18.8D x 10.8W x 3.5H centimita |
| Ibu Ibu | 0.58 pound (ihe dị ka gram 263) |
10. Akwụkwọ ikike na nkwado
Technaxx products are covered by a manufacturer's warranty. For detailed warranty information, please refer to the warranty card included with your product or visit the official Technaxx website. For technical support, troubleshooting assistance, or service inquiries, please contact Technaxx customer support through their official channels.
You can often find additional resources, FAQs, and contact information on the Technaxx official websaịtị.